switching all power sockets and lights

Forum about Domotica, home automation and saving energy.
vincenttor
Member
Member
Posts: 344
Joined: Thu Jan 09, 2014 10:45 pm
Location: Netherlands

Re: switching all power sockets and lights

Post by vincenttor »

Well, about the panel.
This is just for emergency, hidden away in the electrical closet.
The DMX decoders will all be mounted in this small box and the power supplies.
I made this manually , when the computer is broken for example, the lights can't be turned on and off.
Well actually they can since i am placing wall-dmx master controllers in every room. ( thought about this after i build it already haha)

Let's say i have no power, all my lights work on 12Vdc.
I can turn them still on when the power is off because they run from a battery that i have on trickle charging.
This can hold up the power for quite some time then when using only LED and used in dimmed position.

Also because it's fun and i wanted 1 central housing for all my lights, in Homeseer i'd like to be able to see what channel/light is still being powered on.
So i am designing a pcb that i will connect to all the dmx decoder led outputs so when 12v is detected, i get in homeseer a notice that there is a light on and what channel/room.
Why ? because when i control the lights by the tablet/phone/computer i can see in the software what channel is on or off, when pressing a touch switch that i have placed in the wall.
This does not give a signal to the computer in my case homeseer can't see if there is any light still on.

I know, maybe i thinking a bit to far with some stuff , but hey ;)
It's a nice way to waste time haha, and if all works its even better :D
vincenttor
Member
Member
Posts: 344
Joined: Thu Jan 09, 2014 10:45 pm
Location: Netherlands

Re: switching all power sockets and lights

Post by vincenttor »

I have done some work again , it is getting there but does take some time and i like to do it right.
Busy with the soldering of the wires to the switches and the led.

Some evening hours from this:
Image

to this:
Image

And then this ;)
Image

Then with some cable ties to this:
Image

Had to label the cables temporarily:
Image

Glued the cable holder/divider on it:
Image

And finally it looks like this:
Image

I do have some little wires to solder on it and resistors for the led's but with a small test it kinda looks like this:
Image

Also got the controller/master for the dmx lights , going to place this one at the wall in the living room.
Connect dry contact switches or pulse switches in all the other rooms that i connect to the controller, so for people that come at my house , they usually grab on a wall to find a light switch.
Now they have, when the contact is made, it will trigger a scene that you can create per room and so you have some variation and real switches.
Rest will normally be controlled or automatically or by tablet that hangs on the wall in every room.
Image
Image

Only minor thing is that when this switch is pressed, i do not get any feedback in homeseer , so i never know what light is on or off when this happens.
But for this i am busy to get a working solution, i do know one but that will cost me some money, so first i hope to get it working with a arduino that receives the dmx and converts it to serial/ascii so it can be read by homeseer.
Image

I also am building the rest of the light controller cabinet, have to add more dmx decoders since i need more channels but because of the Chinese new year i have a delay with some of the parts i have ordered.
Image

So that is it for now.
Sparkman
Starting Member
Starting Member
Posts: 29
Joined: Wed Sep 09, 2015 5:57 am

Re: switching all power sockets and lights

Post by Sparkman »

Looking great! Nice job on the wiring.

Cheers
Al
vincenttor
Member
Member
Posts: 344
Joined: Thu Jan 09, 2014 10:45 pm
Location: Netherlands

Re: switching all power sockets and lights

Post by vincenttor »

Thanks ;)
It does need some more work , will show some pictures when its done. :roll:
vincenttor
Member
Member
Posts: 344
Joined: Thu Jan 09, 2014 10:45 pm
Location: Netherlands

Re: switching all power sockets and lights

Post by vincenttor »

I am testing a 3Mp camera that suddenly failed where it was placed.
Not sure what was going on but it seems to work again for the time being, and then i thought why not make a timelapse from the wiring of my light controller :roll:
There is a livestream link right now going on , so for the bored people here you go ;)

http://purmerend.duckdns.org:81/jpegpull.htm

Username: live
Password: stream

Will post more later on , maybe tonight.
vincenttor
Member
Member
Posts: 344
Joined: Thu Jan 09, 2014 10:45 pm
Location: Netherlands

Re: switching all power sockets and lights

Post by vincenttor »

Well there is an update. actually a bunch of updates but i couldn't find the time to do it.
Also had some personal stuff that i needed to deal with and my work was getting in the way, work work work and well nothing is what drove me crazy and still does but i have changed things.
Said no to allot of jobs outside of the Netherlands and to jobs that take weeks/months of my time and sleeping in hotels or bungalows.
So thats that, still a few weeks to go (10) before my sort of deal/contract finishes and then i got some work close at my home and more time for sport/friends/building my house.

I was busy with my lights, this took a bit of work as you can see.
Image

im not sure where i got the other images but this is when i had a small part of the wires connected.
need to clean up the wires coming out of the cabinet and in side a bit.

A small video with the test of some of the lights, cabinet is not fully build yet and i had no idea how this software worked but i could get it running and make some scenes.


I also am not a fan of warm white Chinese made LED lights, well most of them are not really warm white as far i have discovered after ordering allot of test lights.
The lights i am fond of are from lumotec, i believe the company is now in Poland but was in NL as well.
Got a box with the led pcbs , they are warm white like a light bulb.
But i need to place them into a housing because it need to be cooled for the longest life span and i needed something to mount in the ceiling etc.
So i bought some cheap aluminum housings , took out the China LED and placed mine in, used some cooling paste for a computer cpu so the heat would be transferred a bit better.

done some tests to see what temperatures it would reach, also added a cooling fan on the back with a heatsink, connected this small fan also on the 12v power supply and since the led's are dimmed by PWM , the small motor was also turning slower.
This luckily resulted in almost no sound when turning ;)

Image
very difficult to solder on the aluminum pcbs btw, because they heat up and cool the hot spot to fast ;(

Image
without cooling fan , and 700mah on the led's the max temp i measured on the led itself was 48 degrees.
Image

with the fan on with the same ratings these measurements came out.
Image

Image

Much more satisfying, not sure what temp they are able to reach but it looks good so far.
After a while i decided to buy some of the led spots with the same led pcb in them but a original modell from lumotec because the light image was smaller .
Mine are very wide, the "home made" ones and when testing them at night sitting at the couch they were a bit bright and you could look into the lights much faster that would probably be irritating after a while.


Then suddenly my van broke down that i use for my work, well the turbo was broken.
so needed to replace this in the little time i had, nasty job with the old oil, i know needed to replace it sooner but well...
Image
Image
Image

So that was nice, later on my alternator was broken as well, bearings gone etc
This is because i used an amplifier for my cb hobby that could draw 90Amps at 12Volts and the alternator handled this for a good 2 years ;)


Then my other interests , cctv camera's ;)
ordered some cams cheaper and expensive ones to review the sensors for the best image, only want the best for the least ofcourse haha.
Image
Image

made a camera stick haha, the worst part is i put it up outside and did not even bother to make a review per cam :roll:
need to get into this again when my house is finished :lol:

a bit of garbage after cleaning for the second time, this is from wiring the light cabinet.
Image

then i took my couch out of the plastic to see how it would fit and where i would make the holes for my lights.
i know its a bit big but hey, its great to watch some tv or whatever ;)
Image

days passed because of work , in the weekend i didnt feel to do anything but i did build with some old stuff a sort of rack for my other hobby ;)
going to make a small prive gym upstairs since i got enough space.
Image
Image
its not the nicest thing i have made but well im not a carpenter haha.

did in the mean time some wiring for a friend of mine in his new home, man i hate bending 6mm2 wires with a plier and my hands.
Image

But a licensed electrician came by to measure the grounding pen if all was oke, he looked into the case an said it was pretty neat job for a non electrician and the only 3 things where that 2 screws where not tight enough, and i used as main switch a 400v breaker since i did not have another one, with a logical explanation when another breaker will fail the main switch will probably then break and the whole house electricity is offline
Image
So this was a great compliment ;)

And then, i have a garden...
Image

this took also 2.5 hours or more and now 2 months later you can guess haha, its back.
Image

Here will come a swimming pool, using this water as a buffer to cool my solar panels :D
goodbye garden haha.

Time to drill the holes with a holesaw 140mm, the machine i use is one of the heaviest models on battery so i thought great since its a big hole.
Image
Then on the second last hole it jammed , i was standing on stairs and there i went, well i as on the stairs but i thought my wrist was broken.
put it under the cold water, after a while it felt oke , but i had problems with it for 4 weeks, could not do much and i still went to work ....
probably better if i took some days off .
But most lights are fitted now.
Image
Image

made some acrylic gears for Aisharay or Bram on this forum , came out nice i must say.
Image

At first i was busy making my own pcbs on my milling machine but this took to much time and effort, double sided was a problem as well.
Found a "cheap" Chinese company that makes for 30 usd 10 boards 10x10cm

drawed some relay boards for the arduino's (why not the cheap standard ones, well in my parents house, the optocoupler got broken/molten/burned on several boards am not sure why but this is not very good to rely on so i made my own boards)
Also a board that detects 230V , converts this to 5v so i can put this on the arduino and read out my pulse relais what is on and off.
Another board is the breakout board for the arduino mega.

Image

Image

one of the relay boards, of 2 that are running for the last few weeks without problems at my parents house.
Image

Then i decided it was time to put away some of my hobbies/interests, still with a bit of pain but i quit CB radio.
My biggest tower from stainless steel got sold, i wanted to move this to France for my remote controller station but this will never be finished since i got my house and to much work.
so there it went ;(
I did manage to get 300€ more then i paid for it, i should have put a much higher price on the internet since it was sold and no questions asked about the price...
Image

For my lights i needed some more space because it was to much in 1 cabinet and bought a used case made some adjustments and painted it, also put it on the wall on top of the one that was already there.
Image
Image
Image

Then i was planning to use the small DIN rail cabinets for my breaker switches but i decided to buy the same case and build it like the one i made for a friend of mine.
at the moment i added more earthing switches and breaker switches since i had to little..
Image
Image

then it was time to wire everything and start with the puls relais wiring,
later friday evening i started, since there was a fun fair i guess its called in Volendam, i got called a bunch of times where i was to drink beer and all.
But i decided to work at my house from friday till monday ( had a day off :) )
I got pretty far i must say, it was even so worse then i dreamed about wiring haha.
Image

Image

and here on the left is another cabinet that i have added but i have to wait because i am waiting on more pulse relais..
Image

Here you can see if you look closely that i added the CT rings (black/white wires on the image ) on each output so i can measure the power usage per item.
Image
Also added a small wire , the grey one that is on the left , needs to be connected to the 230v detection board.
and 2 network cables that go from the relay board/detection board to the arduino breakout board.
this all takes allot of time and work, but well it is probably the last time i will see this .
Image

and some of the mess i made after wiring it again...
Image

and after these days i had a great discovery in my garden ;)
Image

thats that, story is not very great to read sorry about that but i really need to sleep.
Tomorrow again 6.15 in the car to work so i needed to hurry a bit :roll:

anyway, i probably forgot some stuff but enjoy.
AshaiRey
Senior Member
Senior Member
Posts: 1310
Joined: Mon Feb 02, 2009 5:27 pm
Location: Netherlands
Contact:

Re: switching all power sockets and lights

Post by AshaiRey »

I am completly blown away by this. I known that this is your house but the wiring is beyond industrial scale, so complex and sooo much of it.
Some cabinets look more like pieces of art then anything else.
My greatest respect for the job you are doing!! :shock:
Bram
vincenttor
Member
Member
Posts: 344
Joined: Thu Jan 09, 2014 10:45 pm
Location: Netherlands

Re: switching all power sockets and lights

Post by vincenttor »

Thanks Bram ;)
nice to read, i was actually not very satisfied with the wiring of some but this took already allot of time so after a while i thought well its good.
Also the space is a problem, i can use some tiewraps or tywraps not sure what the word is , to bind them together.
But this won't look much better, i have tried to do "everything" by the rules with wiring, like the end bootlaces for the cables (eind ader huls).
Not sure if there is a rule that the fuse box has to be at a certain height , this would probably be the mistake then, and using plastic/pvc tubes to put the wires in, but since these wires are not like the VD draad we are used to, they do not have to be in a pipe as far as i could see.
Also this would have resulted in a big space problem then.

Well its my house, and after the power meter from the electricity company it is your own risk what you do and how.
But in most cases i am not afraid something will happen.
I will make a picture of my fuse box in the garage , almost cry when i see it and i even found out that suddenly the power went down, the leds where flickering.
Noticed fast what was going on, sparks where flying out, i managed to capture just one, and this problem was because the screws where not tight enough.
Here you can see what i mean with a movie i made.

flickr.com/photos/134761793@N04/shares/ ... res/w5tpv6
vincenttor
Member
Member
Posts: 344
Joined: Thu Jan 09, 2014 10:45 pm
Location: Netherlands

Re: switching all power sockets and lights

Post by vincenttor »

I have done some work again this weekend.
And this afternoon i connected the power , it didn't smoked or started to burn :twisted: :D
Some devices finally powered up again like the fridge and microwave without extension cords haha.

Image

Image

And busy with my lowered ceiling in the bathroom
Image

far from done but its a start.
And hopefully somewhere next week or 2 weeks from now all the doors and windows will be replaced by plastic window frames with triple glass.
First wanted to do this myself since i have done this once and its a easy job.
But now i only will take out the old windows and they are going to be replaced by a company for the "service and repairs" if some will occur.
Then i need to do some little stuff to the house and make my tv wall.
Which i won't make with a sliding mirror in front of it but for now to finish/live in the house i will hide it only behind a wall with a hole in it.
And later when i live there and have some more time , i will make the sliding mirror in front of the screen behind the wall.
Need to think of a good system, and pretty easy removable system for this fake wall that hides the tv so i can take if off easily and change it.

That's it for now.
vincenttor
Member
Member
Posts: 344
Joined: Thu Jan 09, 2014 10:45 pm
Location: Netherlands

Re: switching all power sockets and lights

Post by vincenttor »

Another update, not much to do with the home automation part yet, but it needs to be done.
Making a fake ceiling so it is lowered a bit to have some room for the LED spots that i want to use and some wiring that i can now run over the ceailing instead of hiding the wires in the concrete etc etc.
Looks like a easy job but it takes more time that i hoped for, and had a little accident also that set me back 1.5 days since something dropped on my finger top... :oops:
Image

Image

Image

Image

Image

I needed some more space, just in case if i forgot some cables so there i went again , making a mess.
Image

needed to make a "easy" slide in cable holder that went into the wall and then using some plaster to hide it again.
so i made it from polypropylene that i had laying around .
Image

Image

Image

Image

Image

and the last part, lowered ceiling downstairs in the entrance hallway.
(yes the wooden parts are not really straight as you can see, bought it at a big pile and it was binded with steel wire, when cutting the wire some of the beams where not straight or right ? at all)
Image

Image

Also busy with floor heating on the 1st floor, reading allot about it how and what.
There are 2 systems that are interesting for me:
dry floors - no need for concrete, response for heating is very fast and good for cooling the house ( since i have a heath pump that supports cooling this would be nice)
wet floors - need for concrete, longer warmup time, probably more work because of the concrete mixing and pouring - drying time for weeks until usage is allowed.

But the downside of the dry floor is that it costs 2700€ for 80m2
And for optimal use you should place pvc floors on it, but those look pretty nice i must say.

Another thing that kept me busy is the forced air circulation system in my home, i think i will use a heat exchanger to use the heat that is normally sucked out of the house , to pre heat the incoming fresh air.
There is a "closed" shaft like space in the middle of the room and this contains the sewer pipes and the air pipes, but there is only 1 that takes air out , not bringing new fresh air in.
I will have to open the shaft and make a door in it, this is possible but i have to break open a wall.

And another thing is what i just like, the idea behind it, and making the piping system for it ( since i work with plastics this is a piece of cake )
That is using rain water, digging a hole in the grond 3x3x1.5m l x b x h and place 9 IBC 1000Liter tanks in the ground that are connected to each other.
use some small filtering and make a sort of tank with a concrete wall to get the correct PH values so it wont be acidic for the machines.
Since i like to connect the water to my washing machine (clothing) this has some good influence on the fabric, softer, less soap, no more, "ontkalken" ?
Flushing the toilets, and i have been thinking of using the water as shower water.
But i read somewhere that the roof i use is not very good for personal hygiene since there is Bitumen on the roof and that could be a problem.
Yes, i know that the water costs almost nothing the Netherlands, still i like to do it, the power is being delivered for the pump by my solar panels.
And who knows, the water becomes more expensive in a few weeks/months/years.

Food for thought ;)
AshaiRey
Senior Member
Senior Member
Posts: 1310
Joined: Mon Feb 02, 2009 5:27 pm
Location: Netherlands
Contact:

Re: switching all power sockets and lights

Post by AshaiRey »

I use a large rain barrel to collect water from the roof but you will be surprised to see how much debris will end up in there. Leave, mud, sand, pollen just to name a few. Filtering it must be done. However in summer it's perfect to water the garden with it. You can also use it as heat/cool buffer.
Bram
User avatar
Phaeton
Advanced Member
Advanced Member
Posts: 573
Joined: Wed May 19, 2010 12:44 pm
Location: Wassenaar
Contact:

Re: switching all power sockets and lights

Post by Phaeton »

Impressive.dont Have much to add, but i like this topic a lot. Keep it updated. Its inspiring!

Verstuurd vanaf mijn Moto G (4) met Tapatalk
groeten,
Harry
vincenttor
Member
Member
Posts: 344
Joined: Thu Jan 09, 2014 10:45 pm
Location: Netherlands

Re: switching all power sockets and lights

Post by vincenttor »

Thanks for the replies :)

I took a little while again, i went to the south of the Netherlands again for work and even to England for a little while.
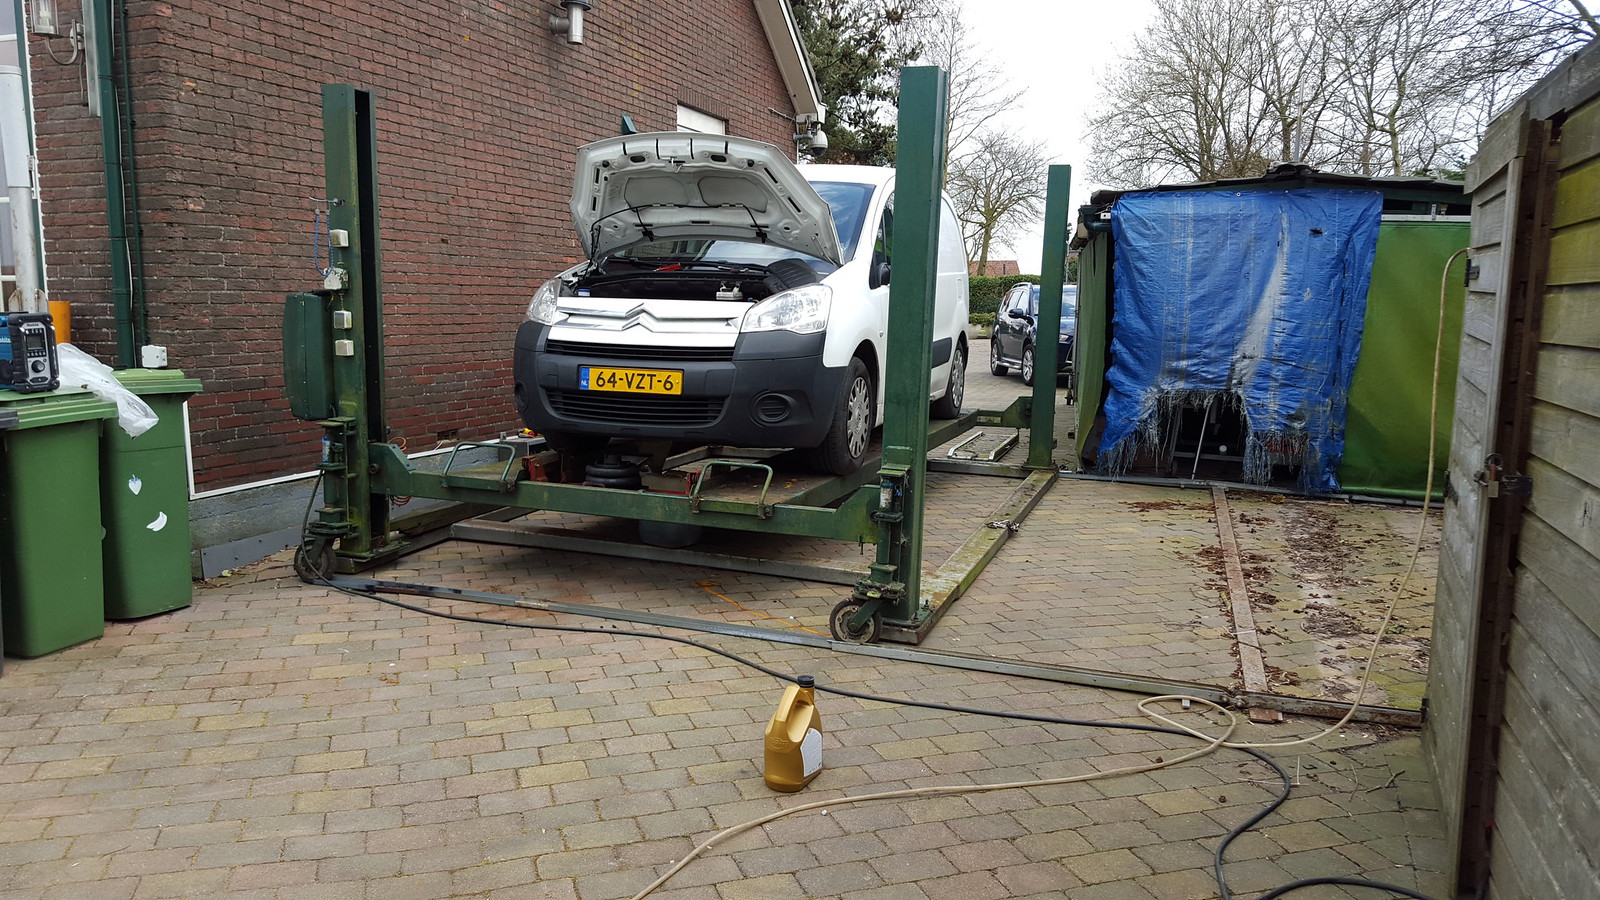
Where someone crashed in the back of my fan when i was traveling , luckily still in the Netherlands.
Just damage on the back nothing further .
Image

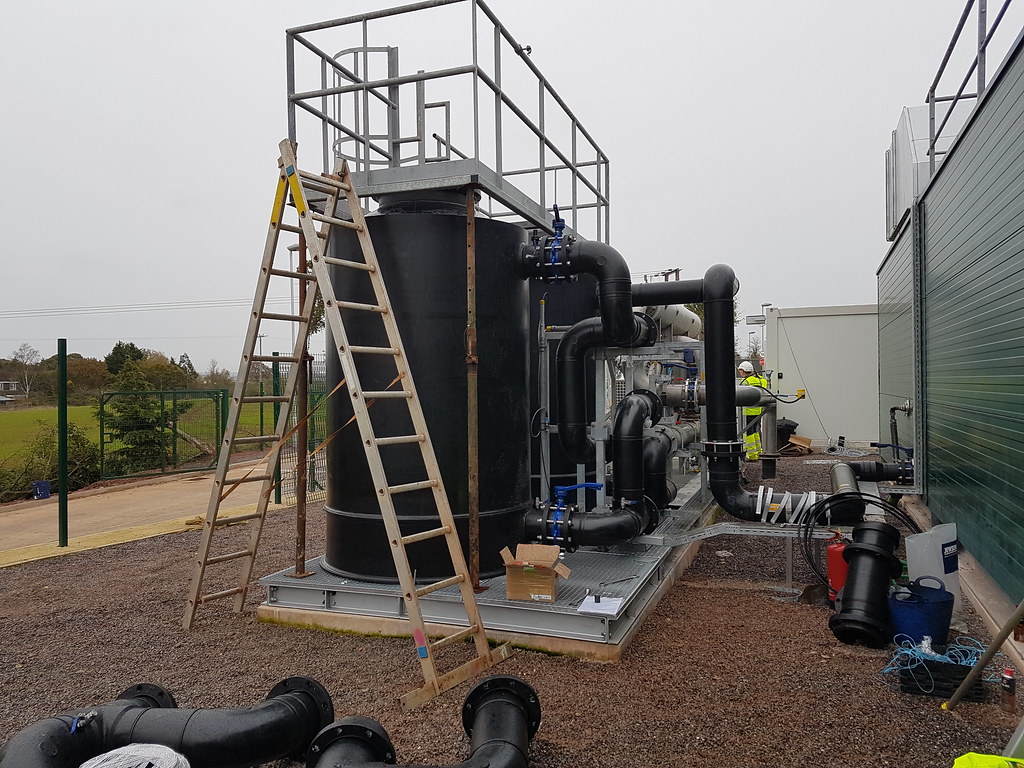
Had to rebuild a biogas installation that was burned to the ground a few weeks ago.
Image

Only thing i know is that England is not a country for me to go on a holiday, the left driving on the 4 lane roundabout is kinda troubling for the first time especially when they for got the markings on the road and it is raining and dark... :roll:
I managed to come out without any accidents, the person driving with me said i was actually doing pretty good, and he told me why he wanted me to drive instead of him haha
Year before he went alone and it was no fun, probably better to rent a car there with the steering wheel on the right.
I did see something nice i must add, stoneheadge i believe it is called.
Image

So i was very happy when we where in the train again to France and then back home.
Have allot of work to do and took last week off, this week also for a few days.


About the rain re using, i have read some things about it, actually been reeding for whole evenings about it.
First i thought to use the water after filtering also for my dishwasher since there is little to no chalk in this water.
And i wanted to shower / bath with the same water, this would be possible with filtering machines to make it "drinkable" and will cost way to much money.
It's more a fun project actually, and who knows a few years later there will be certain discovery's to filter it for less then it costs now.
For now i will use a leave/dirt filter to catch the most debris coming from it, as far it would catch leaves because the building is high and far away from trees.
Something like this will filter the first part out as far as i could find , there are bigger filters but the price also rises rapidly ravshopping.nl/3p-regenwater-filter-col ... grijs.html or here for more types : http://www.dbcom.nl/regenwaterfilters.htm

Image

And i will use the water for my washing machine, the water could be with a wrong PH value.
I think they call it acid rain ?, but to get the right PH value when you use a plastic tank you can do several things.
Most easy way is use a concrete tank, but in my case using old IBC plastic 1000L tanks i will lower some concrete blocks in the tank and this will do the same.
So it won't damage the metals in the machine and my clothes.
Use a few small particle filters that do not cost to much or you can wash them to clean them once a .....

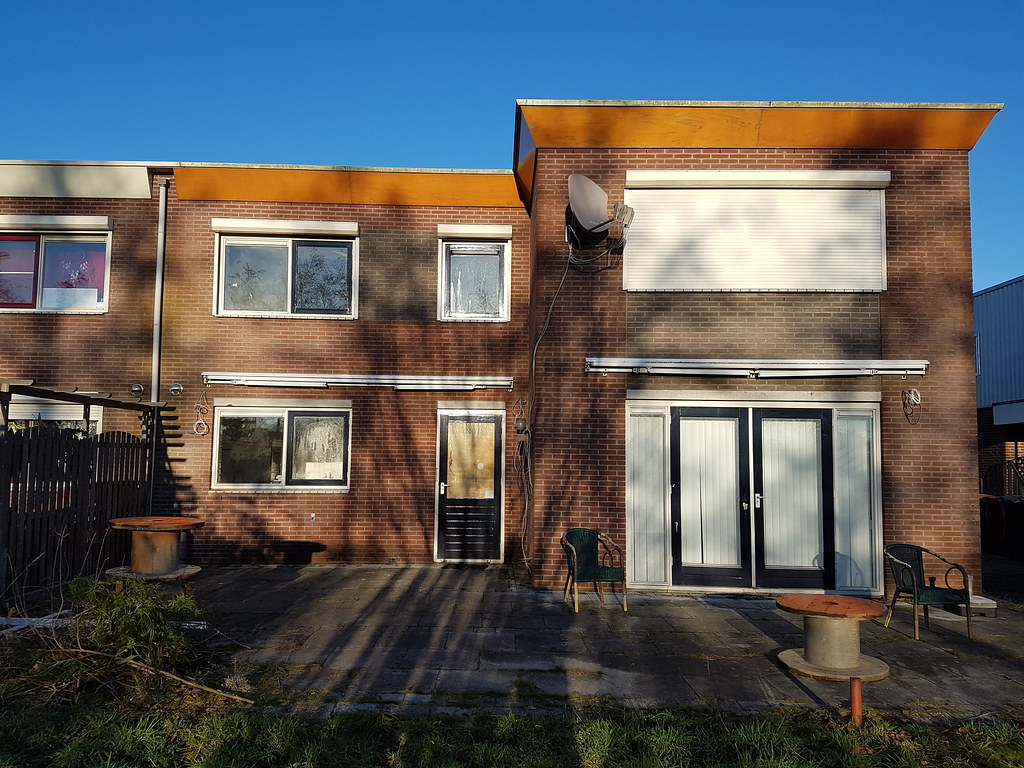
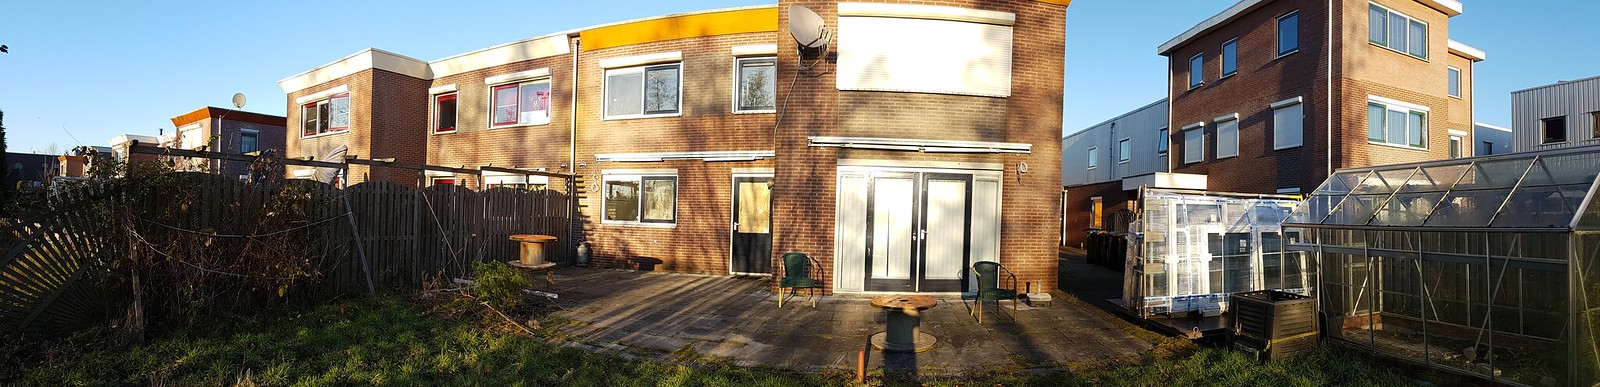
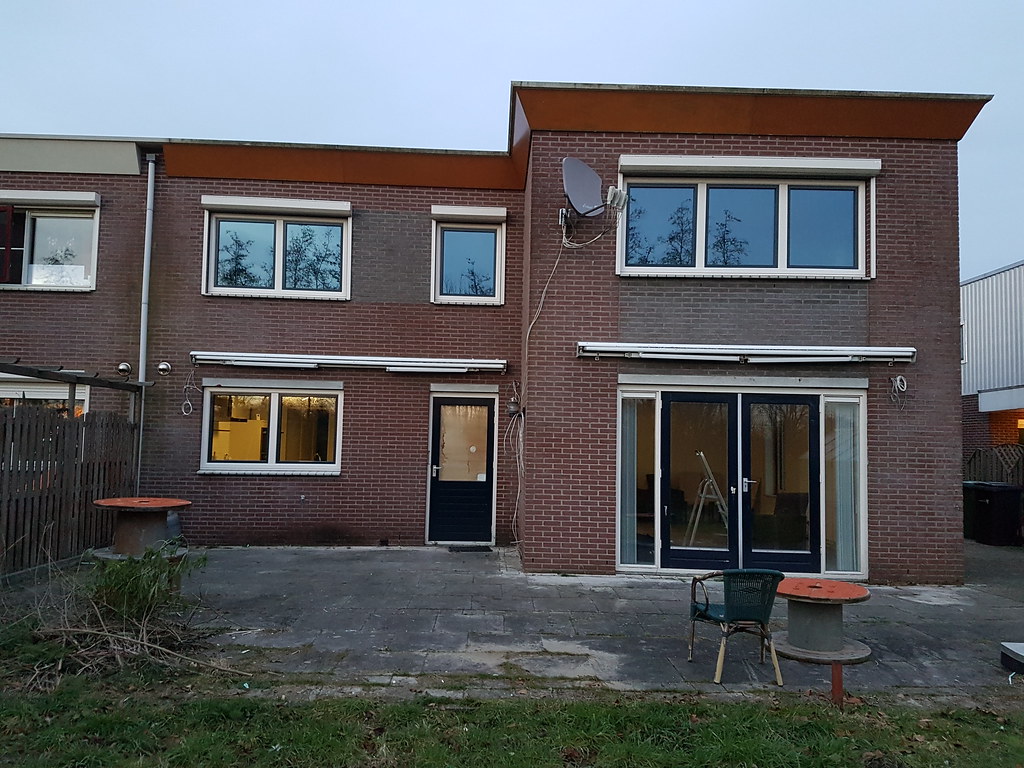
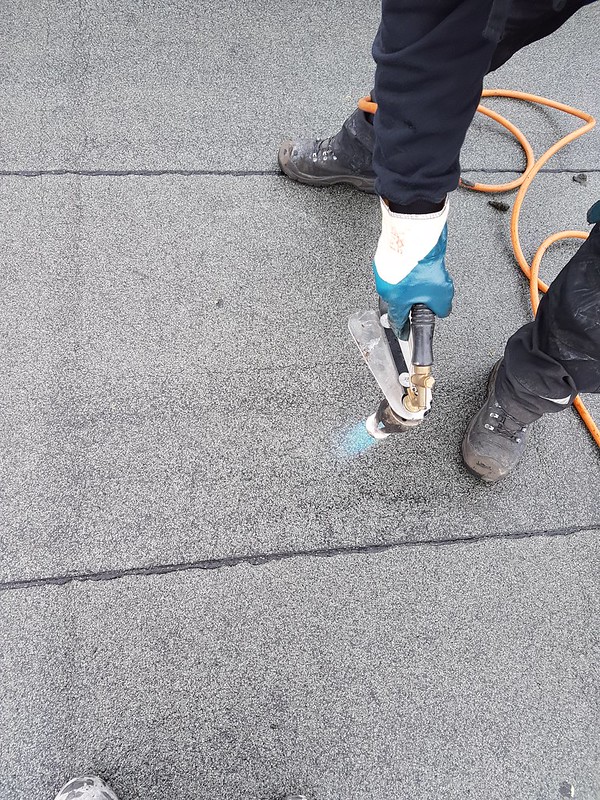
The other problem is that the roof needs to be repaired.
This is +/- 240m2.
There is some old layer of bitumen on the roof that needs to be changed.

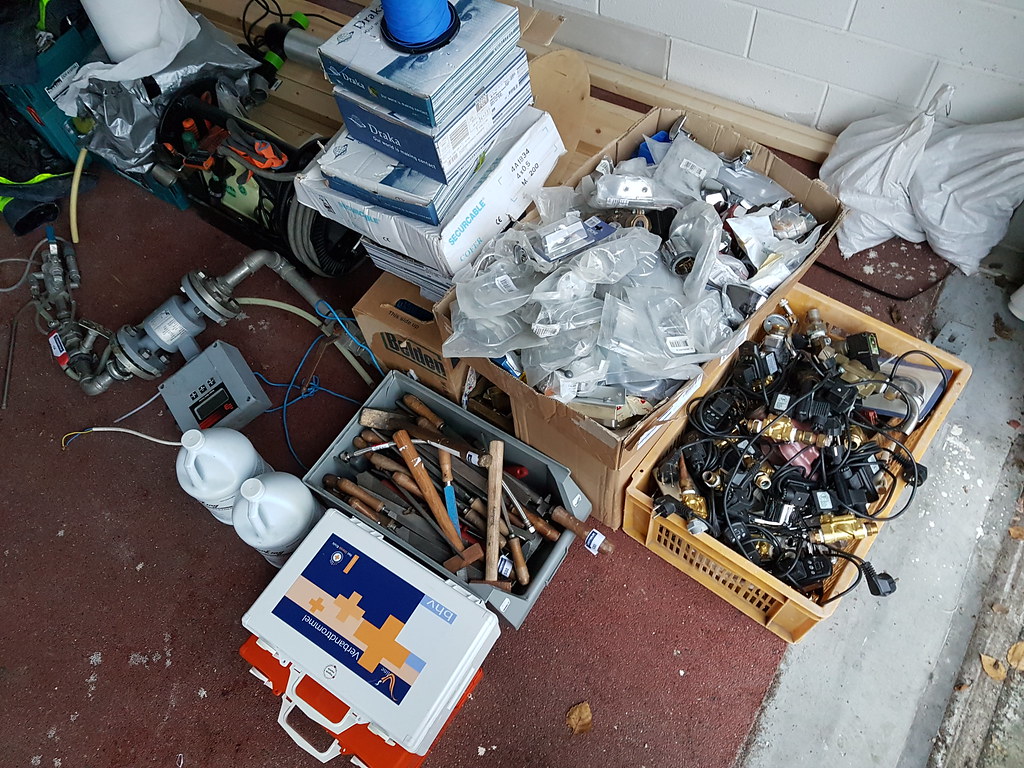
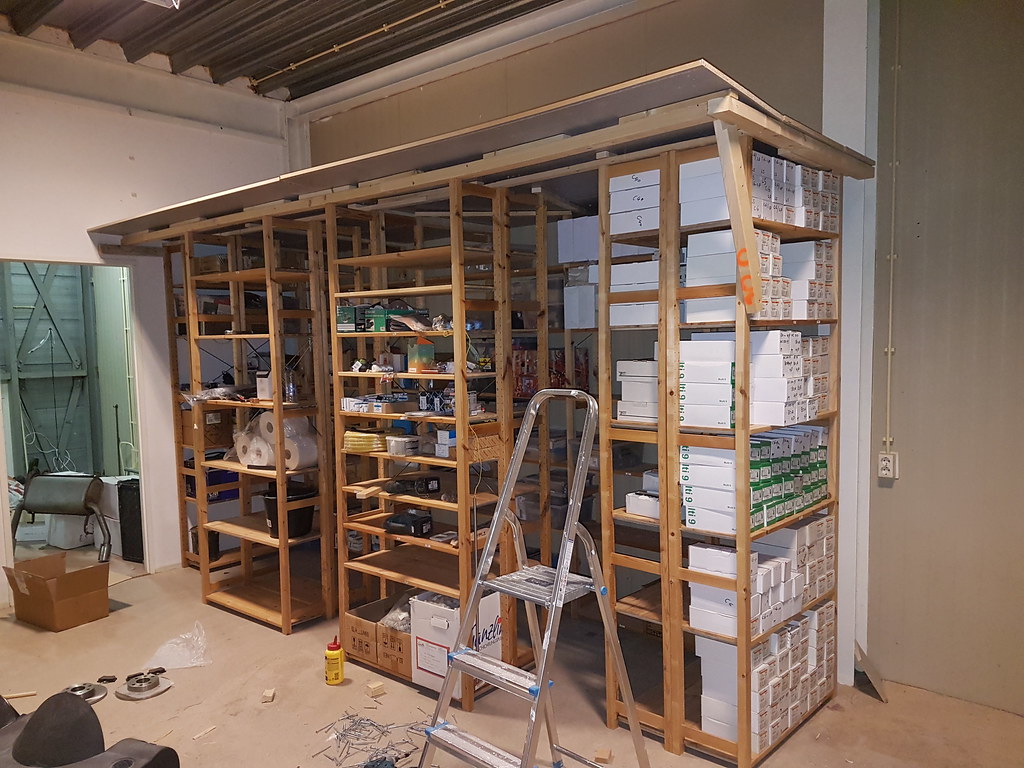
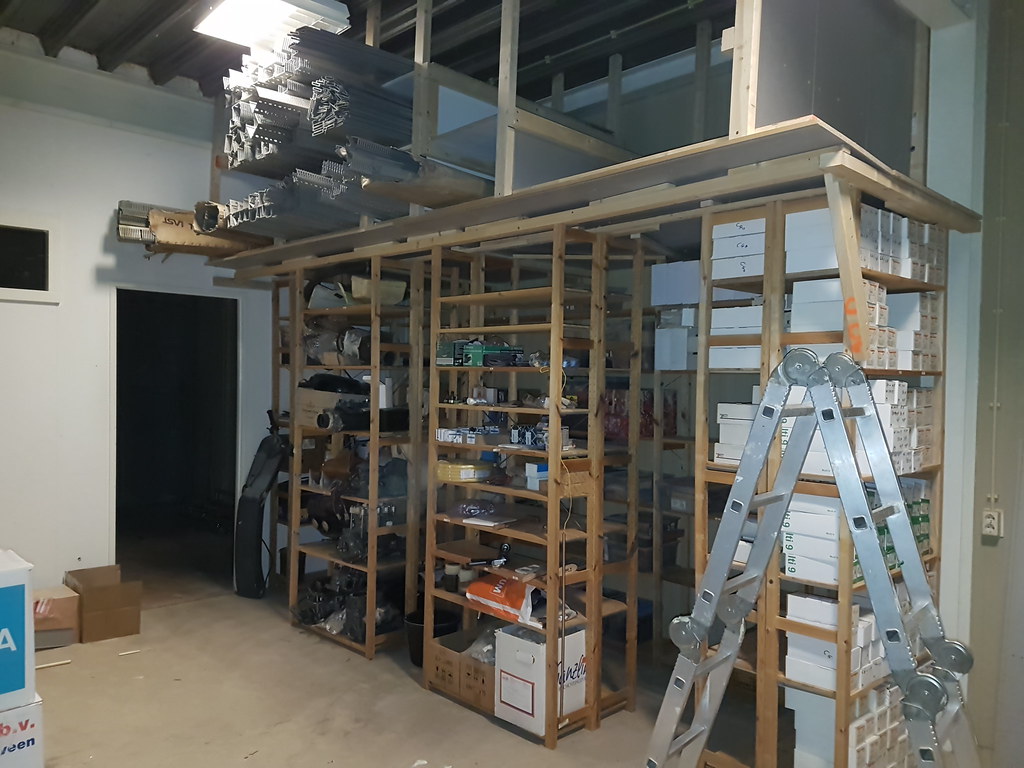
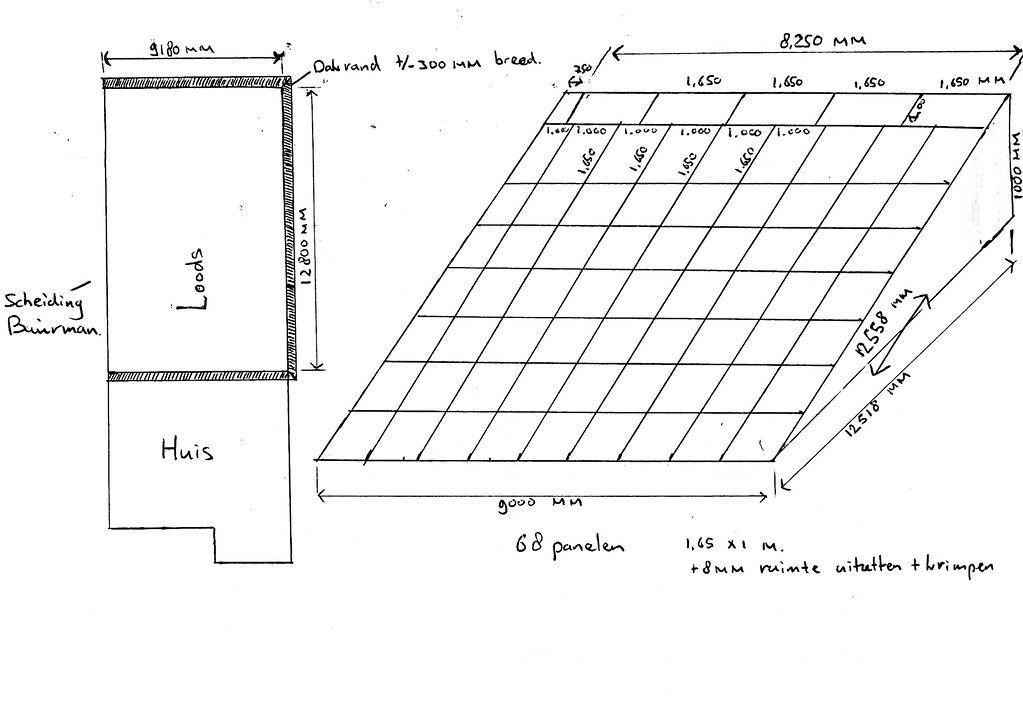
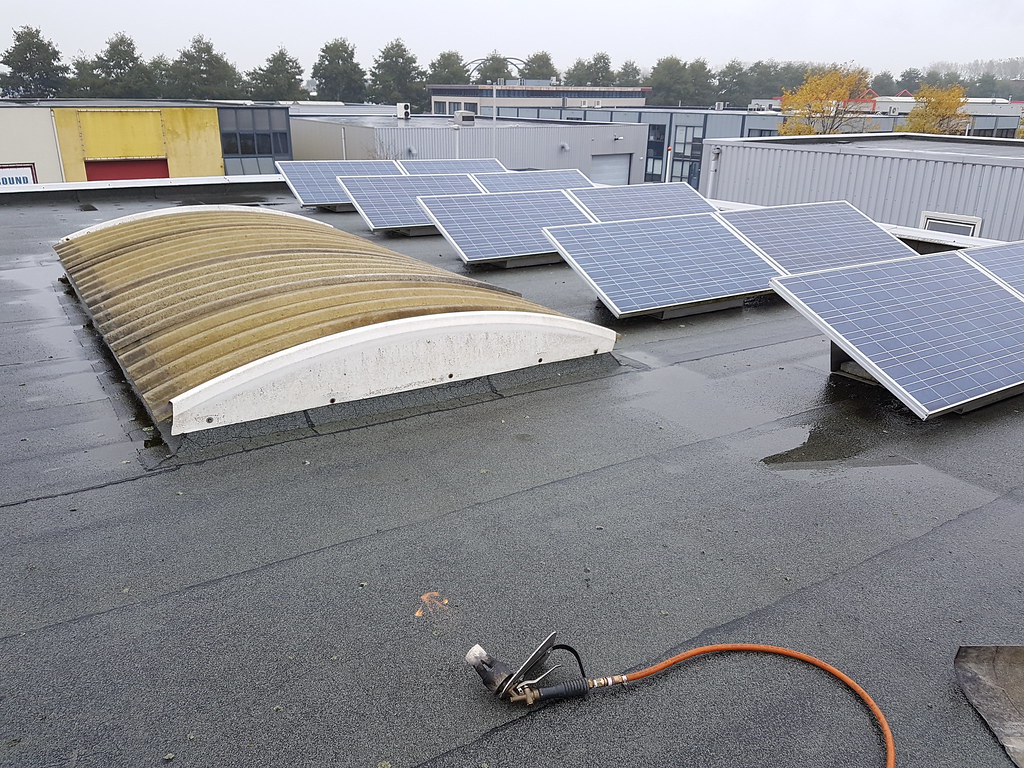
This whole idea is actually because of another thing i wanted to add on my roof, and that's solar panels.
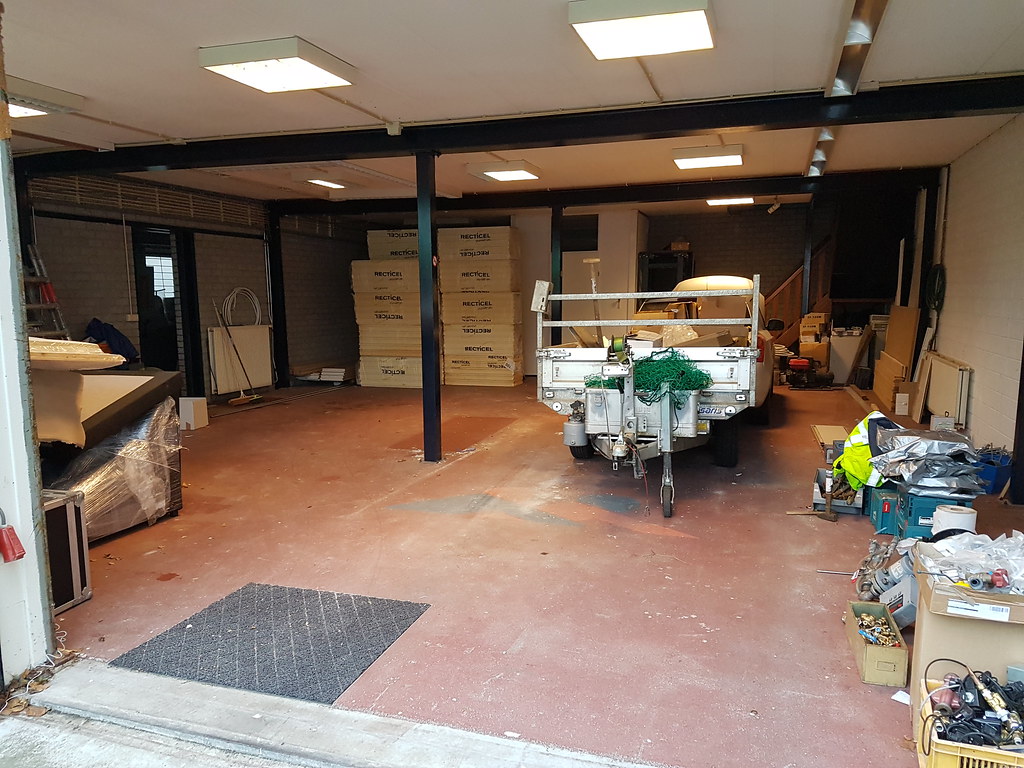
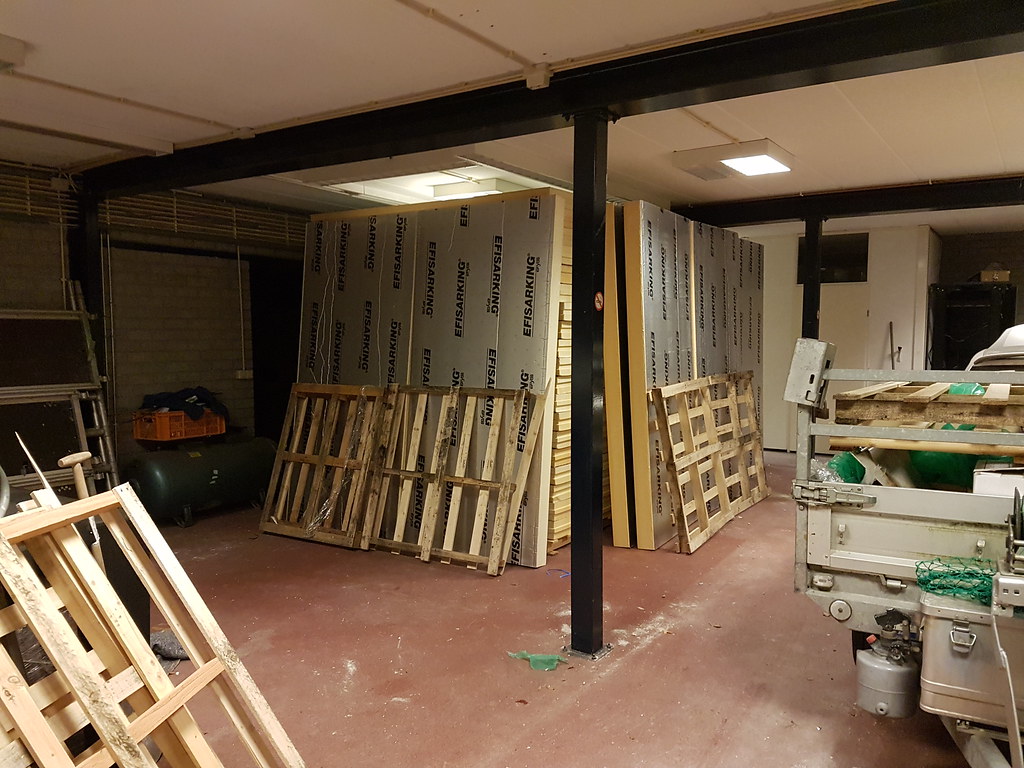
Since i have 20 panels sitting in my garage not catching any light and i want to place them on a solar ramp on the roof.
I need to drill holes in the roof, connect big pipes with a chuck connection on the construction beams of my house.
Not drilling in the supports or welding on them to leave there strength.
This way i have full strength instead of having to add enormous counter weight for 34 panels in total.
This way the roofing material won't be stressed to much and less weight on the roof, is less weight on the total construction.

Now the old bitumen layer is in a year or two ready to replaced, Bitumen is not great to use when you want to re use rain water since it is just tar , chemicals.
And i can replace the bitumen again with bitumen, but then after 10-15 years or a bit longer i have to replace it again.
So i am going to do my roof with Resitrix, this is a best of both worlds product.
Been reading and searching for days about what to use, what i need , etc etc, until it drove me crazy.

This product should be oke for at least 50 years https://www.resitrix-epdm.be/
A friend of mine is working as a slater and he gave me some info what to do and what not and said this is one of the better materials at the moment,
but when searching on rain water re using with a resitrix roof this was dismal, Why?
Well there are several reports on Belgium forum's about brown water coming of these roofs.
In Belgium they are much further with rain water use since i believe it has been mandatory when rebuilding or building your house to add a water tank in the ground and use it.
For this problem i could not find much except painting the whole roof with a special coating, alulon or something similar that would solve the problem.

This was discouraging but i found it more important to "never" have to go up to the roof and replace the material again.
After a little while i found on the internet the SEEH arrangement rvo.nl/subsidies-regelingen/subsidie-en ... eigen-huis
This made me smile a bit more , because it basically says when you insulate your house, at least 2 sorts of isolation.
You can get subsidized for it, for a certain amount of money.
This got my attention and i have been reading and searching how what etc etc for days until night times in bed on my phone :shock: :) :roll:

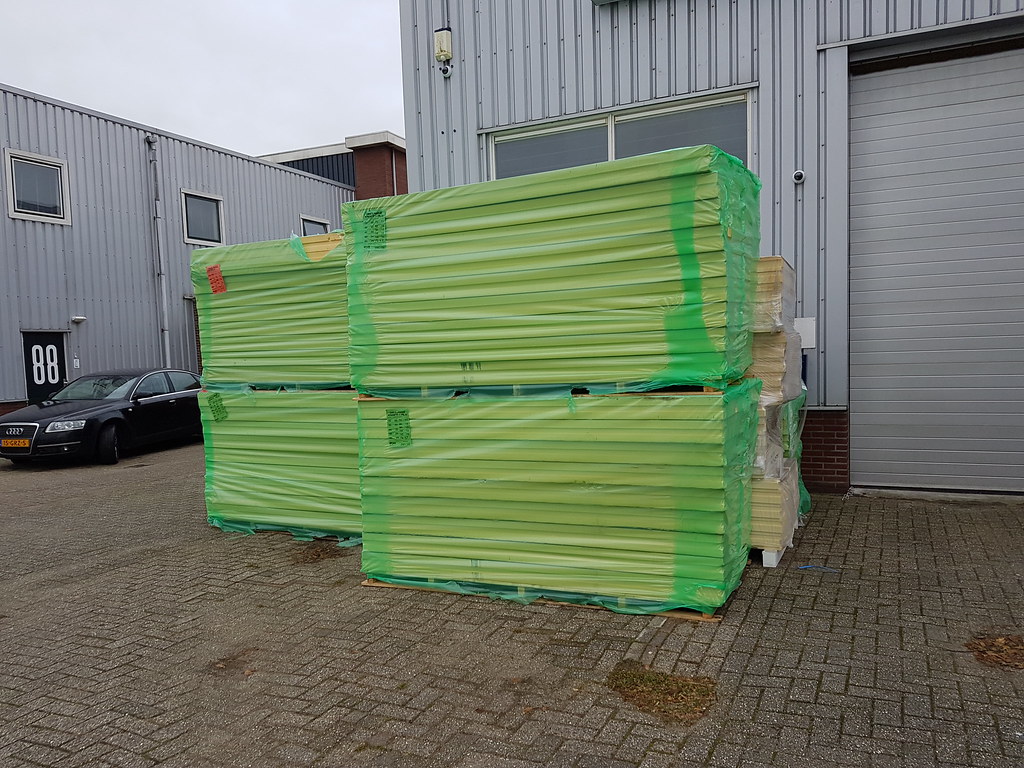
So now i am going to place insulatiom PIR plates on the whole roof that are 130mm thick and the RD value of these plates is RD 5.48.
I first opened my old roof to see what was under it, here i found 100mm PS plates with a RD value of 2 at most.. so this would be a great improvement.
Image
Image
Image

But for the arrangement this is not enough just roof isolation.
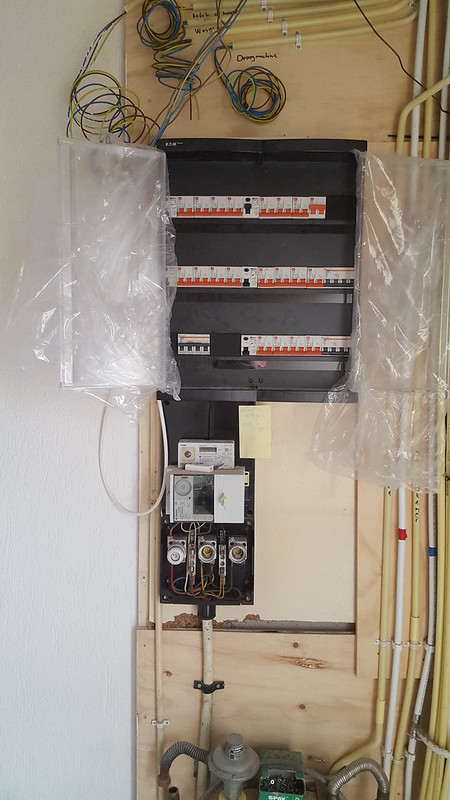
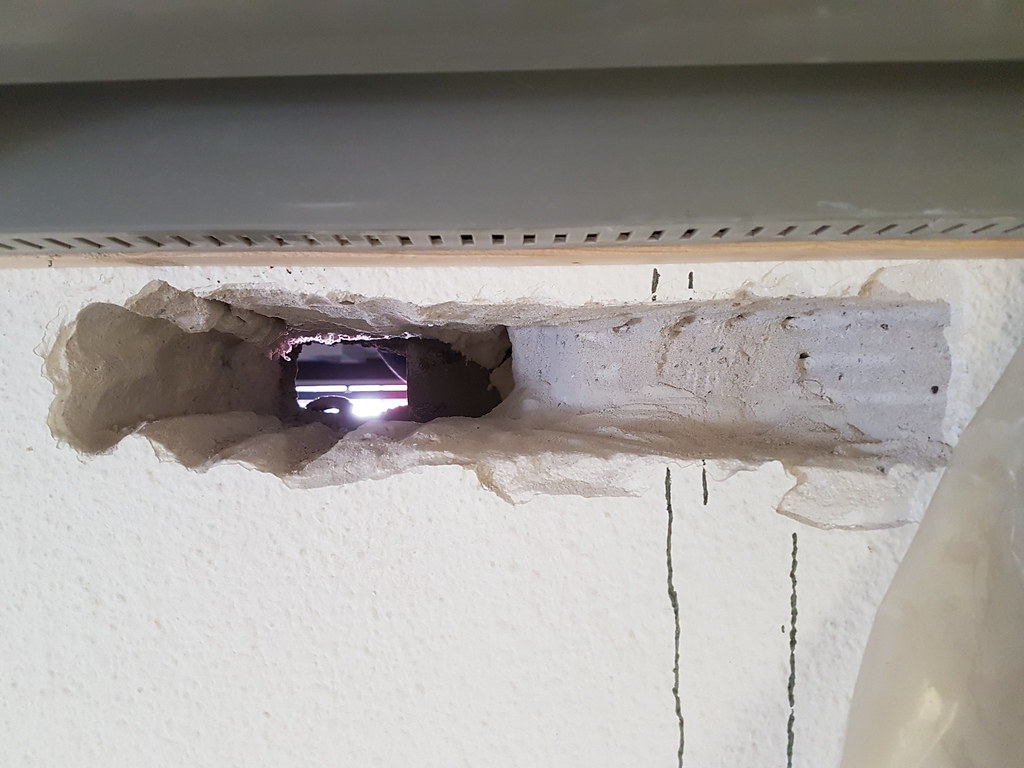
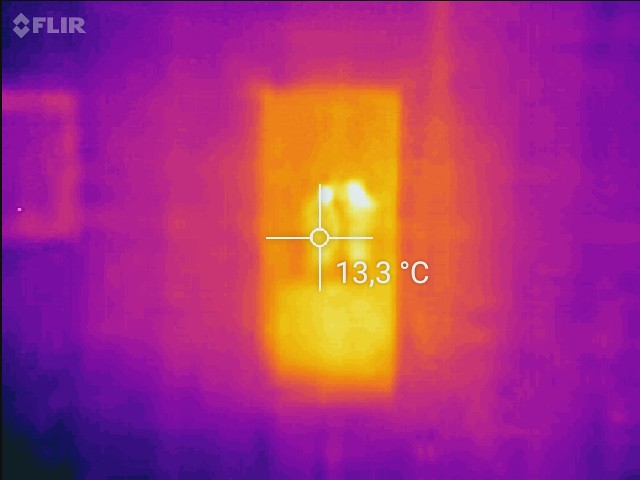
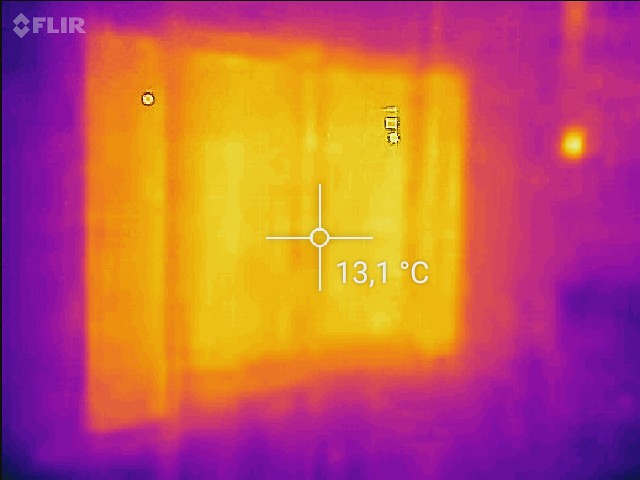
I wanted to add cavity wall insulation , drilling a hole in the wall learned me that i have already small plastic sort of snow between the cavity wall.
Then i read a bit further, HR++ or triple glass will count as 1.

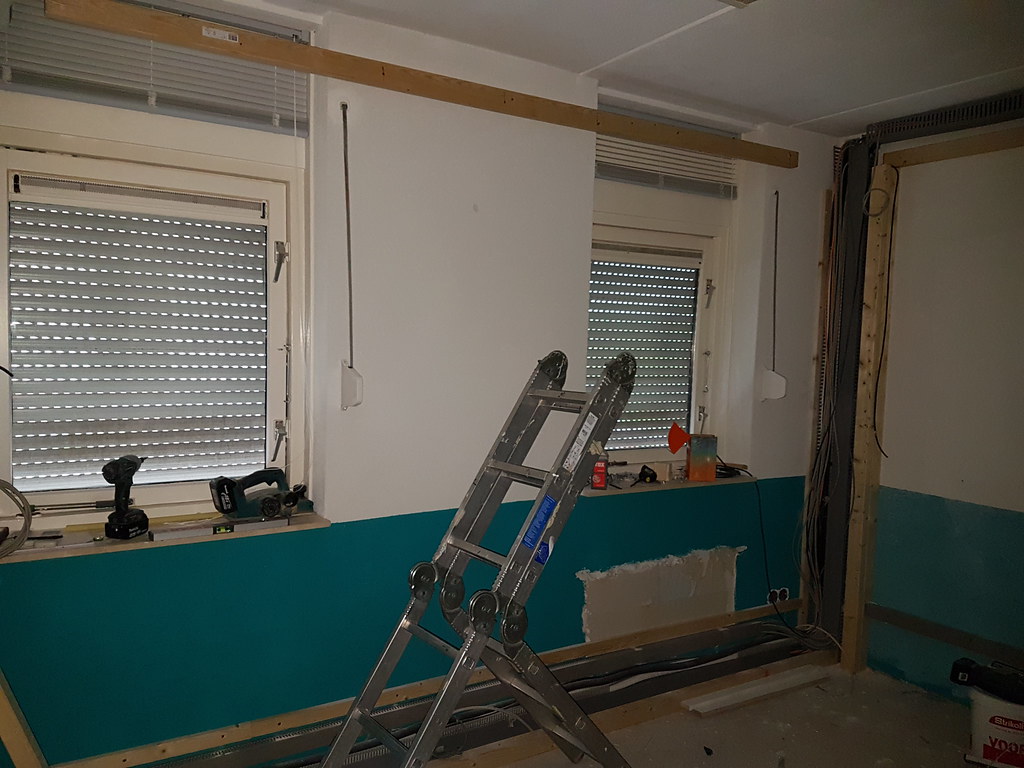
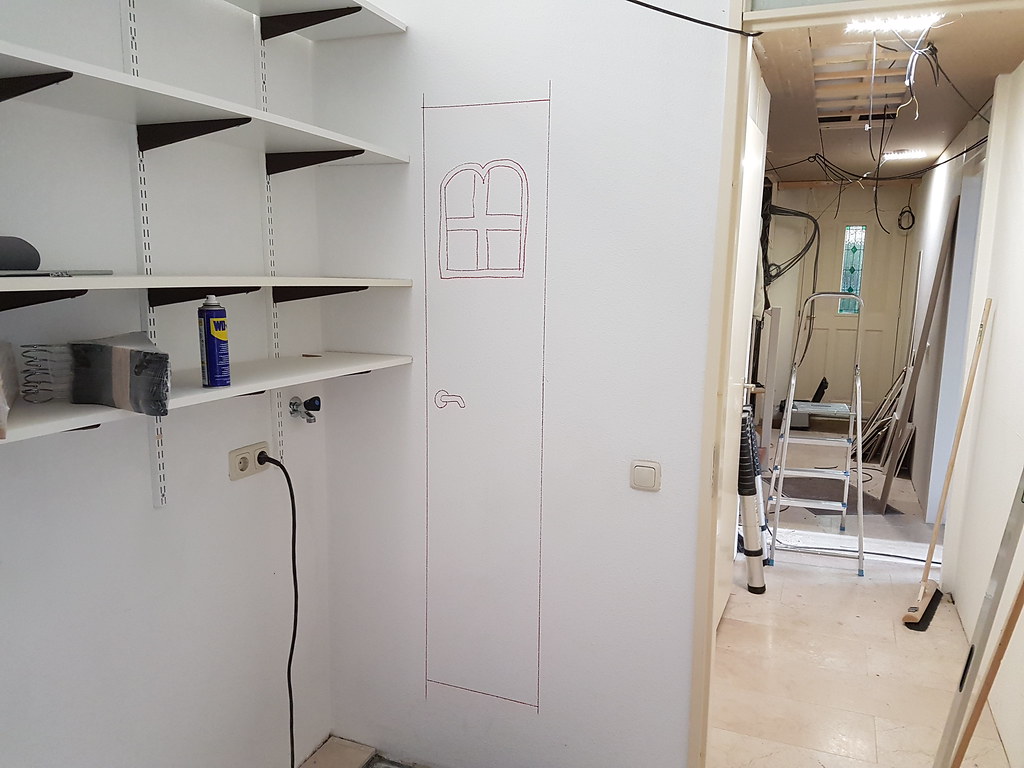
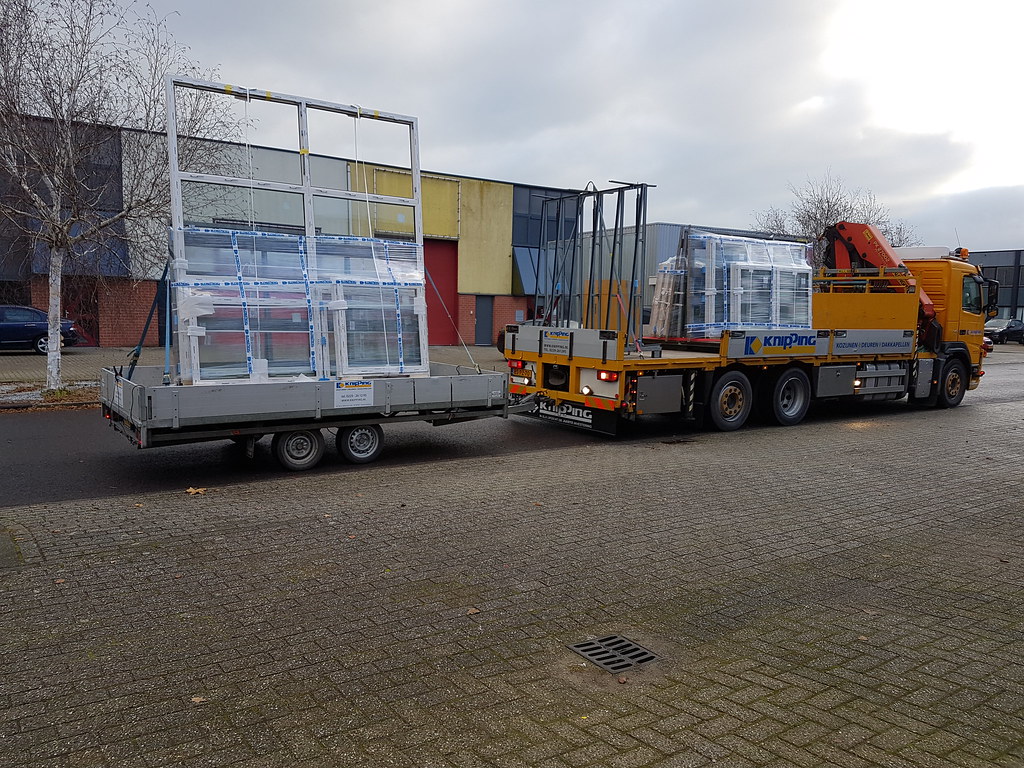
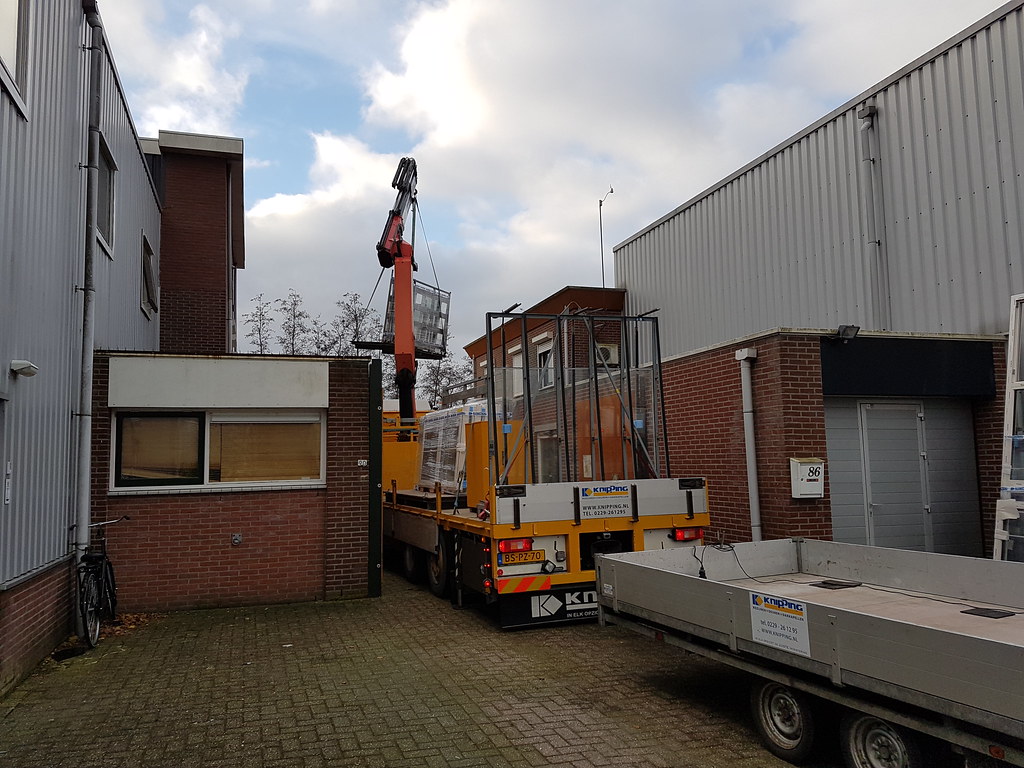
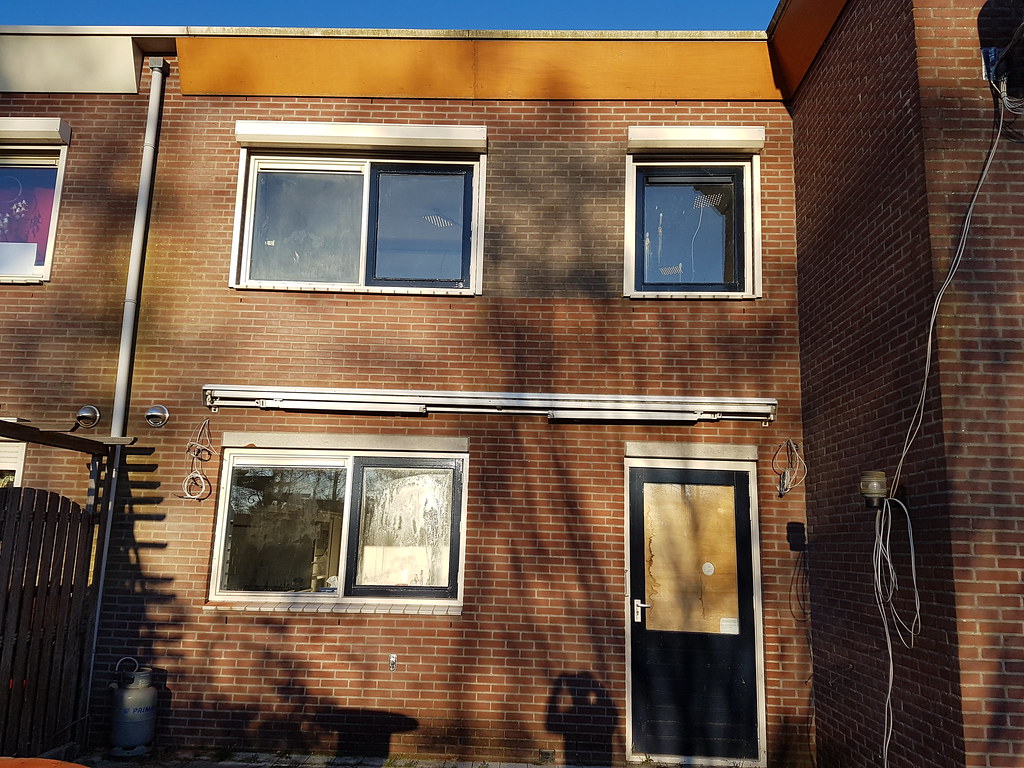
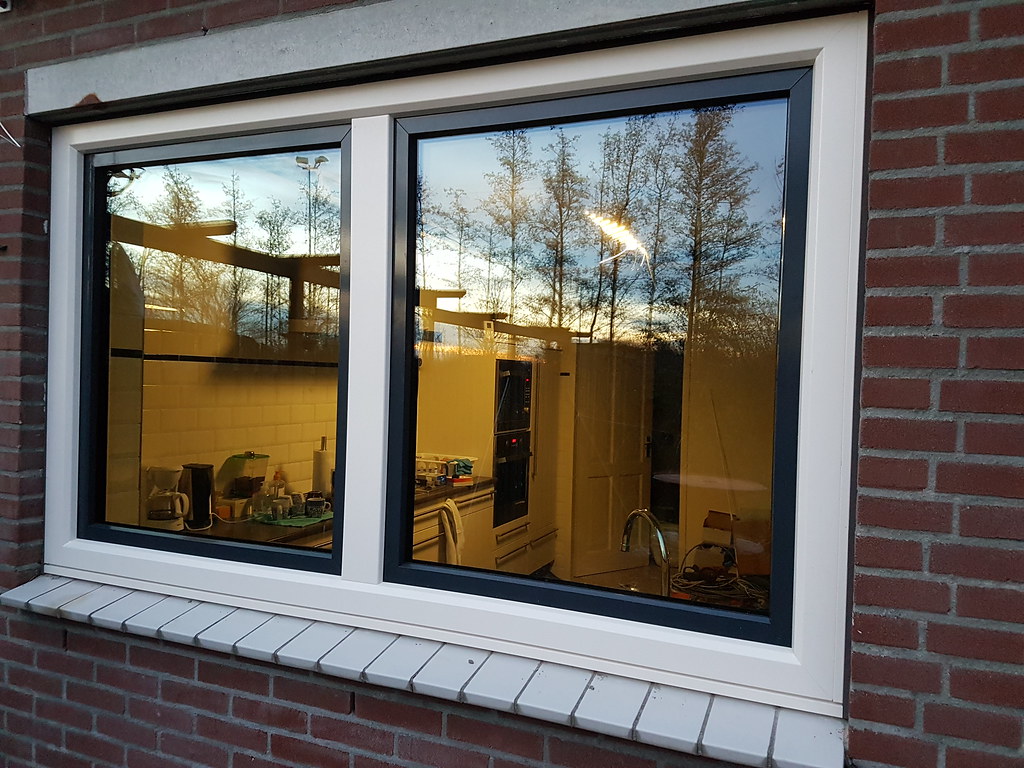
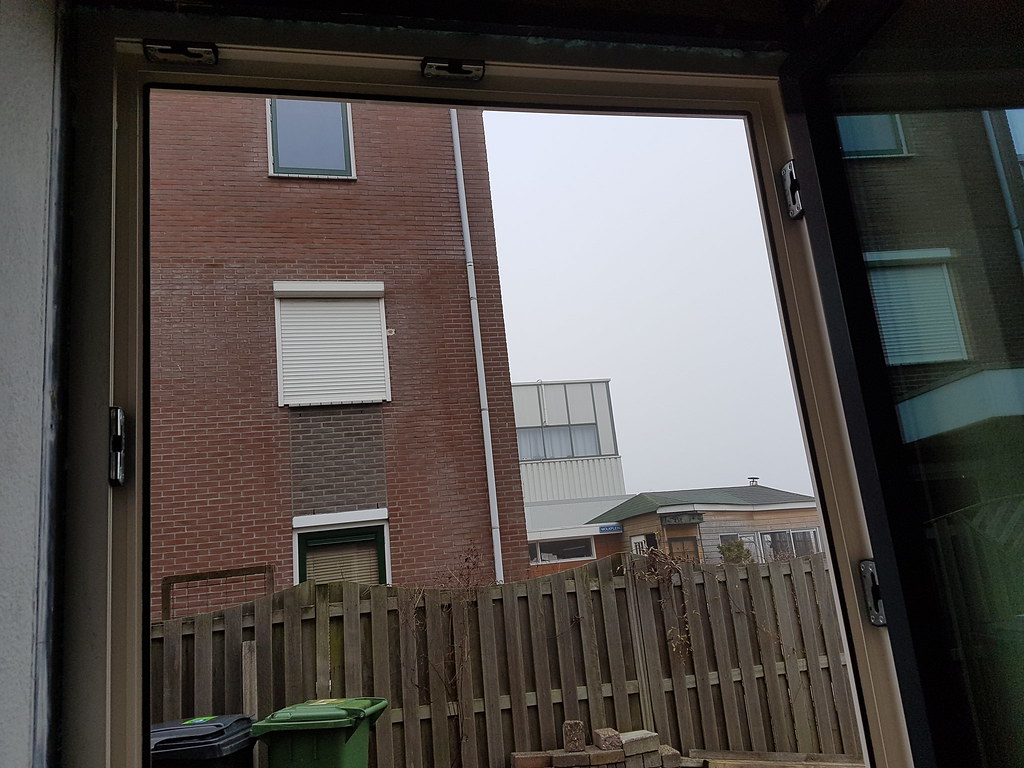
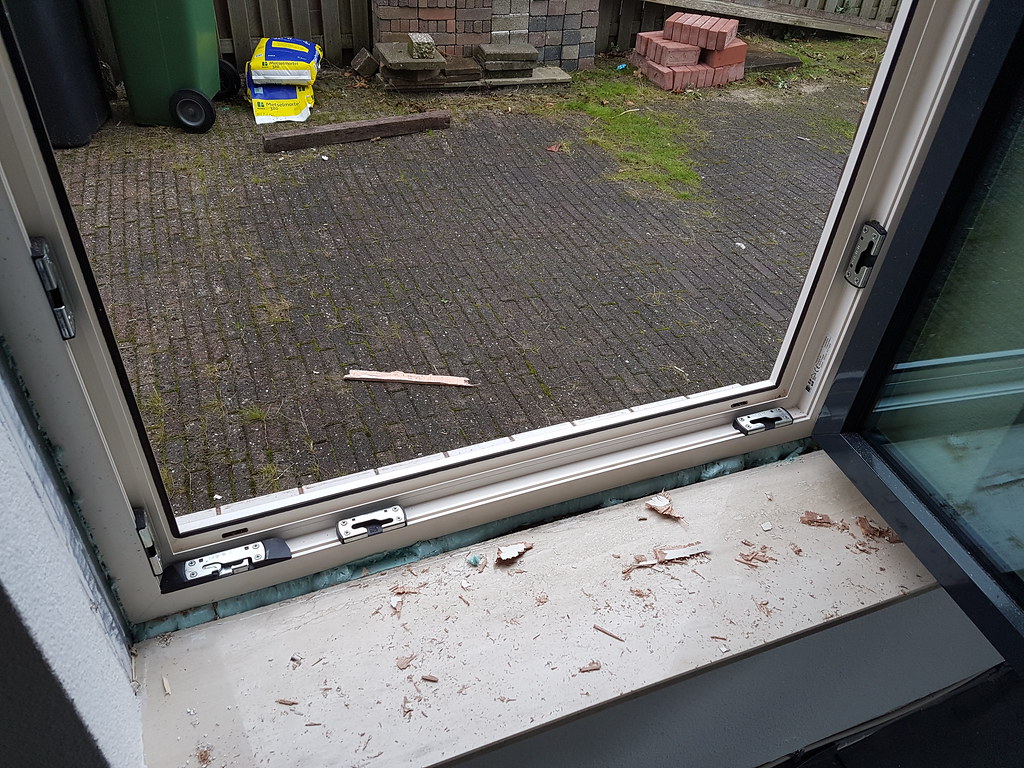
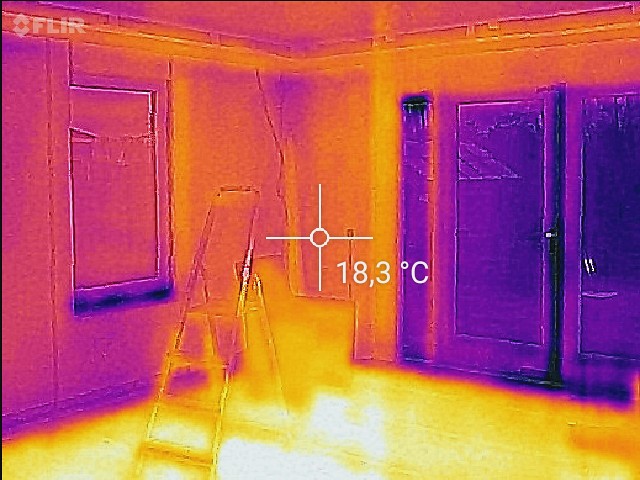
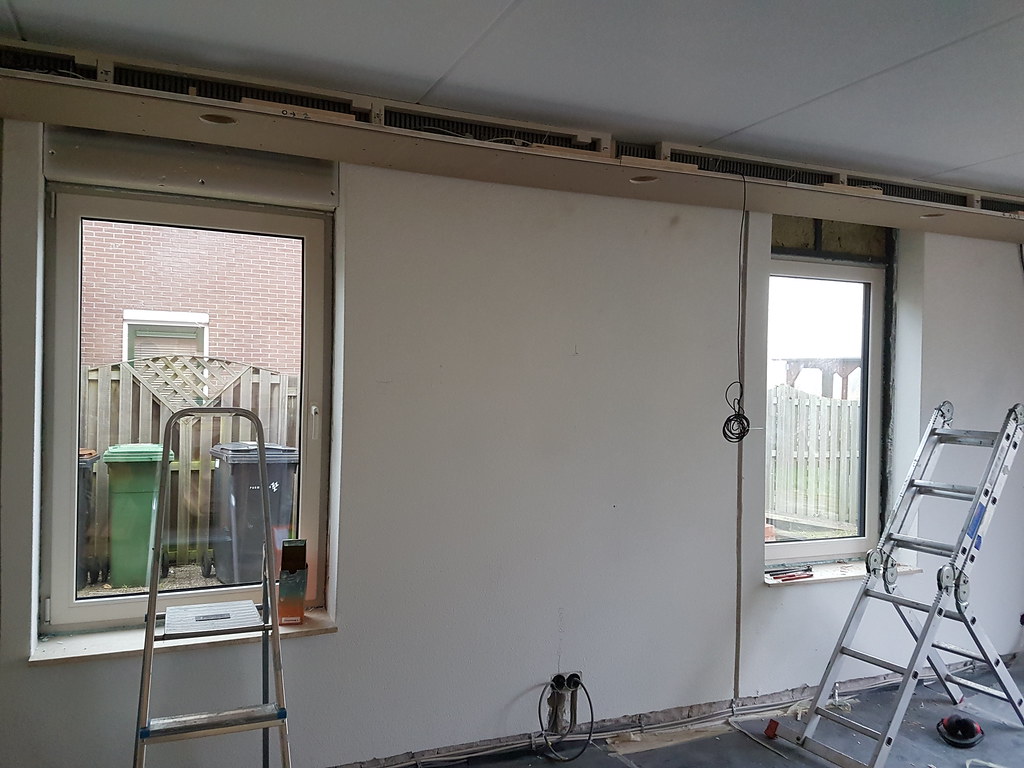
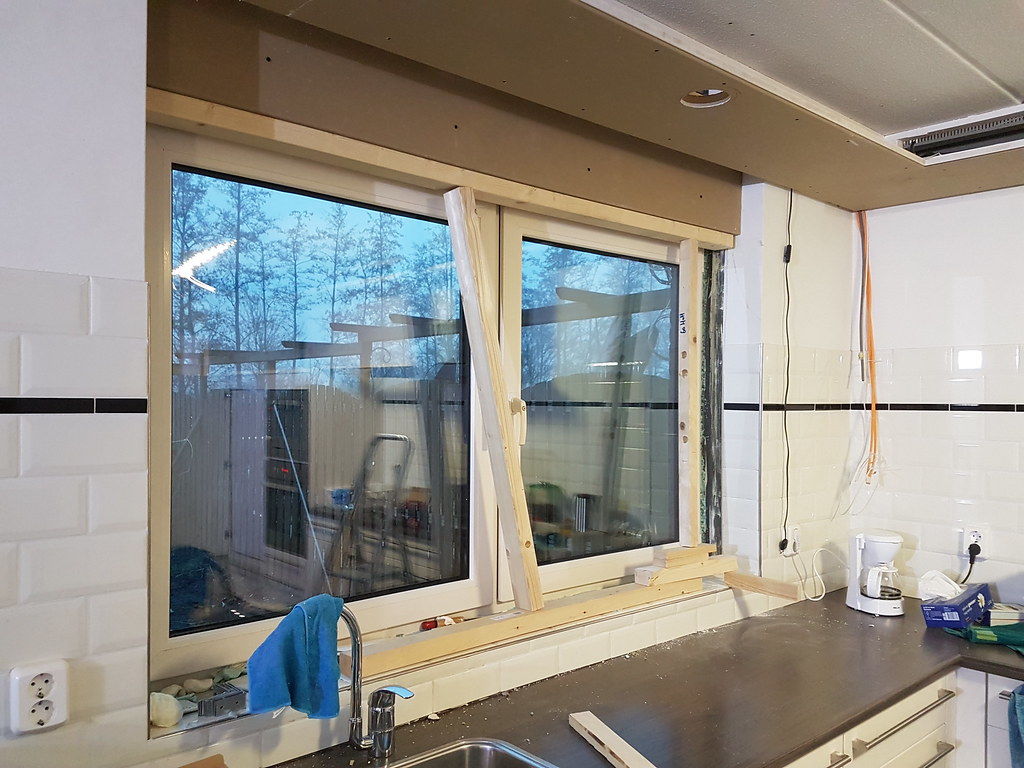
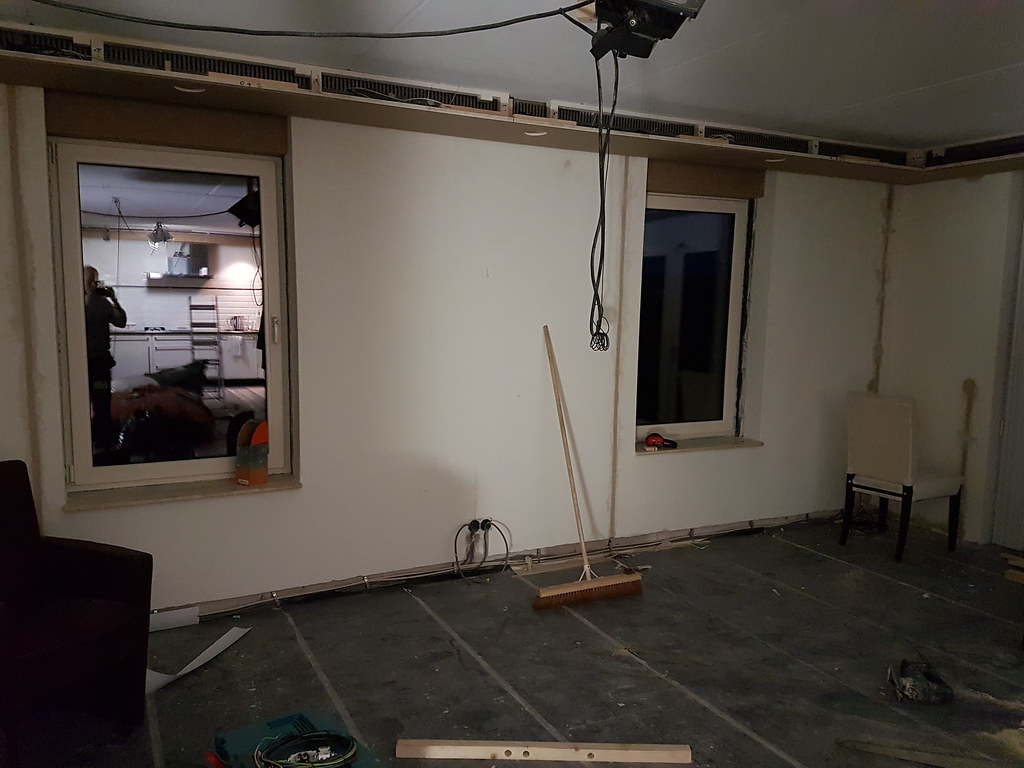
So i am in luck this time because i in December i am going to replace all the doors/windows and frames for triple glass and insulated frames.
Everything will be plastic and triple glass, these also count, and you have a extra option on the SEEH arrangement for using Triple glass in combination with insulated window frames.
Also the doors i ordered are like vault doors, insulated and for this you can get 120 € every 1m2
Since i have 14 m2 of doors and 16m2 window frames this will save me some money :D

Image
These are the models i chose , a different color though.
Image

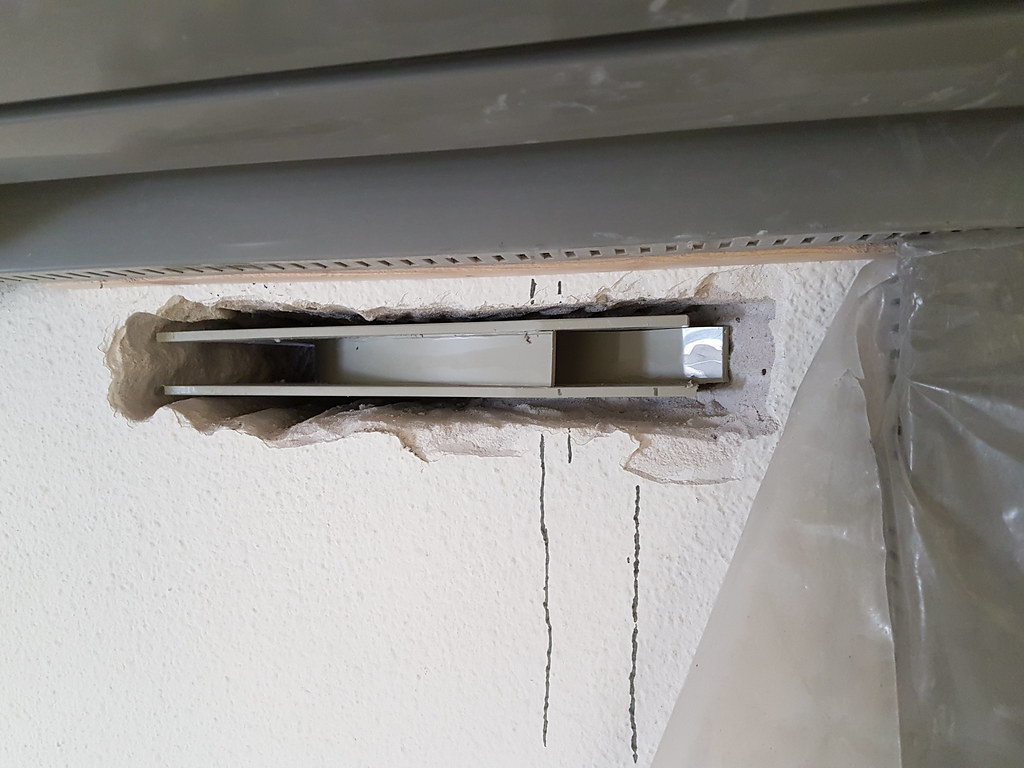
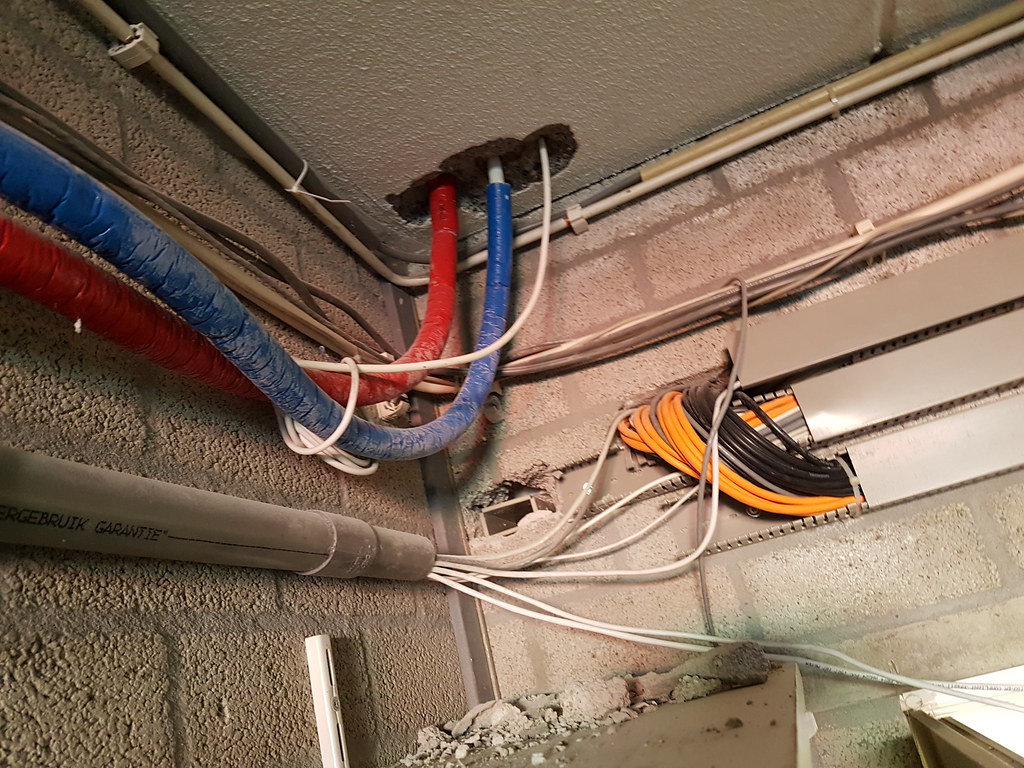
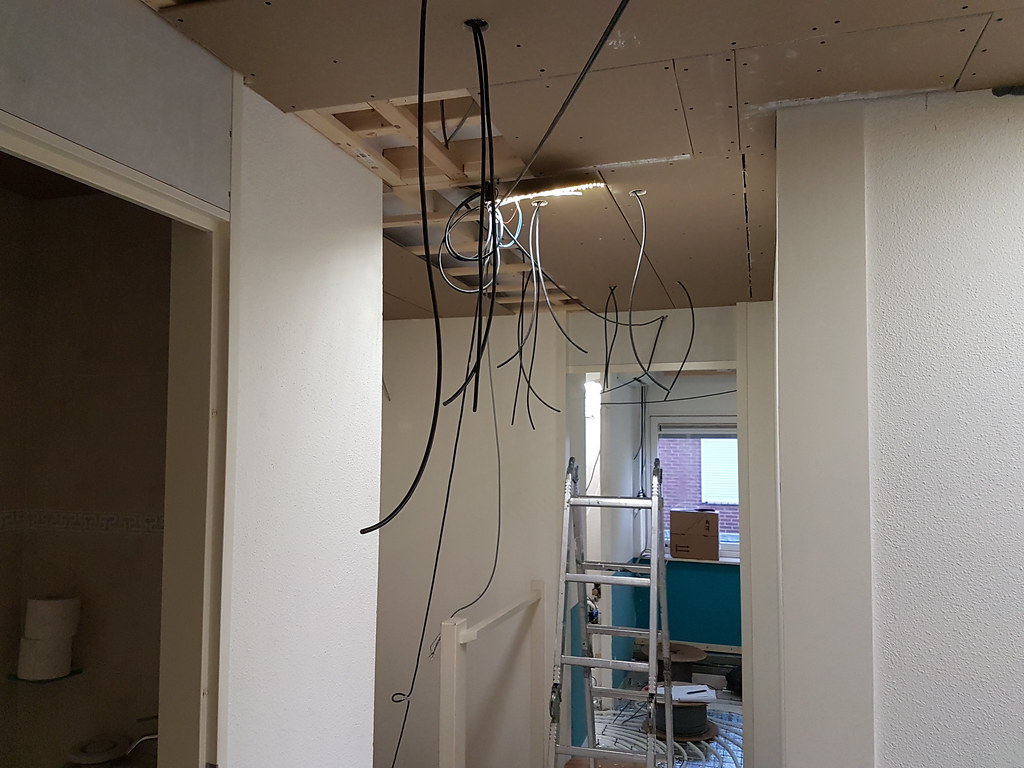
Since i wanted to replace the air refreshing system for a balanced ventilation system with a heat exchanger i read allot about it.
But i came to the conclusion that it would take to much work to add this vent channel in each room and a channel to take the "dirty" air out.
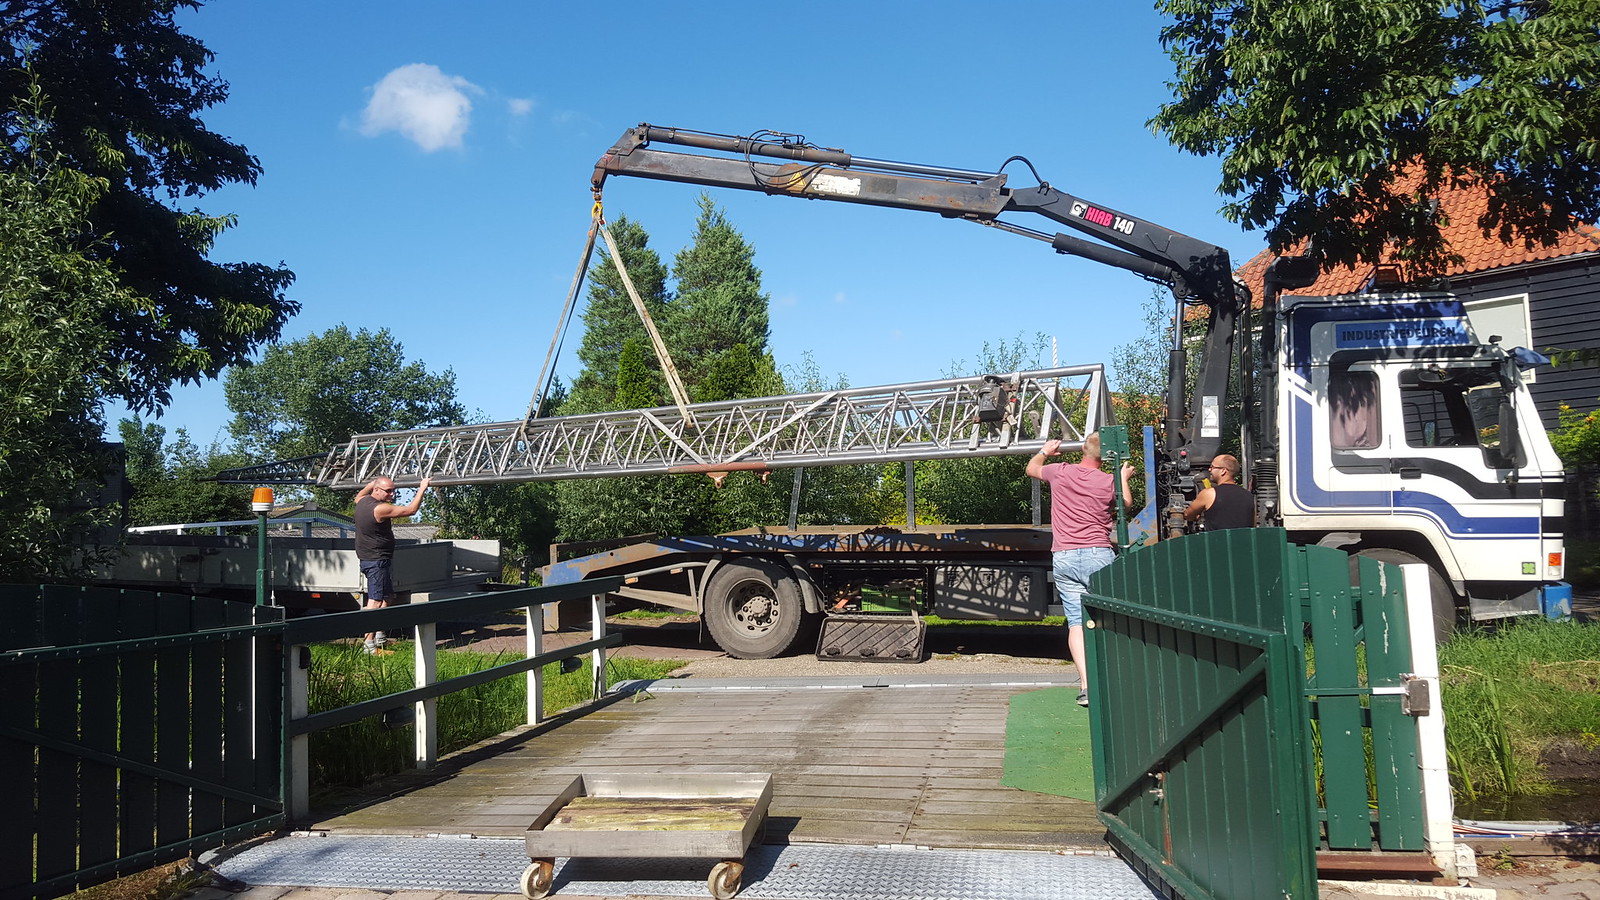
I work quite some times with air systems but a bit bigger for, for example this is what i made a little while ago :
Image

To have the right amount of airflow you have to start as big as possible and then make the end smaller to have the right air speeds.
When using to much elbows you will constrict the airflow resulting in bad values and noise.
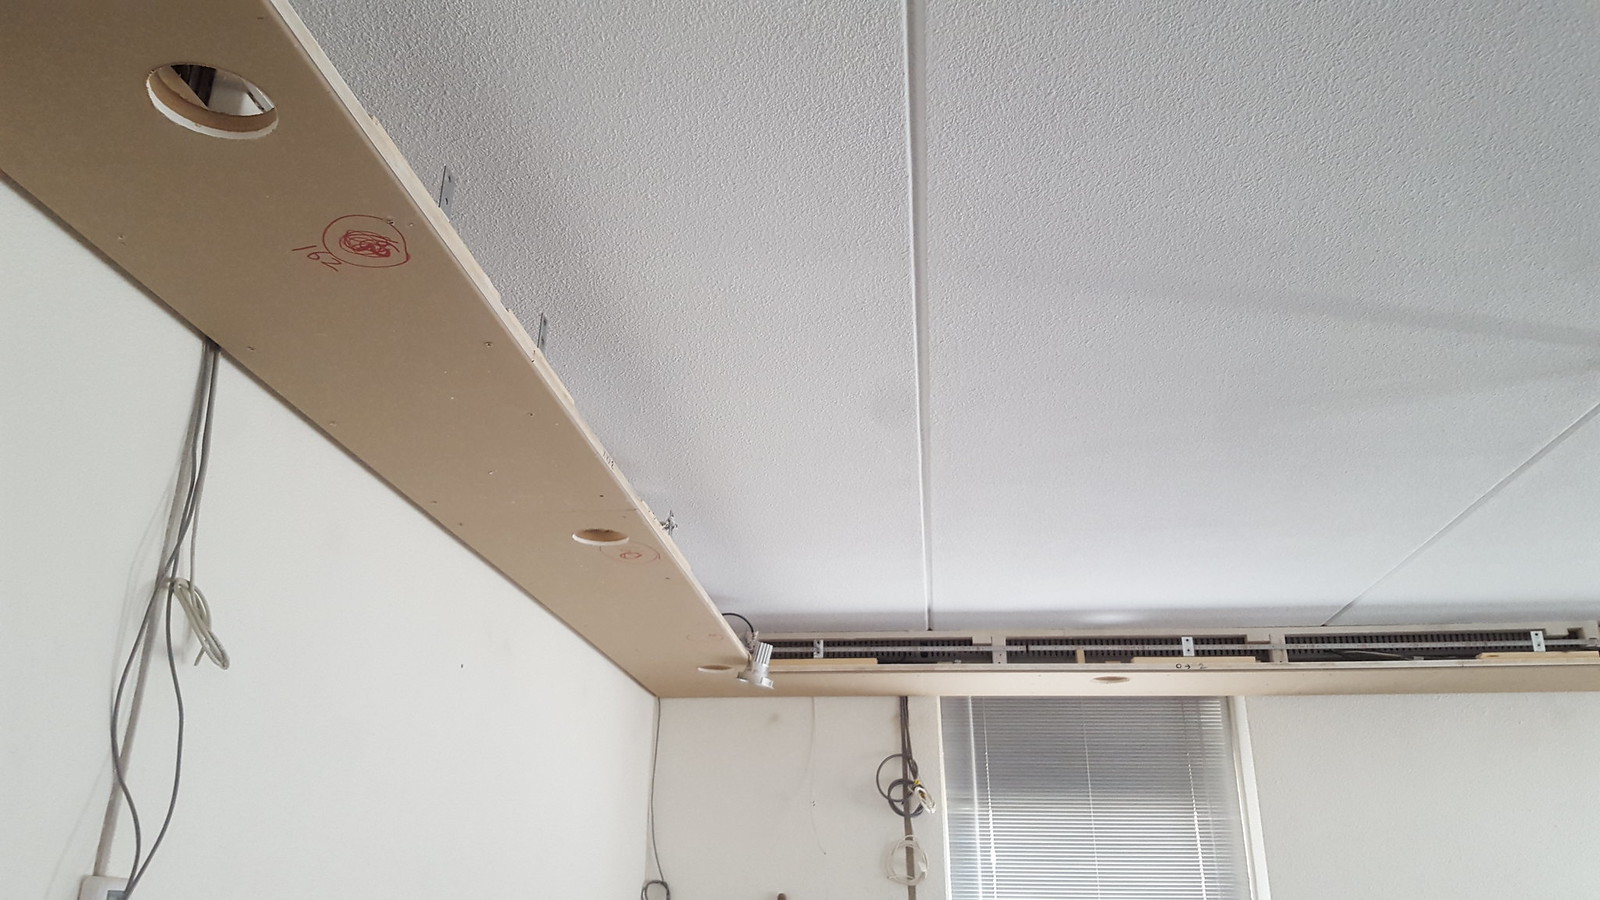
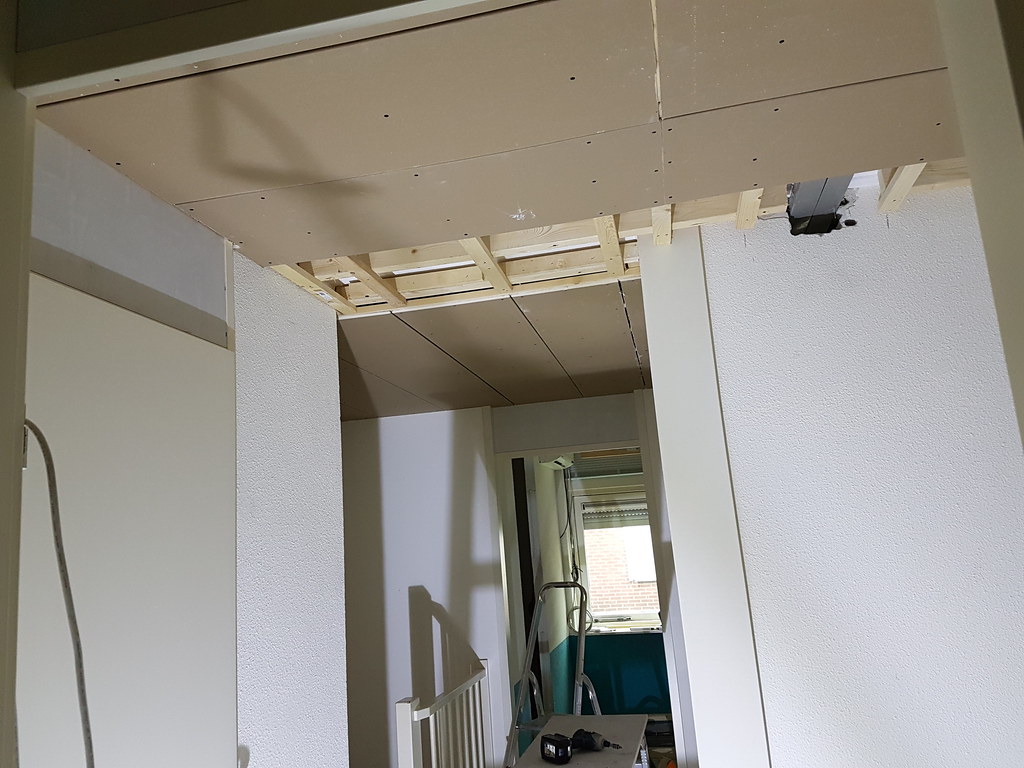
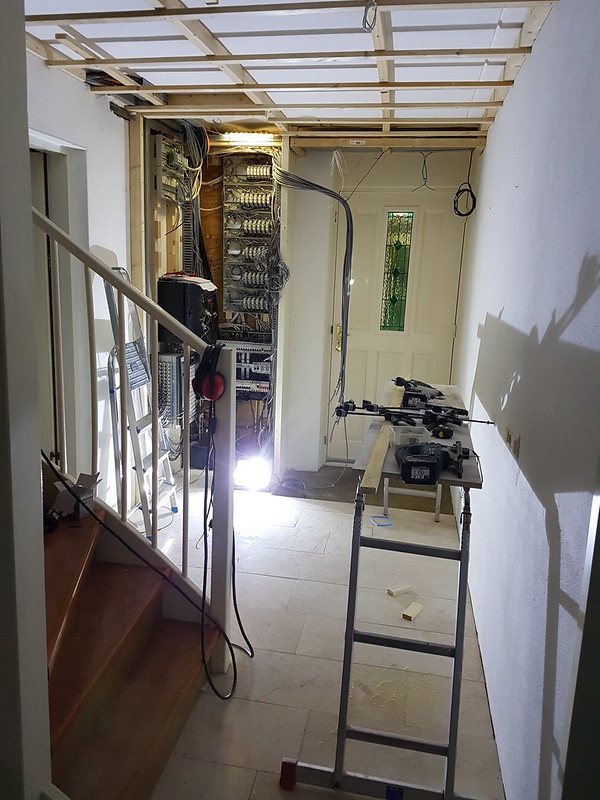
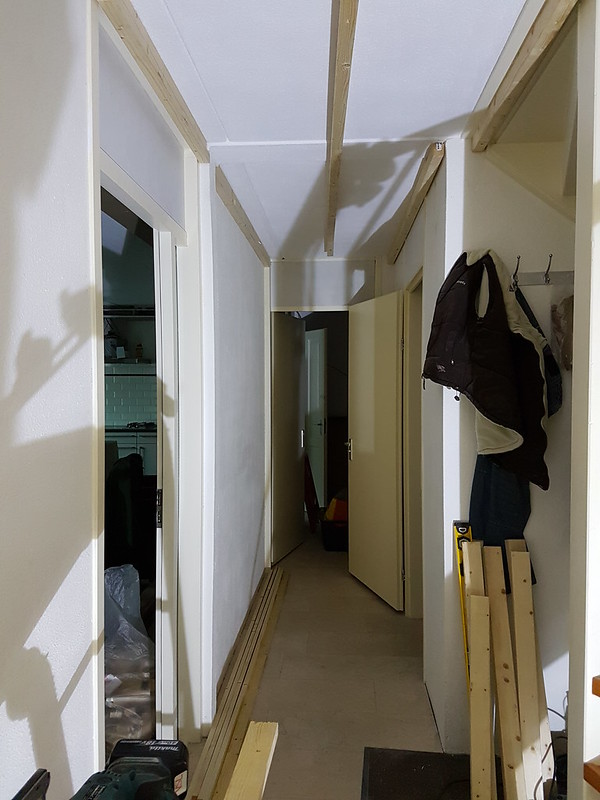
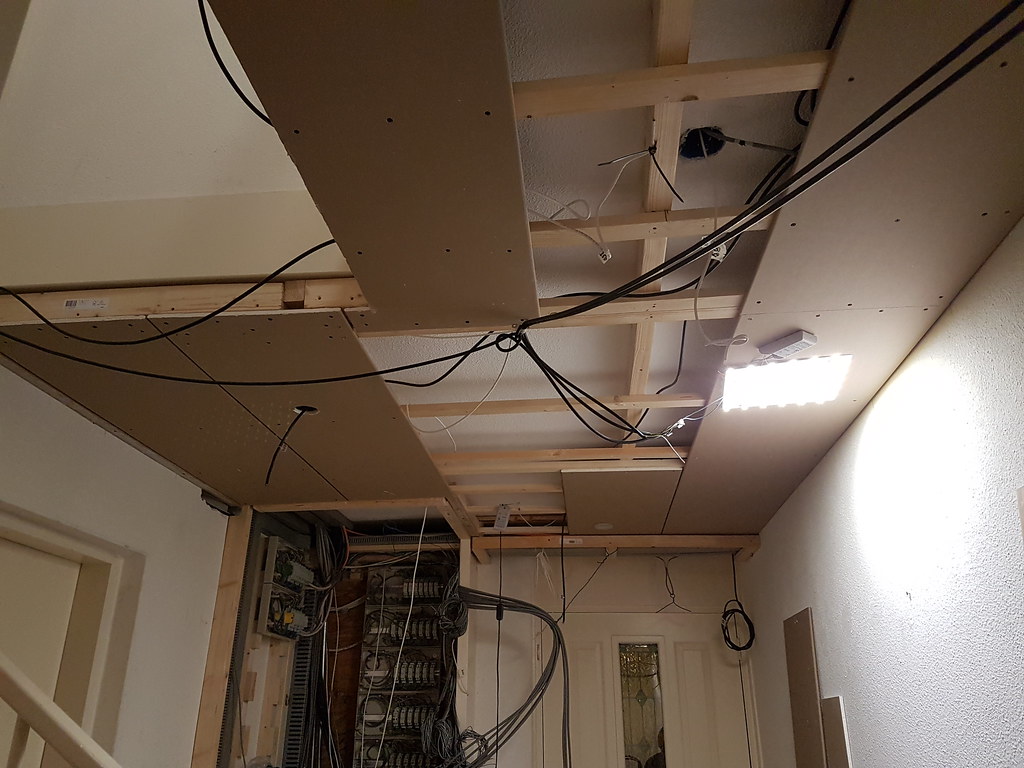
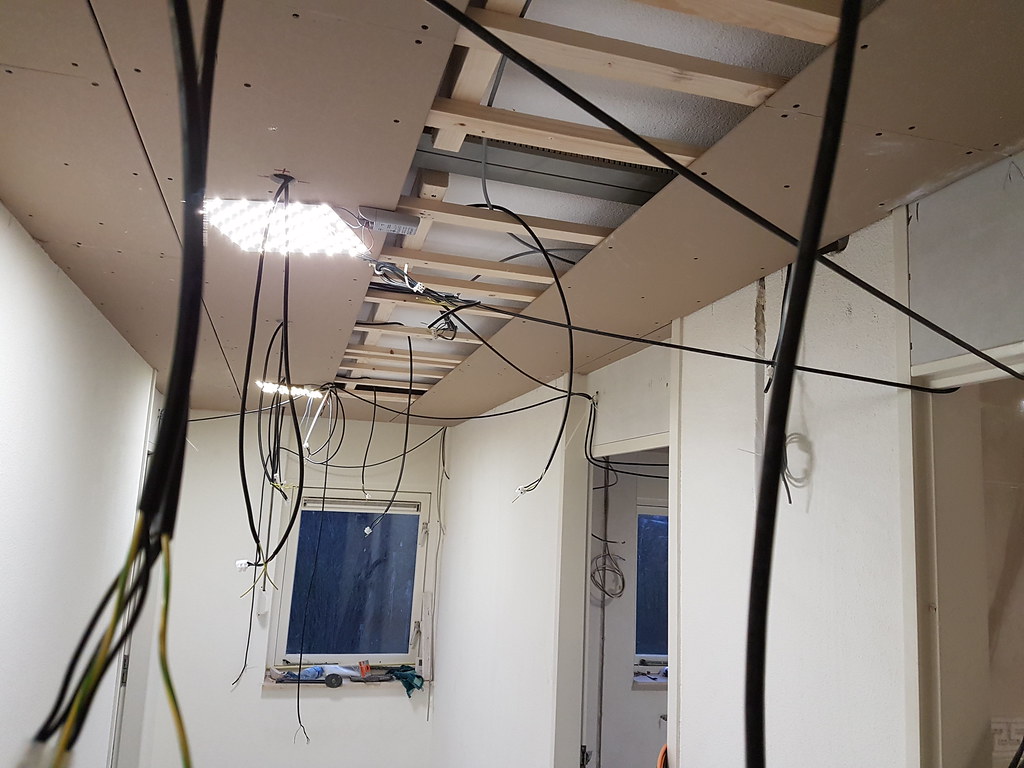
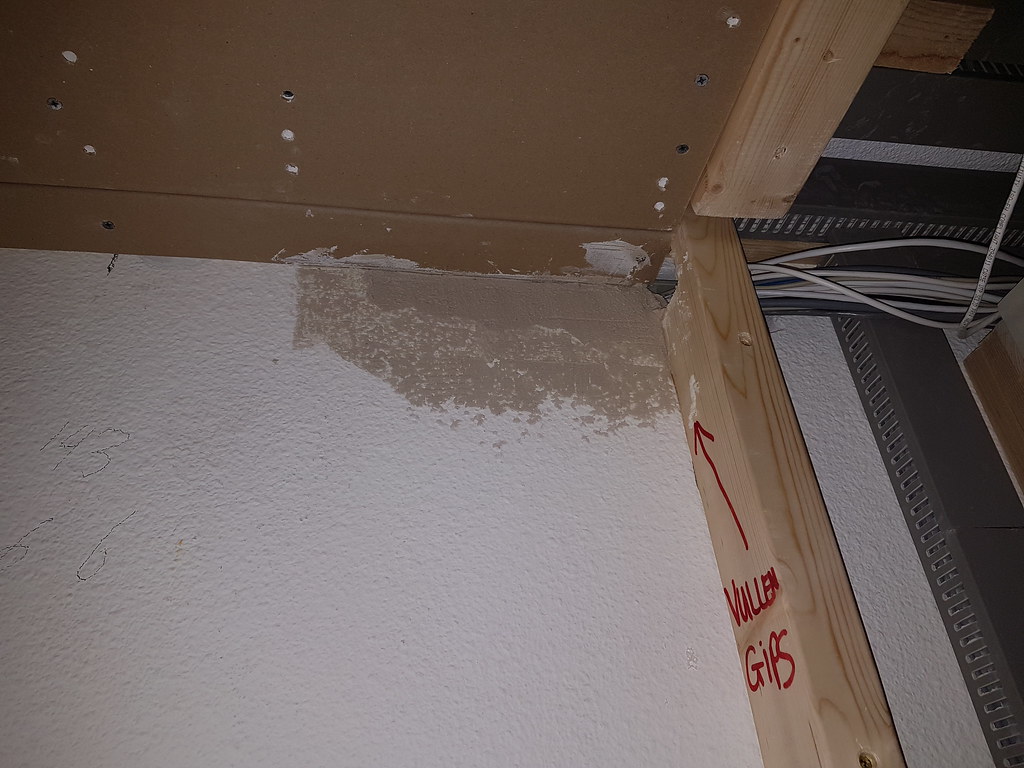
Also another thing was that i have to go from round tubes to square tubing if i want to hide the tubes in my fake ceiling.
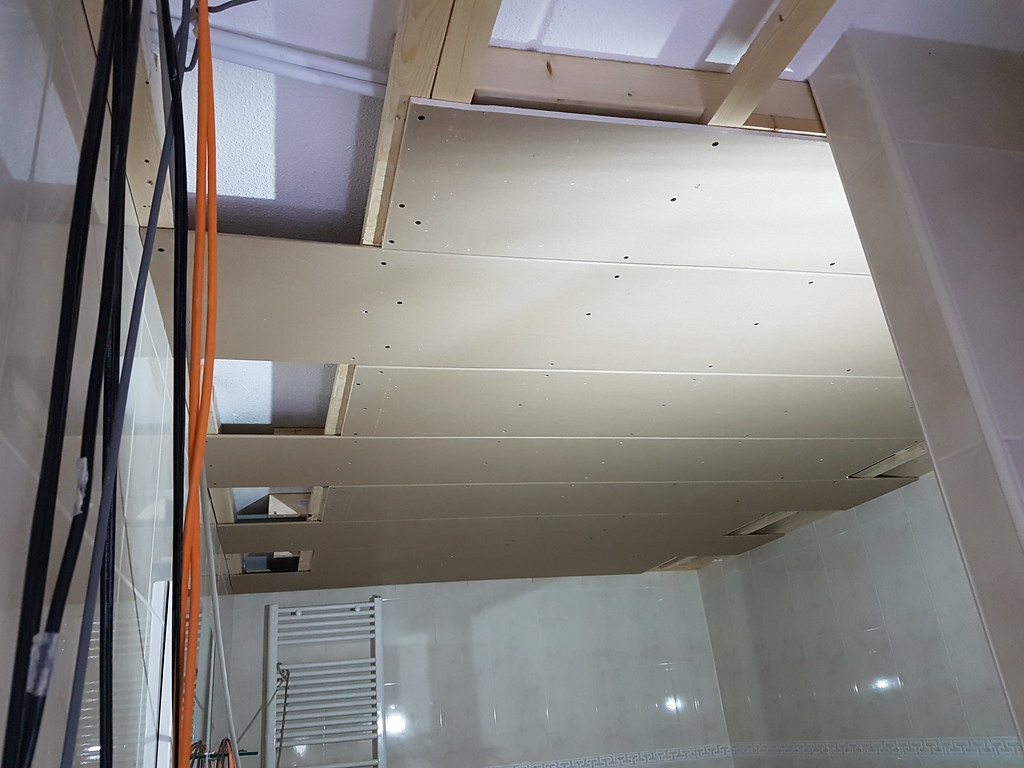
I also a little while added my fake ceiling plaster plates and it basically takes to much time to do all this and keep the sound production away.
Some good sites to read if you are interested are these :
http://www.jive.nl/~tenkink/WTW/
olino.org/articles/2010/03/08/aanleg-en ... entilatie/

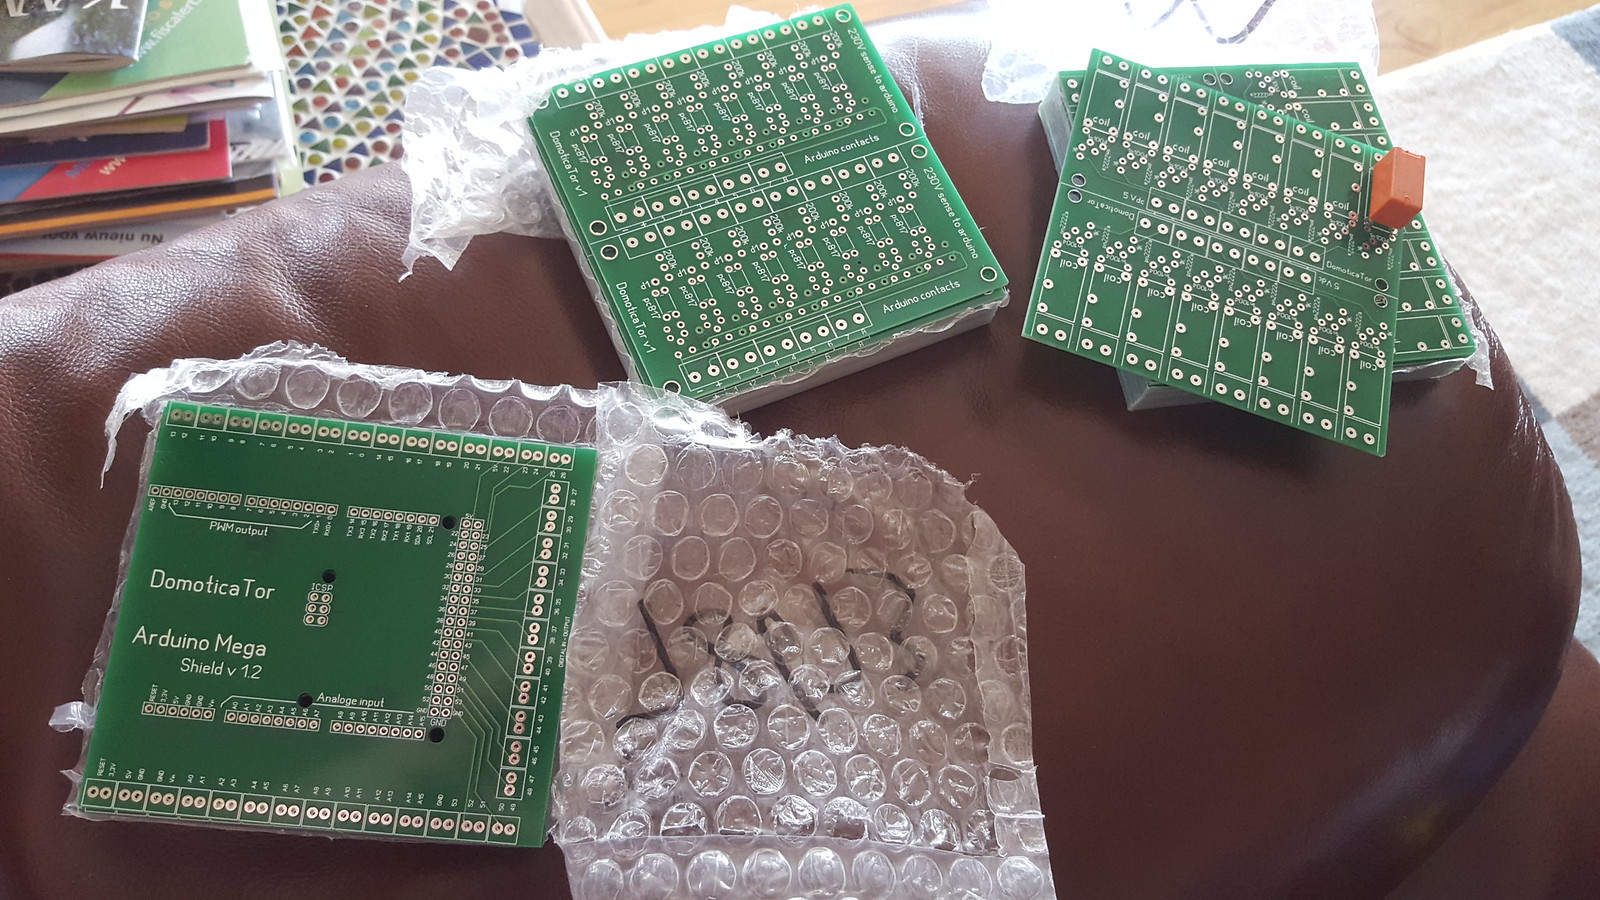
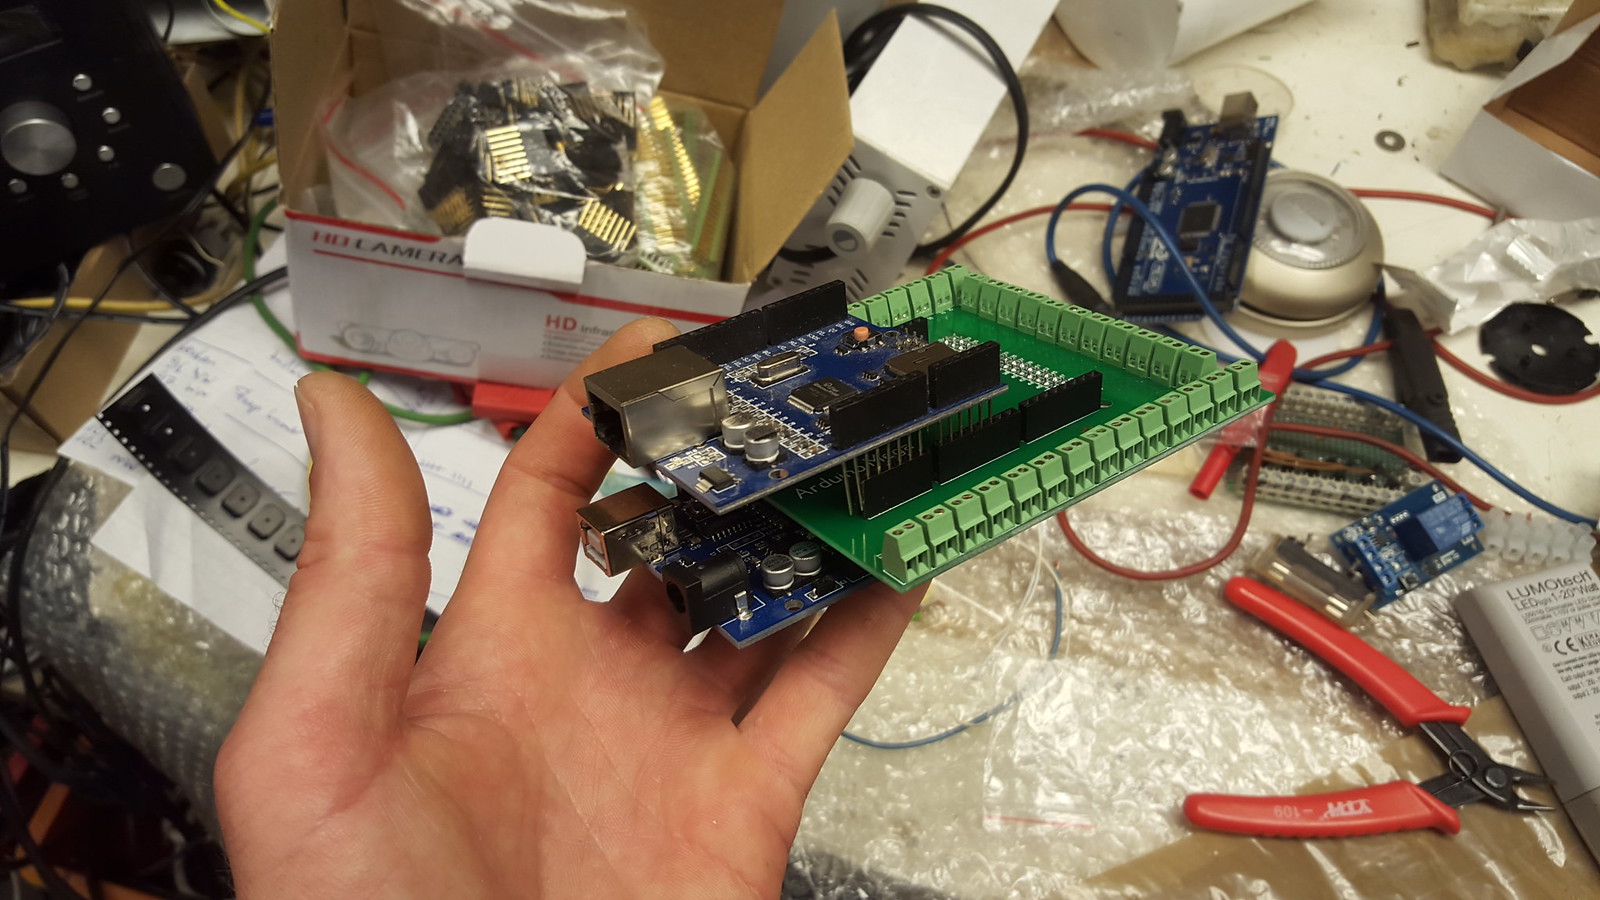
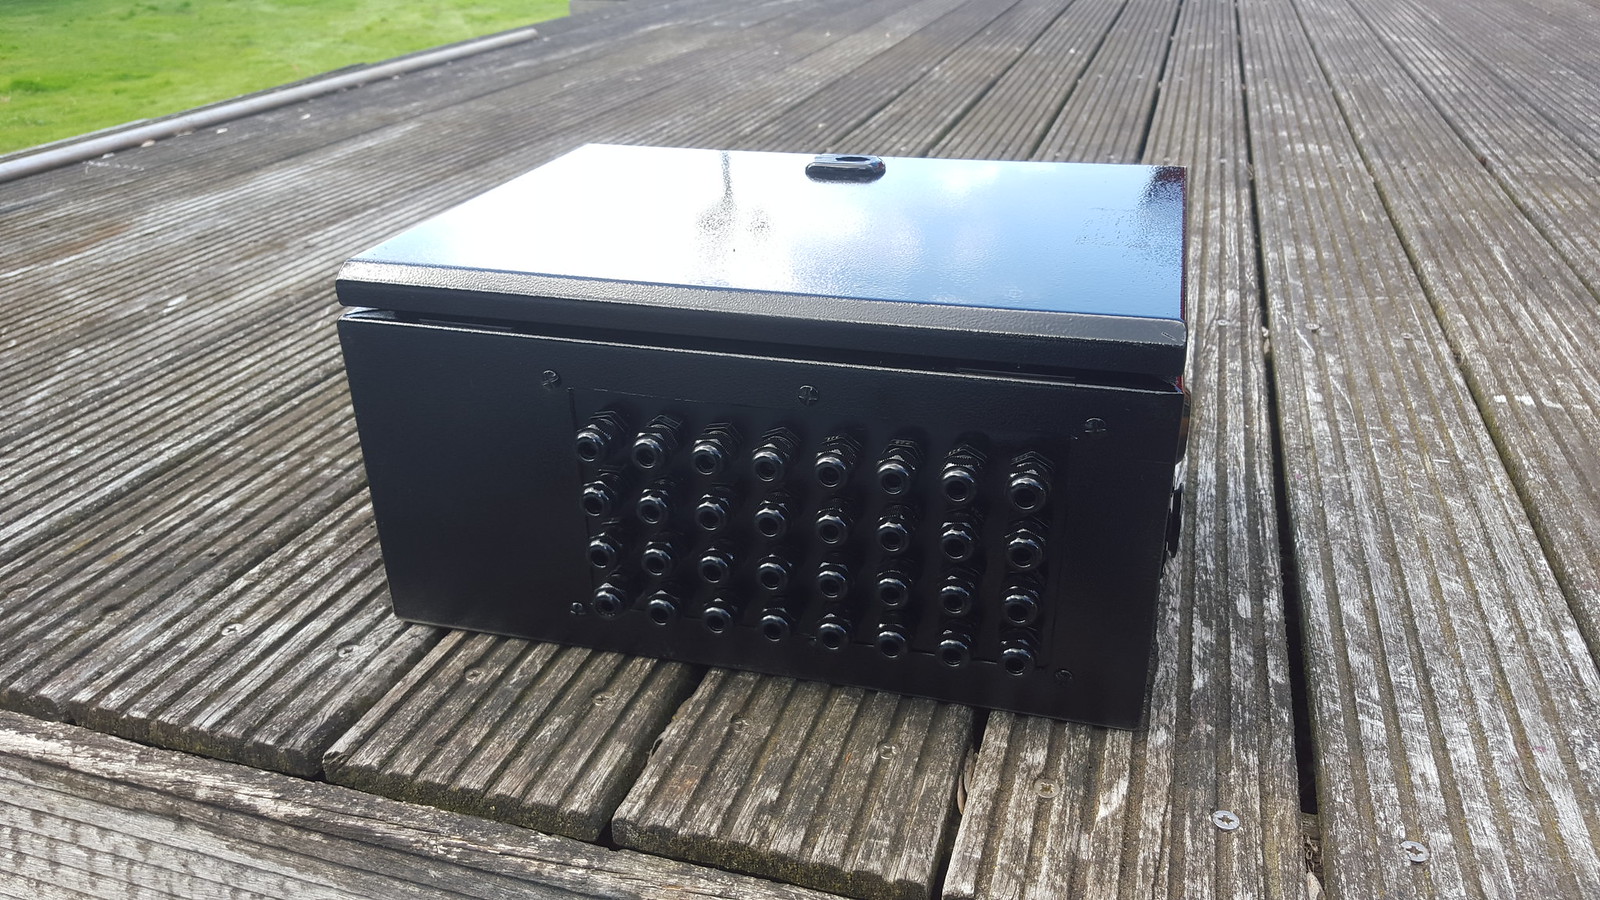
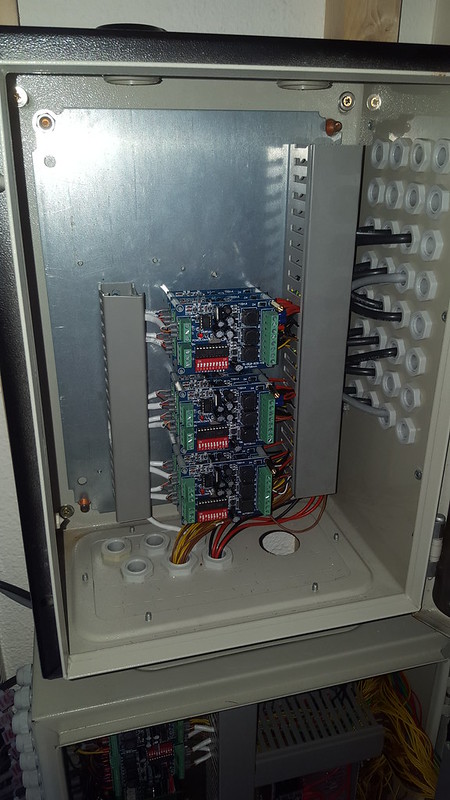
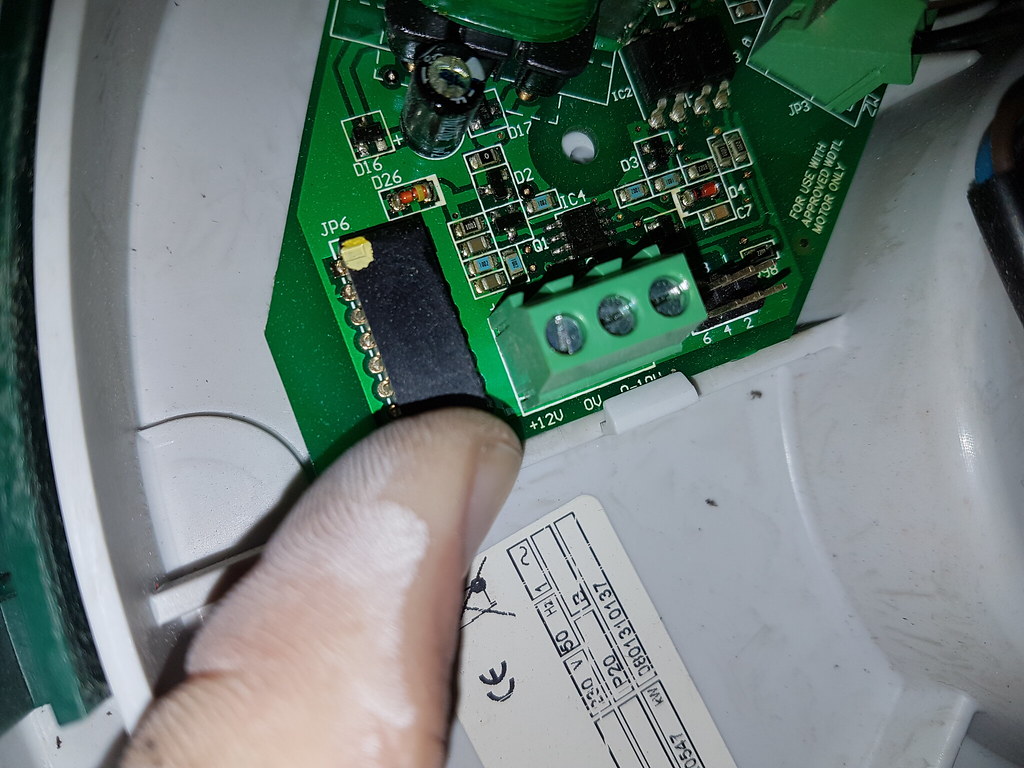
So i decided to just place a Itho box with a CO2 sensor in the rooms that will arrange when to start to vent if it is needed.
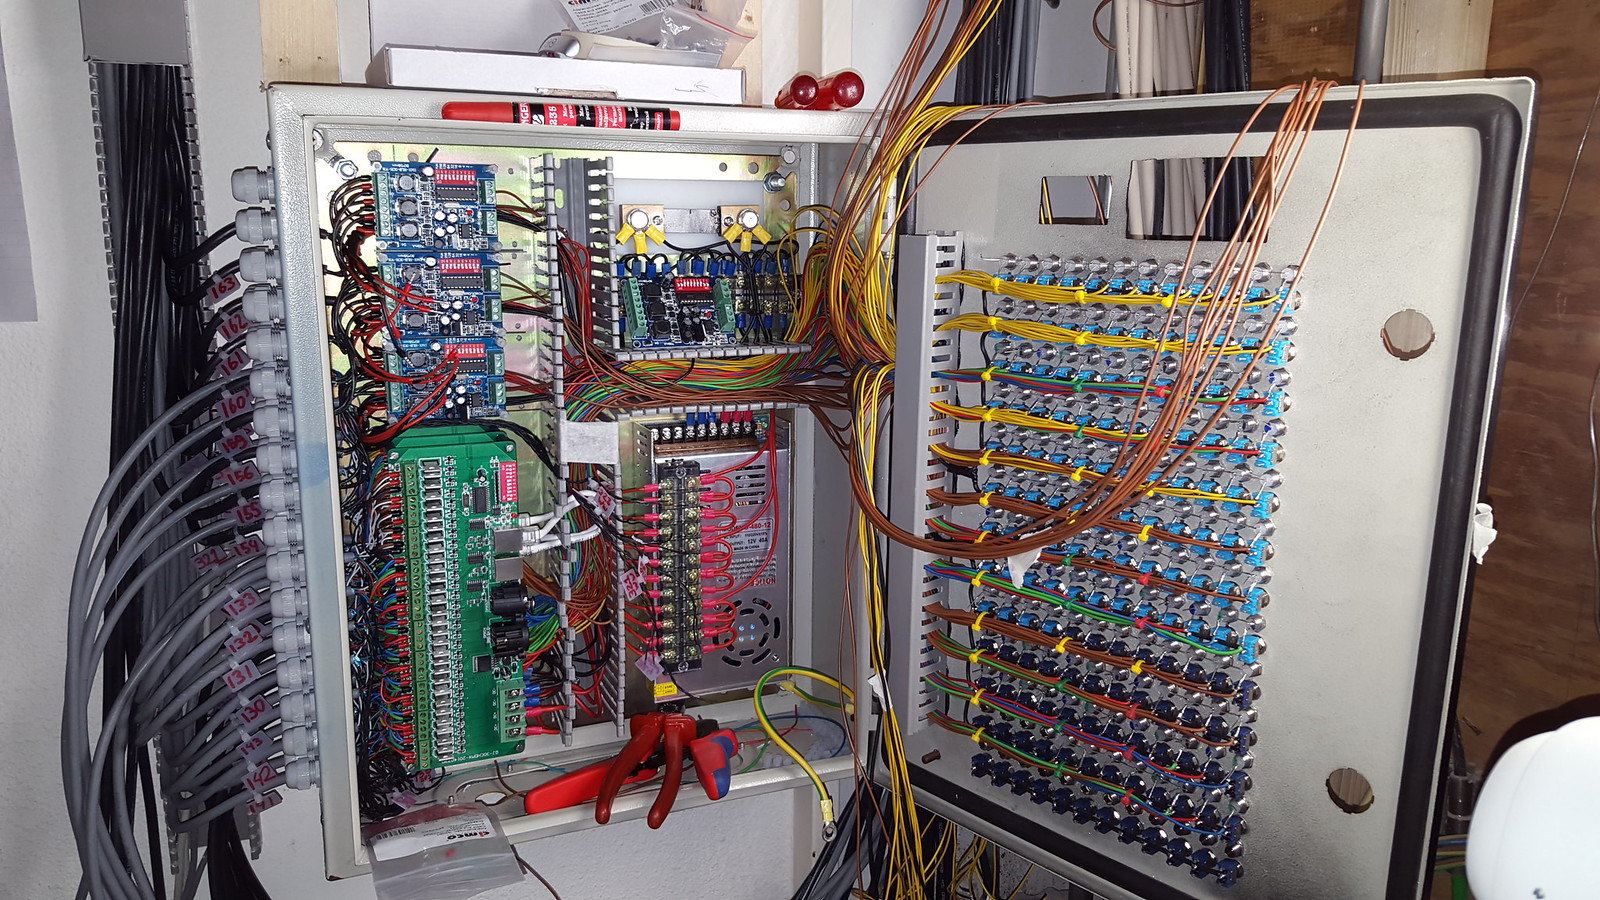
This i can control quite easily with a arduino since they have a 0-10v connection.
I worked for a few weeks for a friend of mine, he has a demolition company.
When demolishing a home in Amsterdam i took the central heating boiler away and the air vent from itho box.
Opened this and there was also a 0-10v connection ;)
Image

Also want to make a shower heat exchanger, i mean this model :
Image
Just for the fun of it, and if it really works well , why not ;)

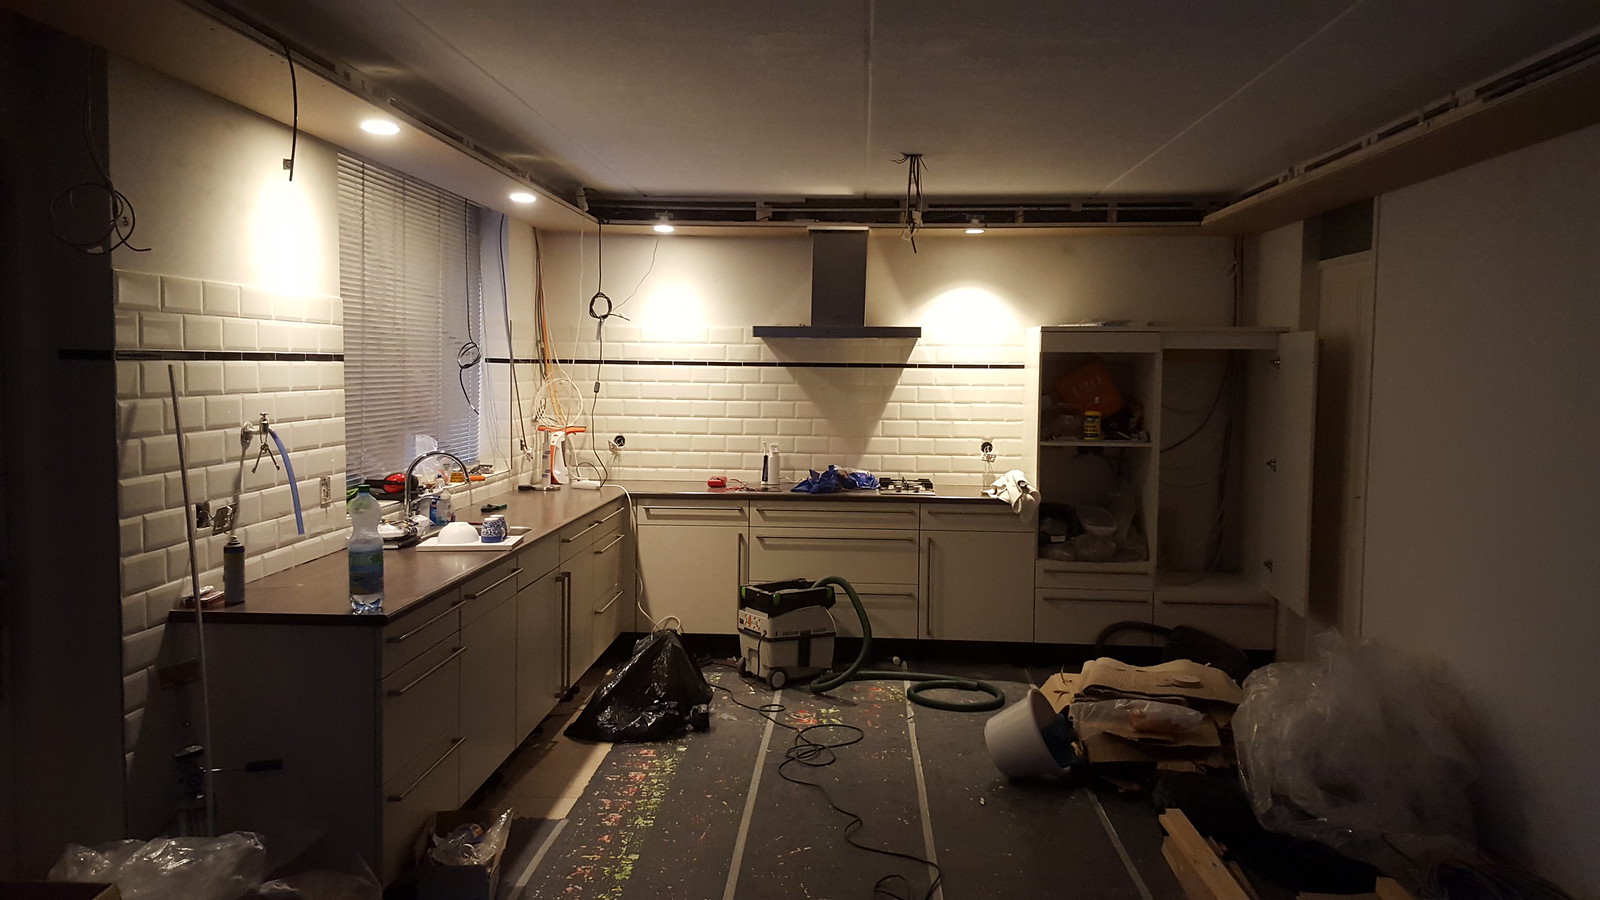
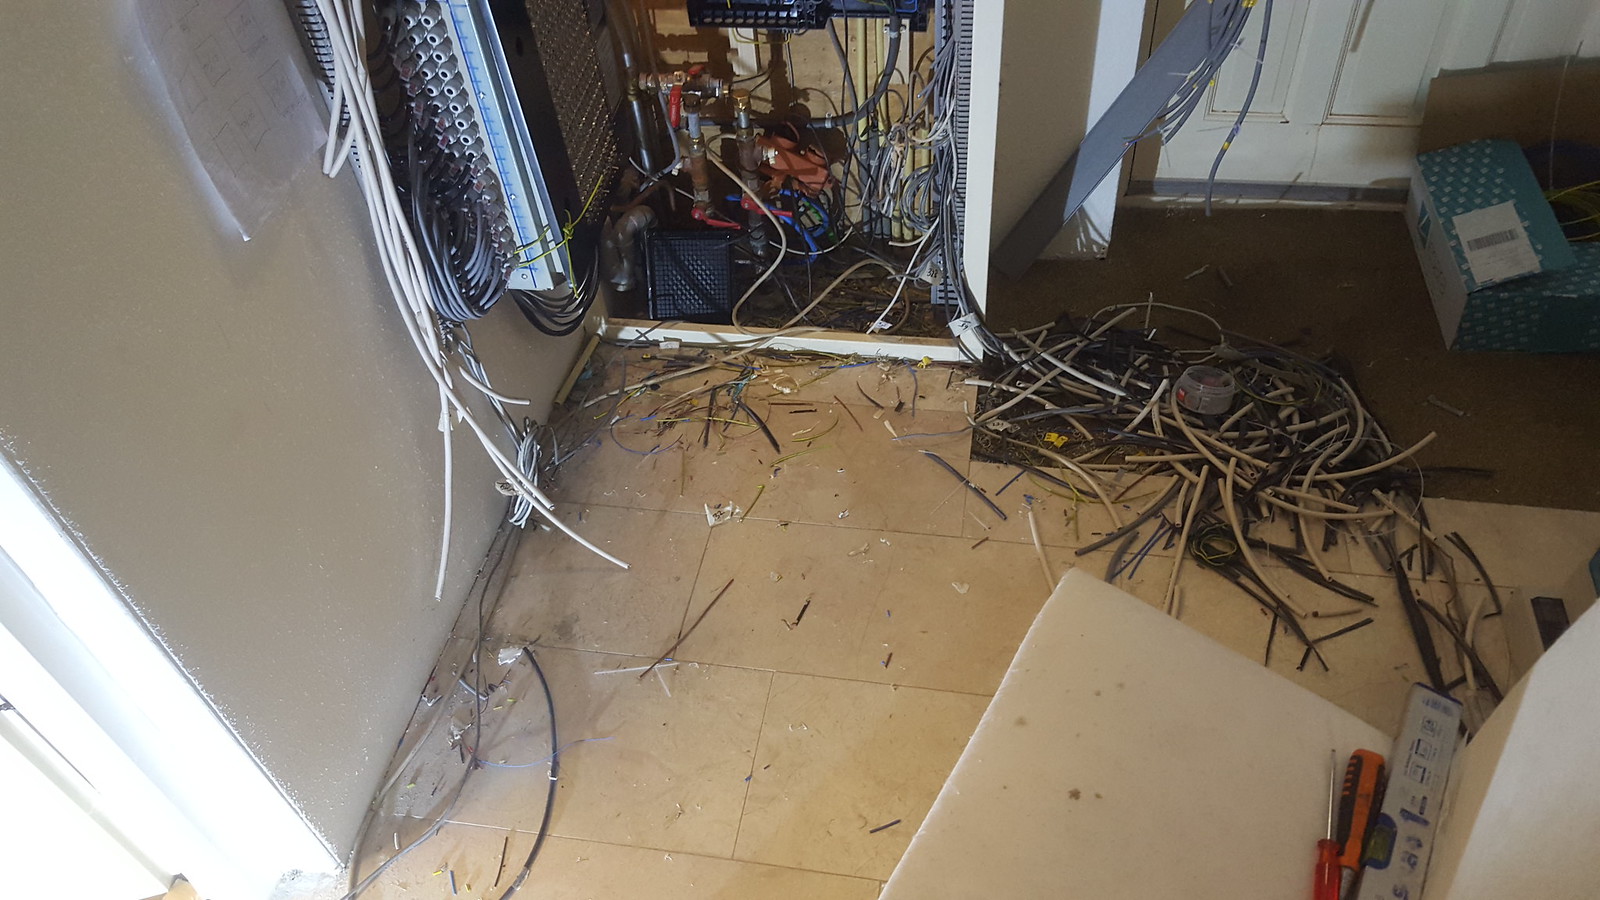
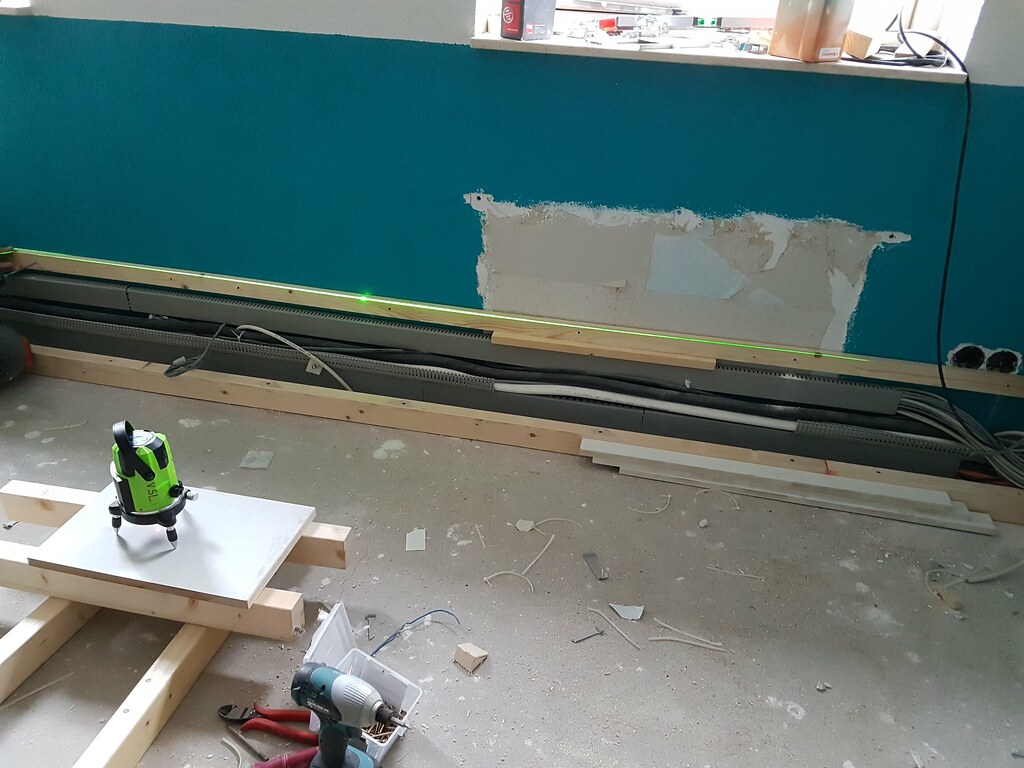
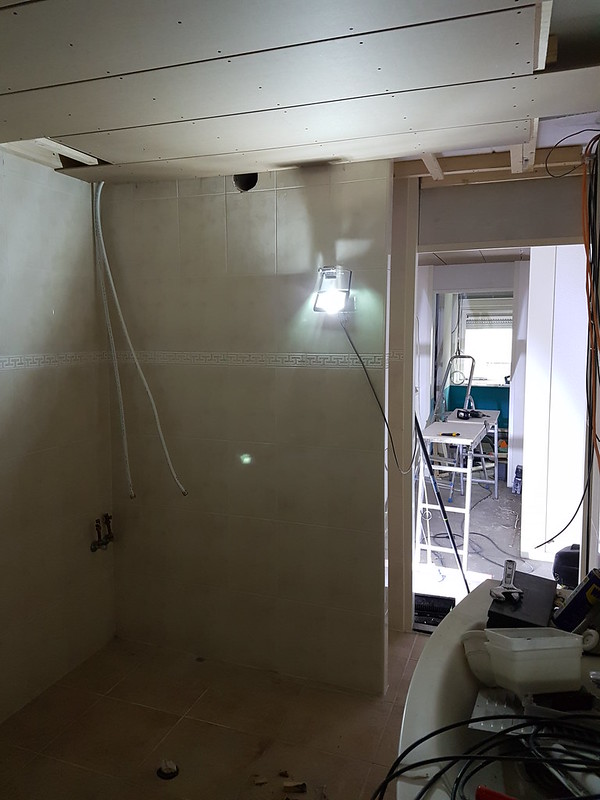
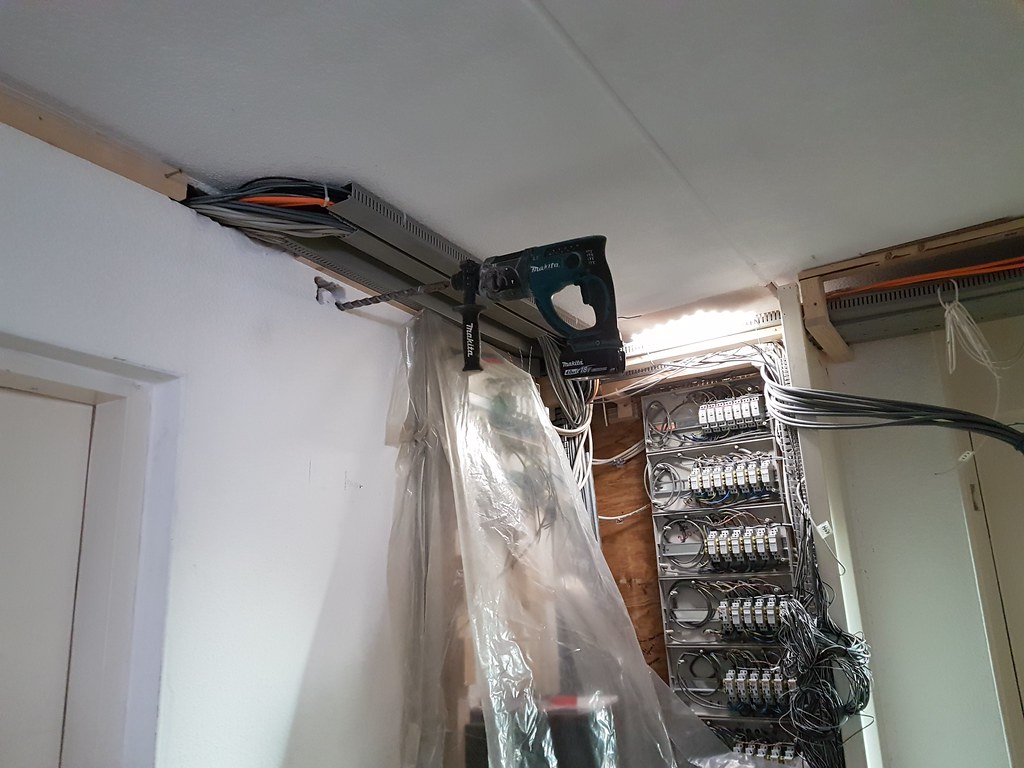
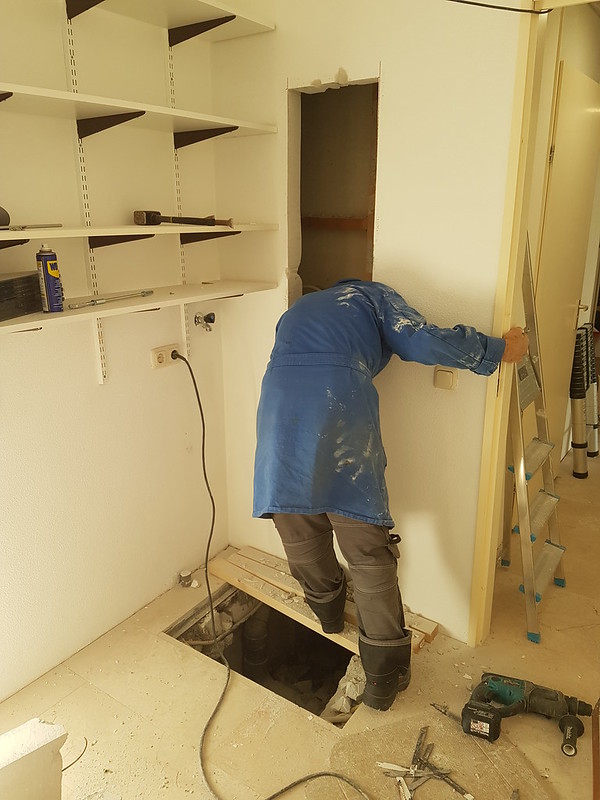
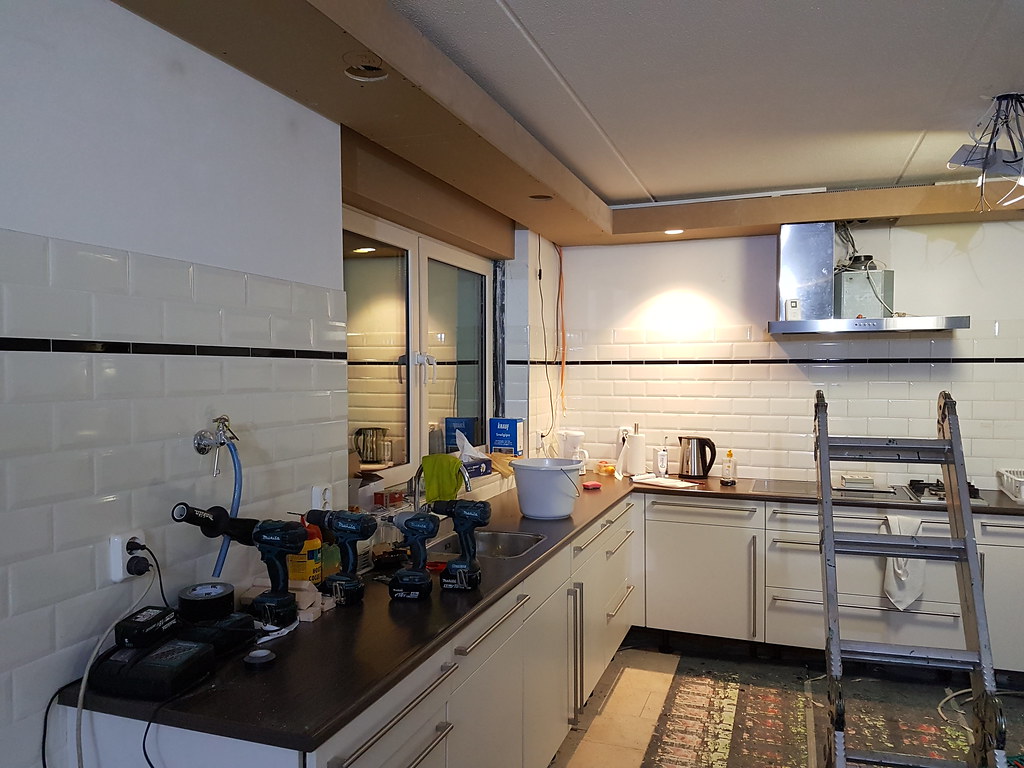
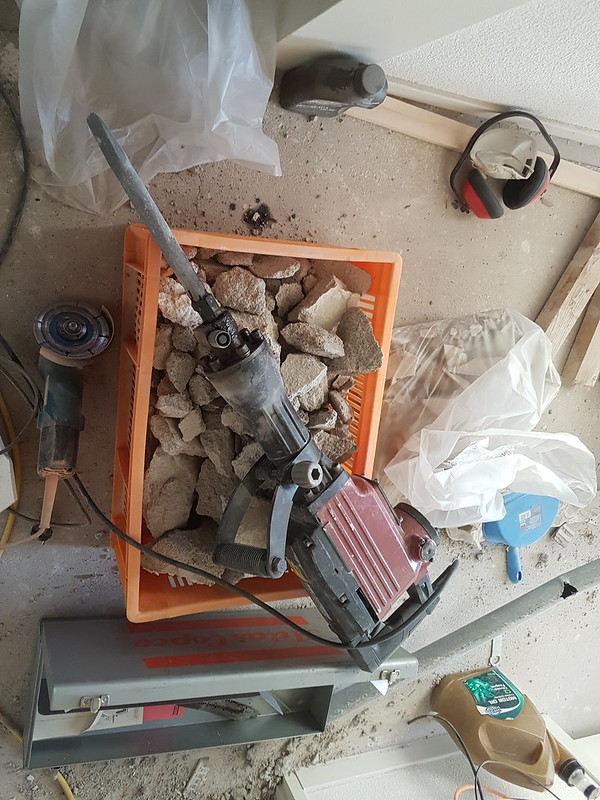
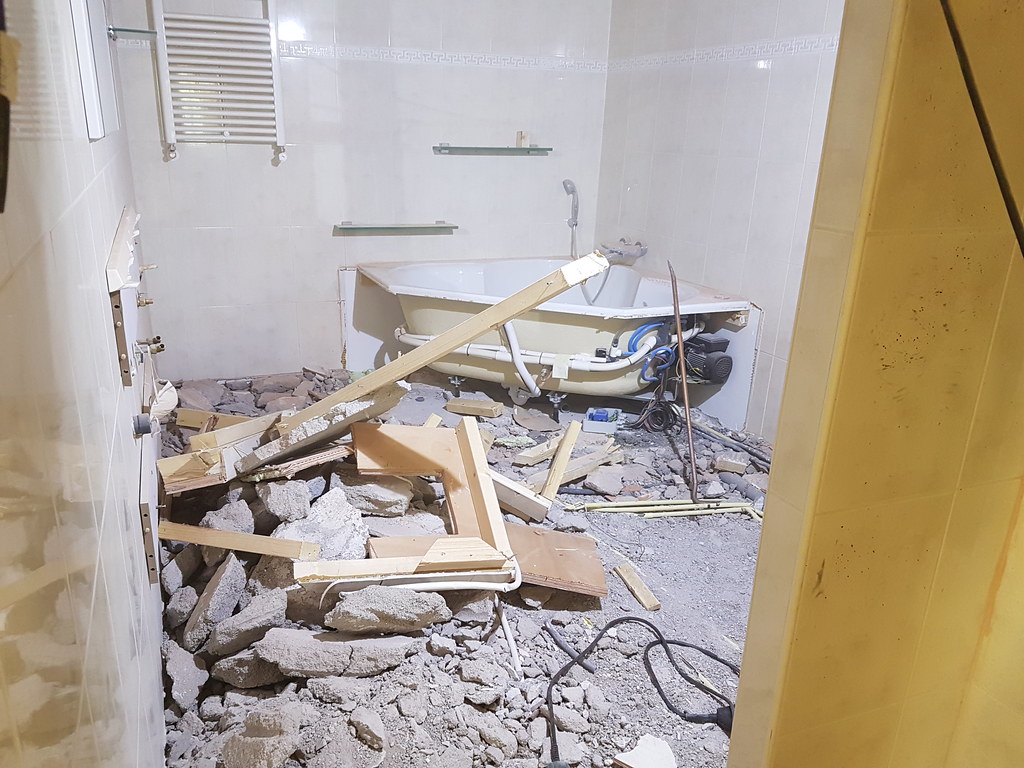
Some stuff i have done in my house after some busy weeks again is taking out the floor of the bathroom.
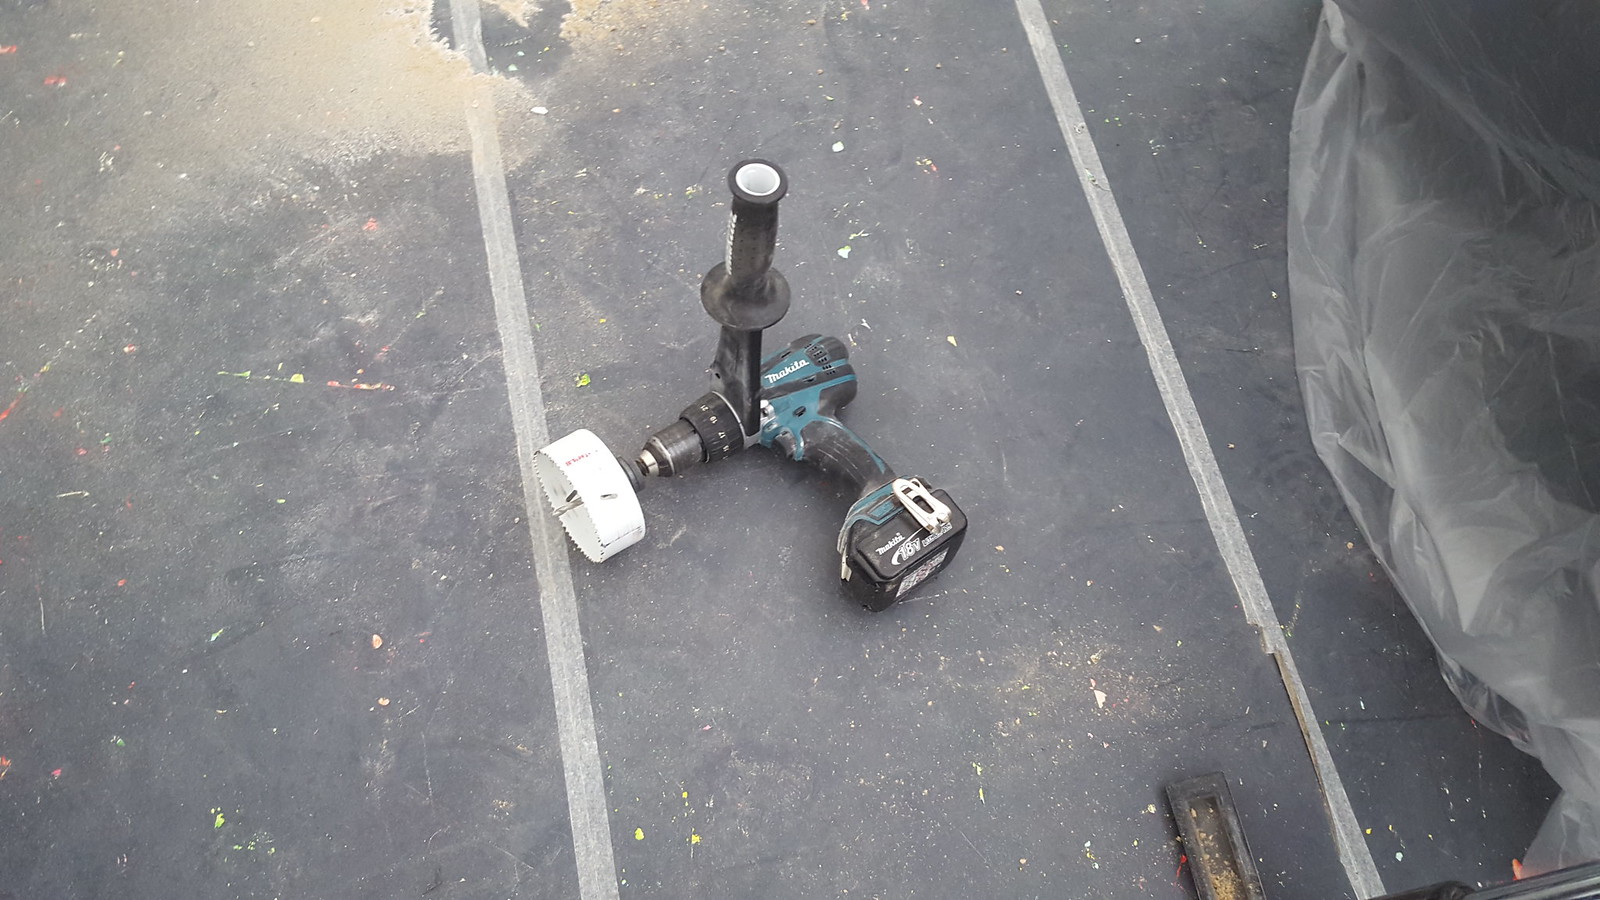
Im so happy that my dad gave me a present a few weeks ago , they are pretty cheap in France , no brand, but works absolutely great.
Believe me when i say that this is nothing compared to the standard drilling machines from makita for instance with a hammer function, without this i would have been busy for several more weeks.
My neighbor is also happy i think , 3 weekends busy hammering the *** out of it haha.
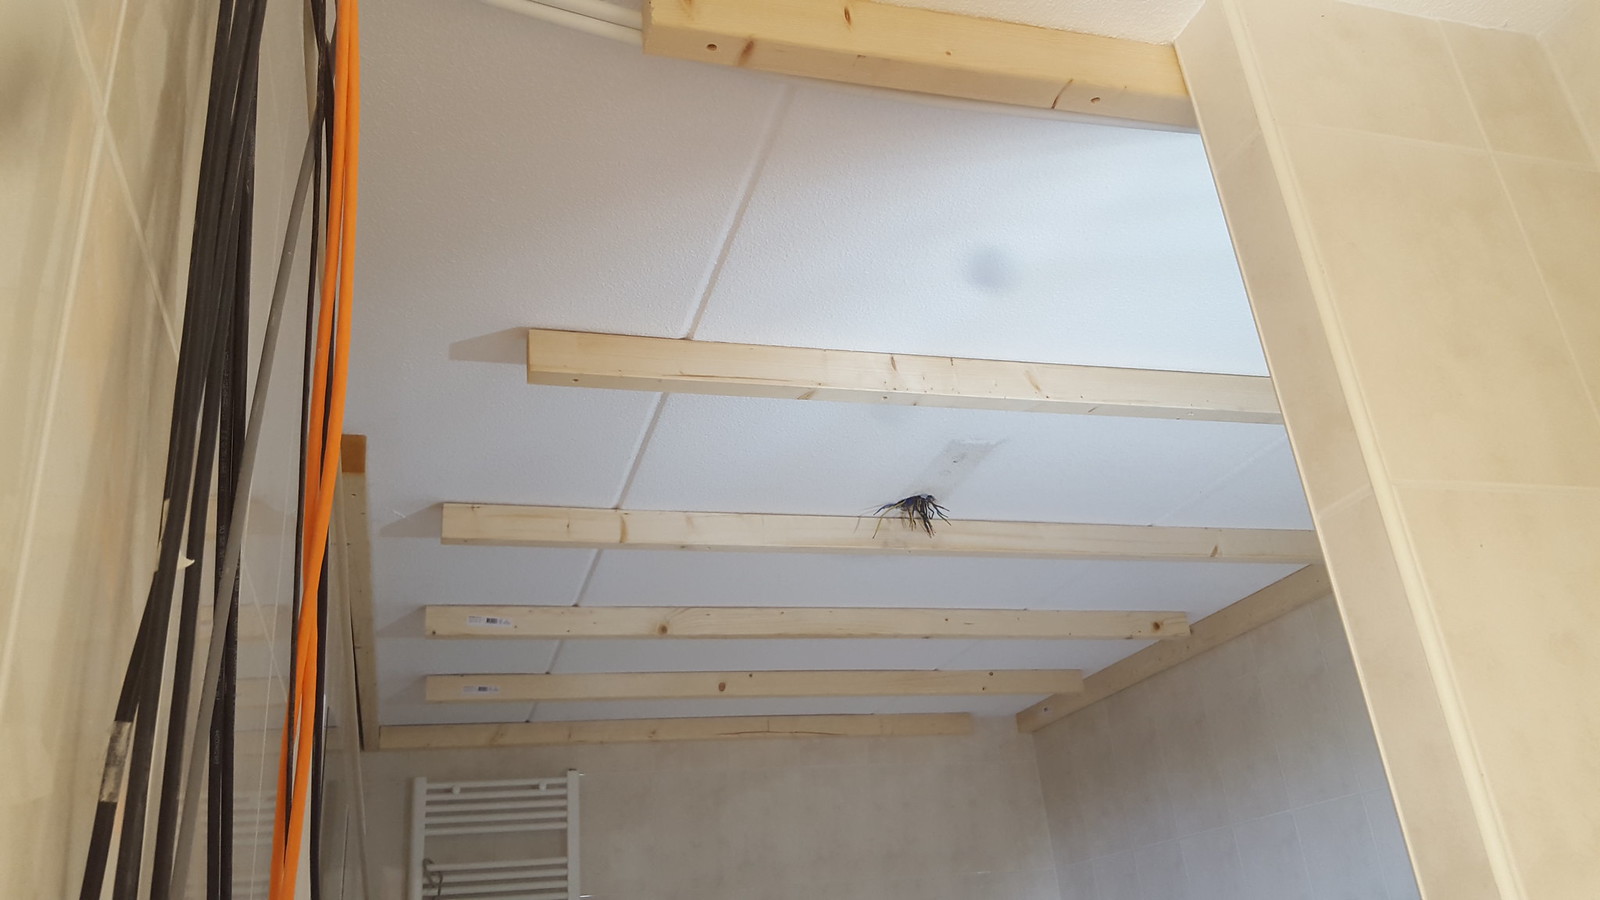
my other neighbor came to me and asked if i needed some wooden supports, why i asked ?
Well we are shaking and enjoying the sound from your hammer, these neighbors live about 7 meters next to me and the houses are not connected , to give you a impression of the noise :twisted:
Image
Image
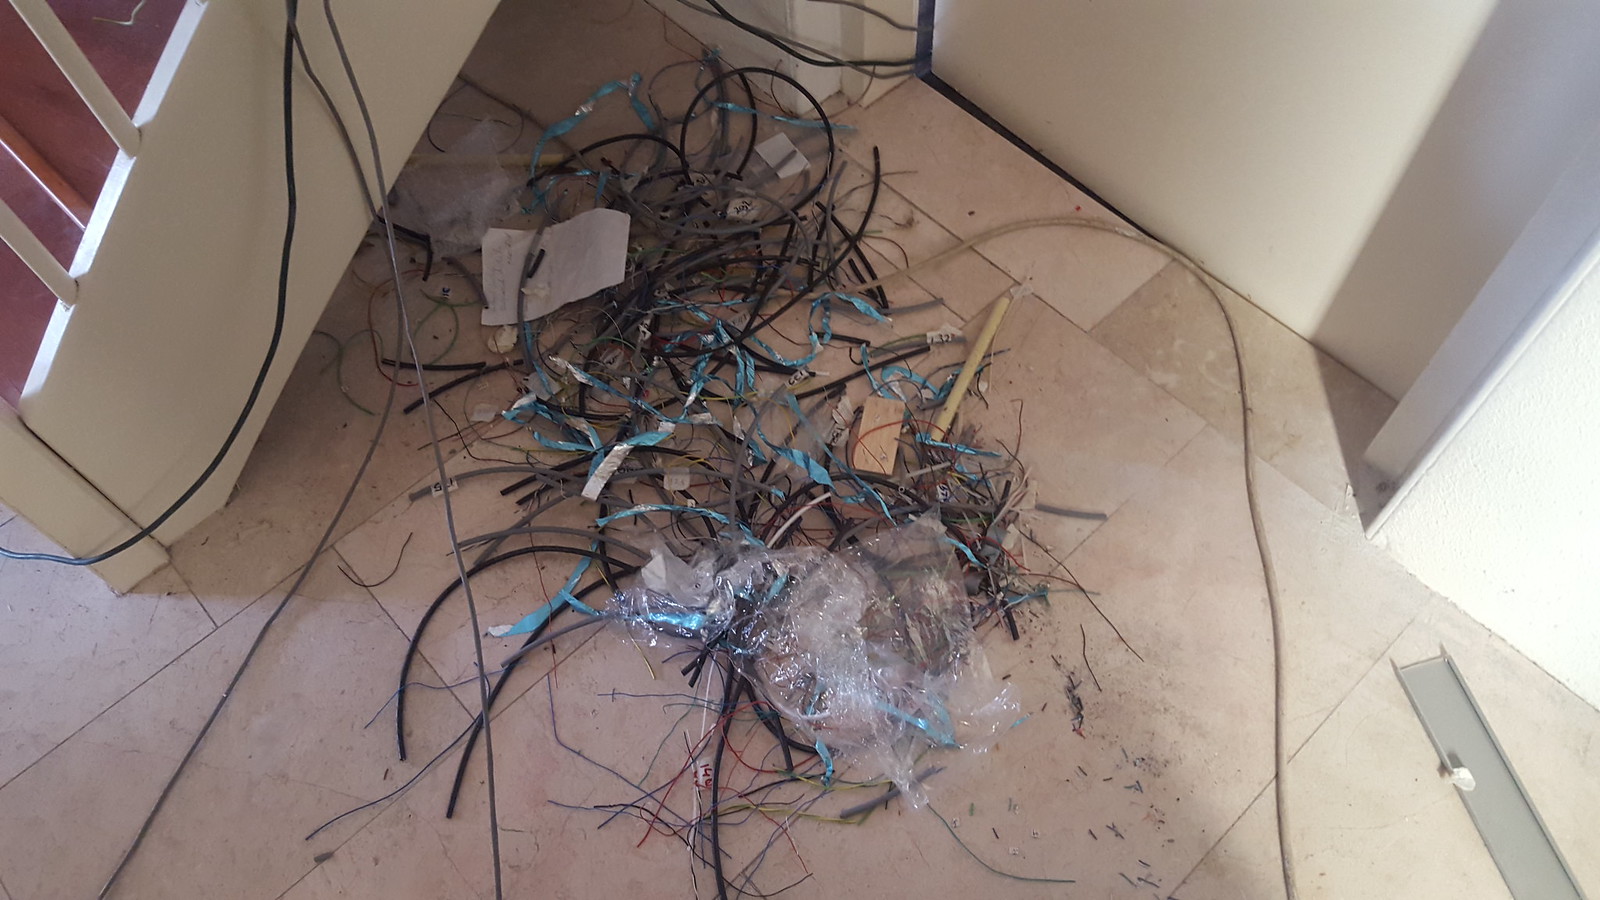
It took 3 trailers full with debris
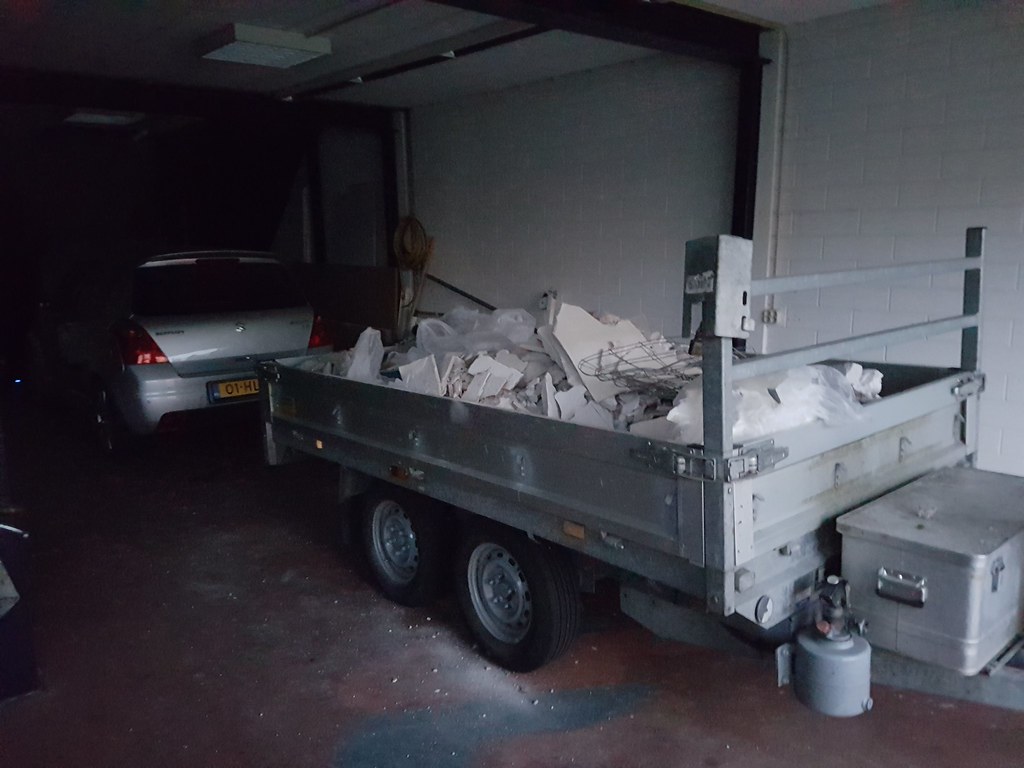
Image
and finally
Image

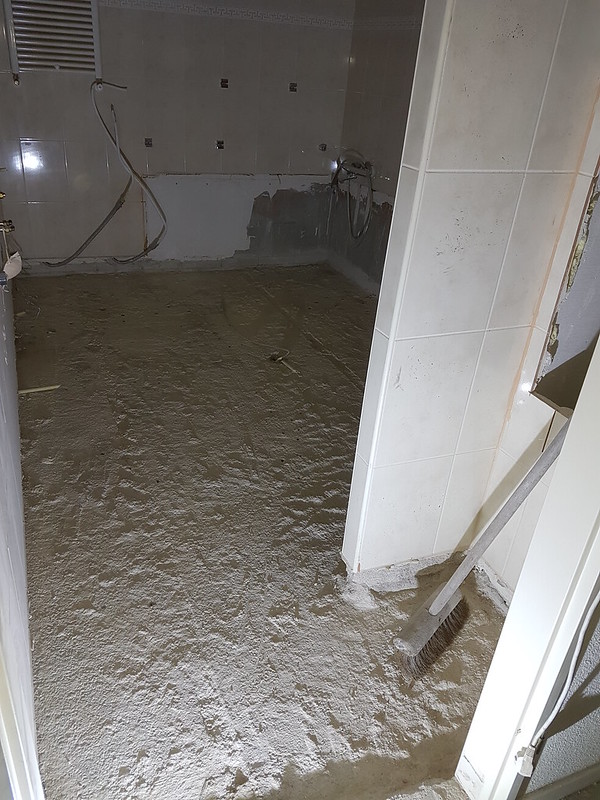
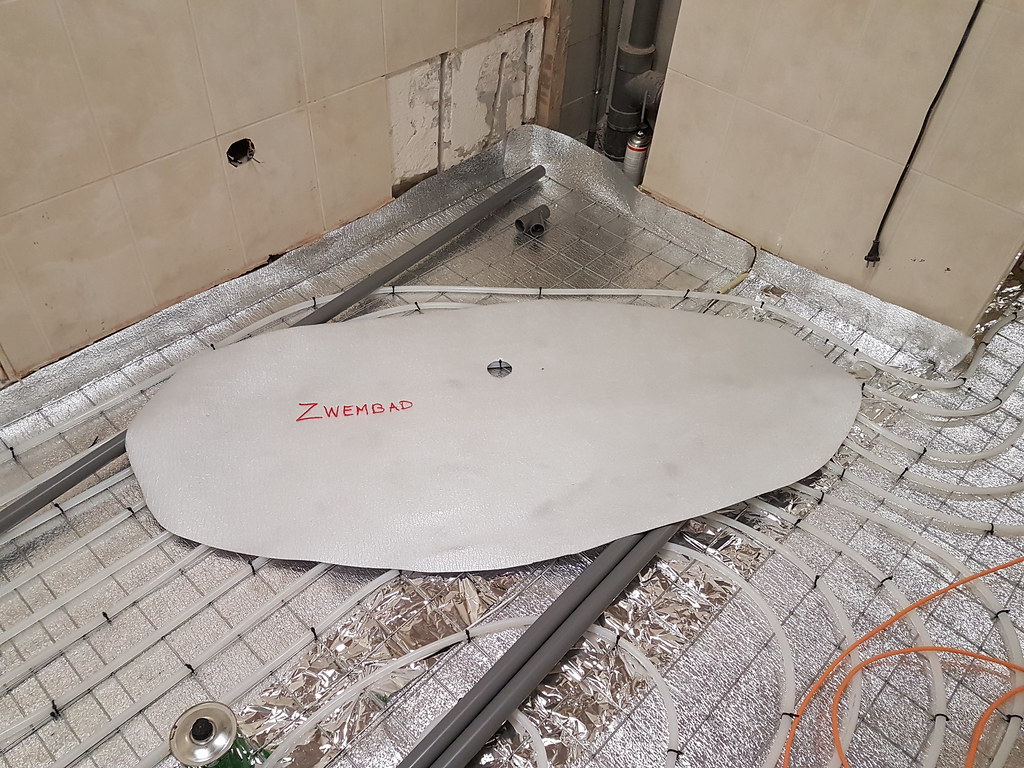
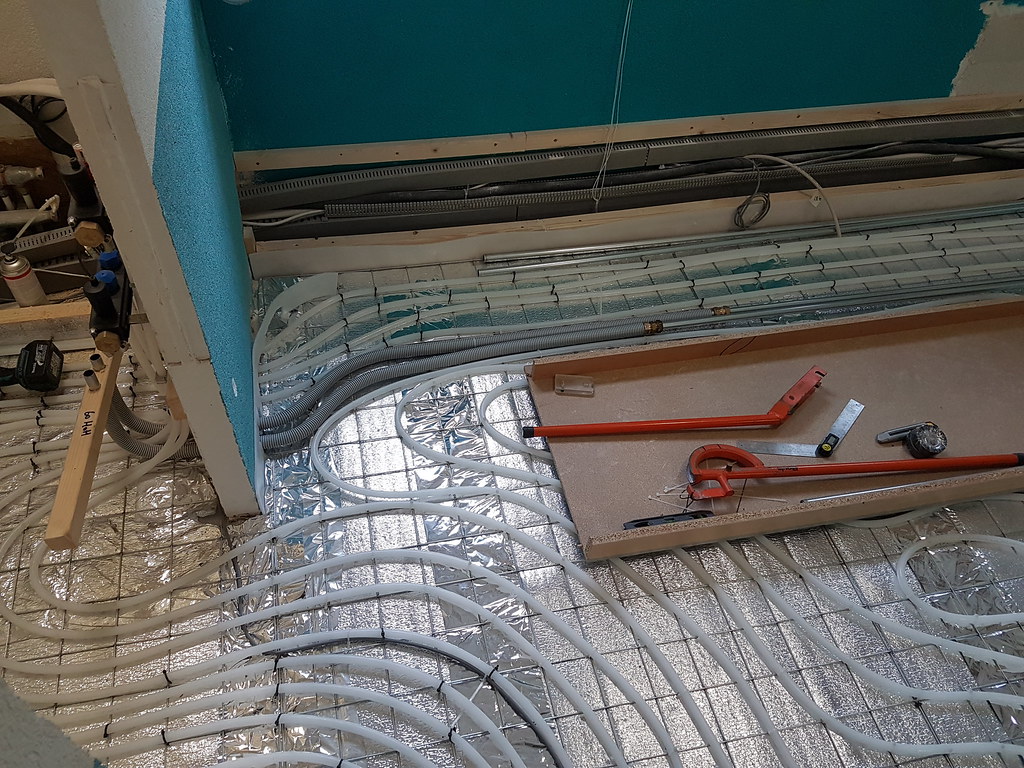
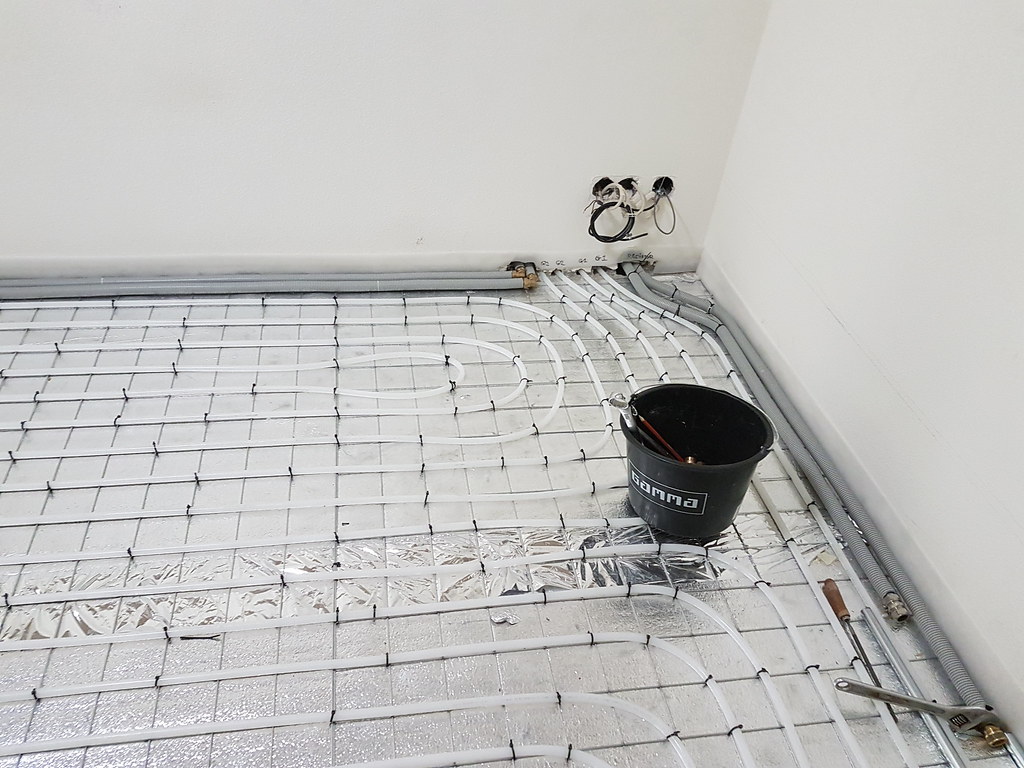
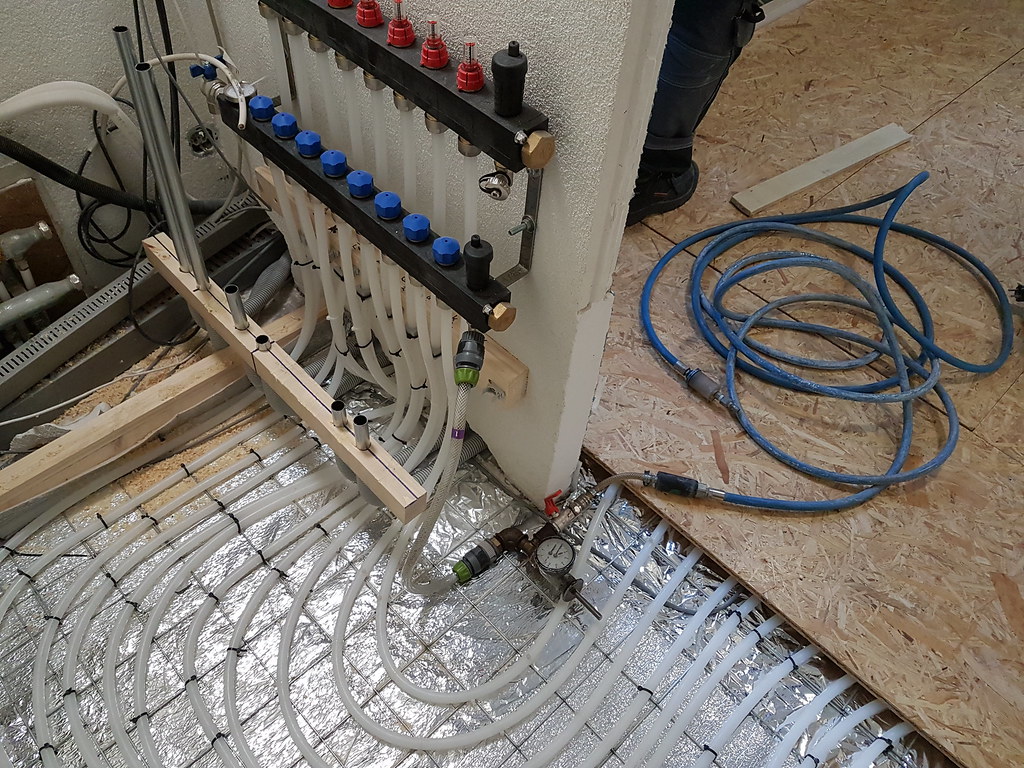
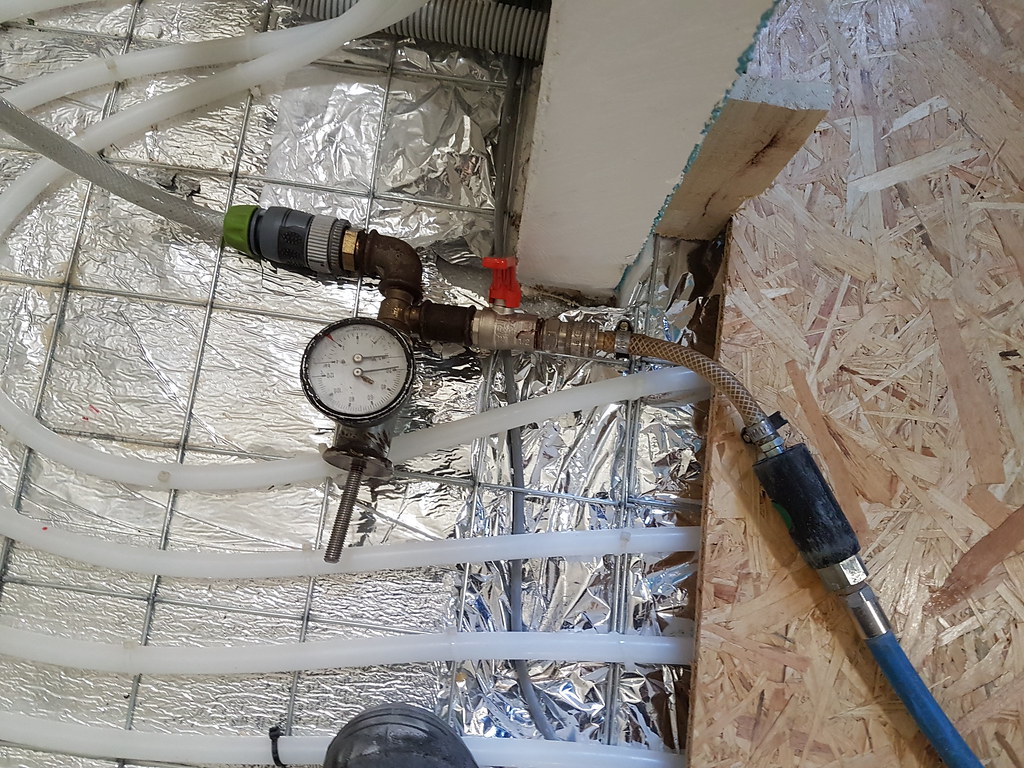
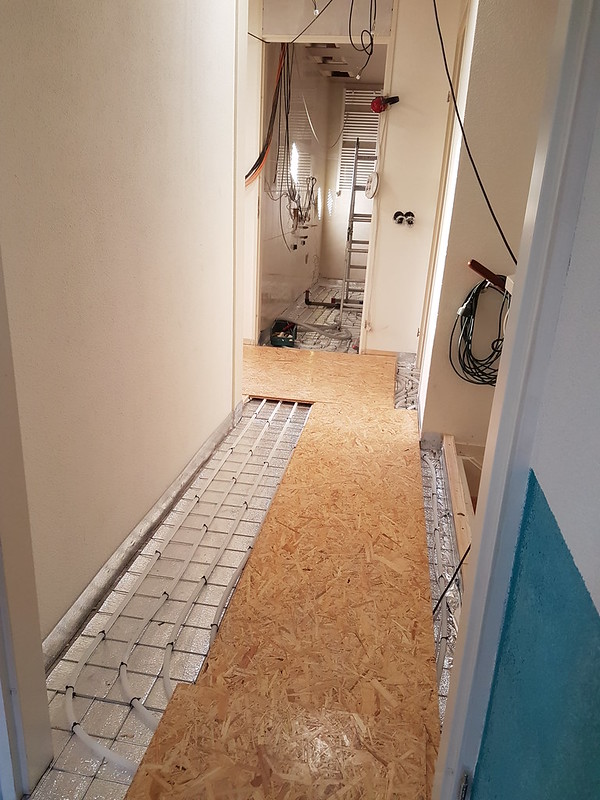
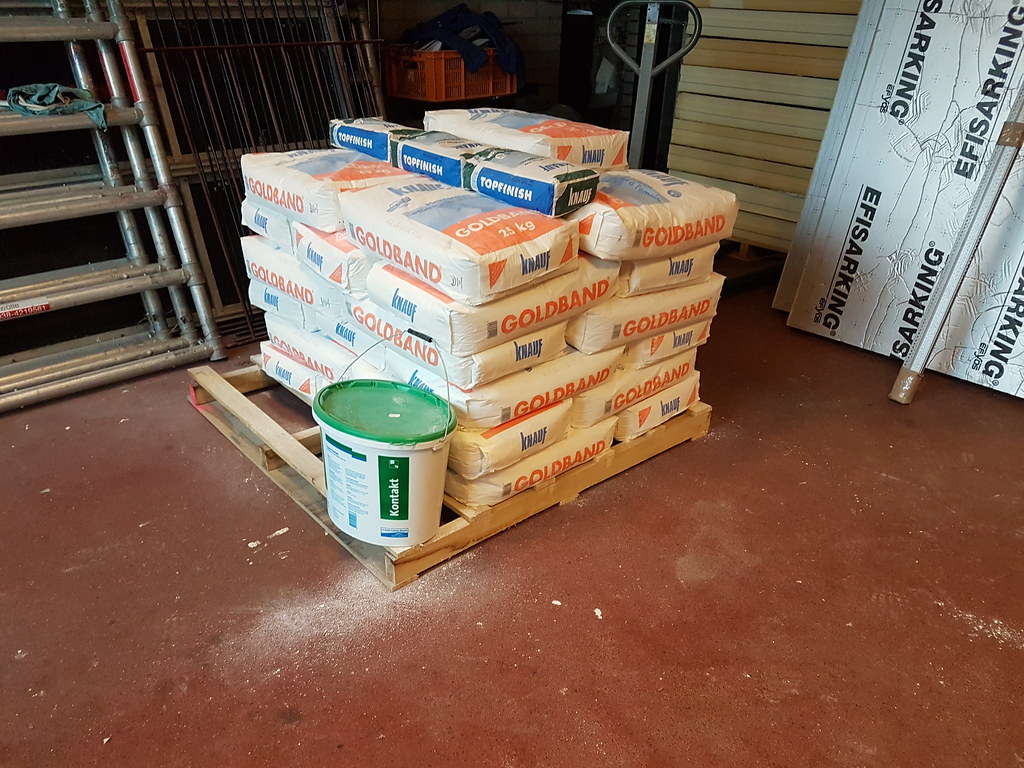
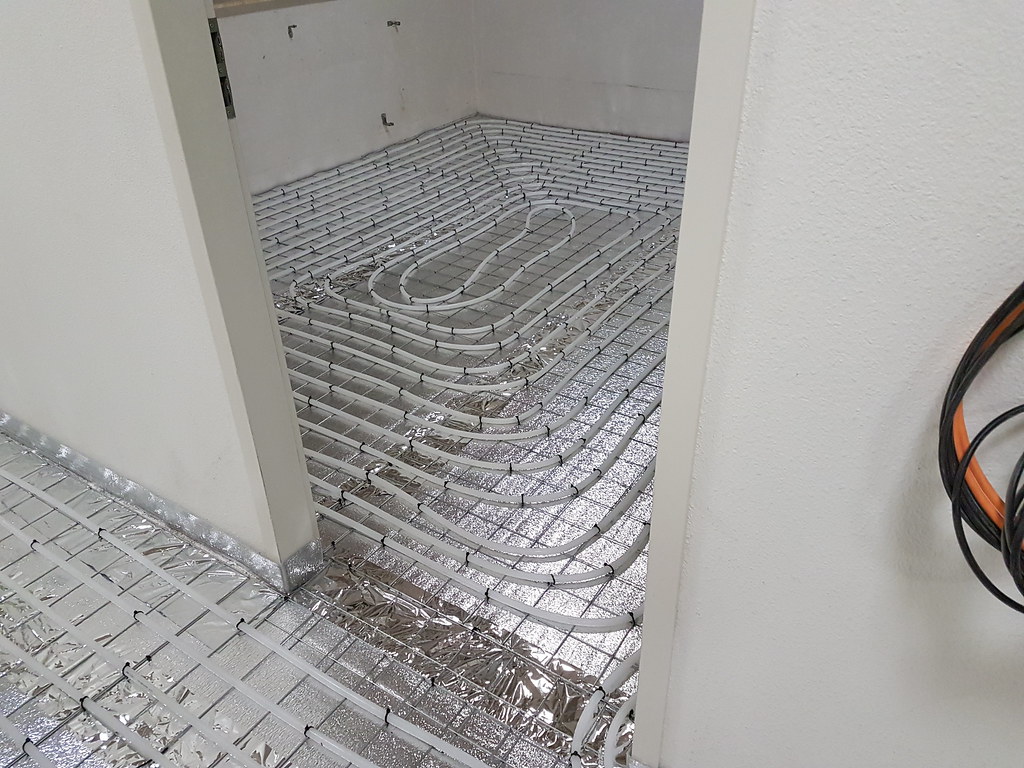
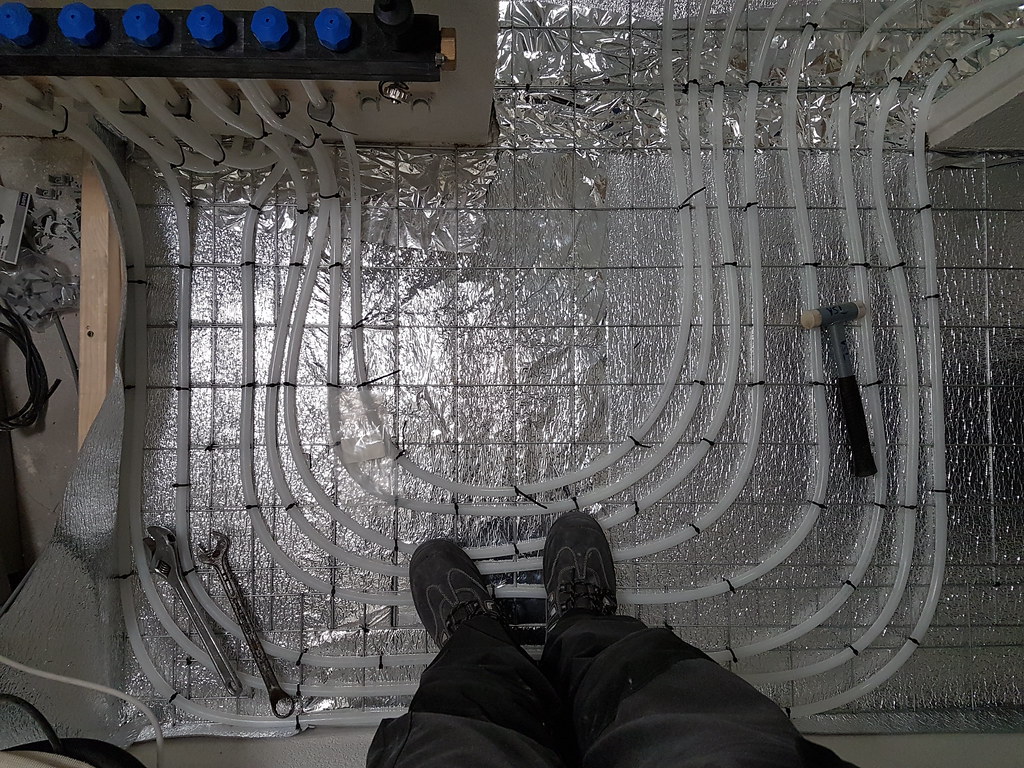
Also made a choice about the floor heating system and i chose the wet system using concrete since the price of the dry system was way to high for me.
Image

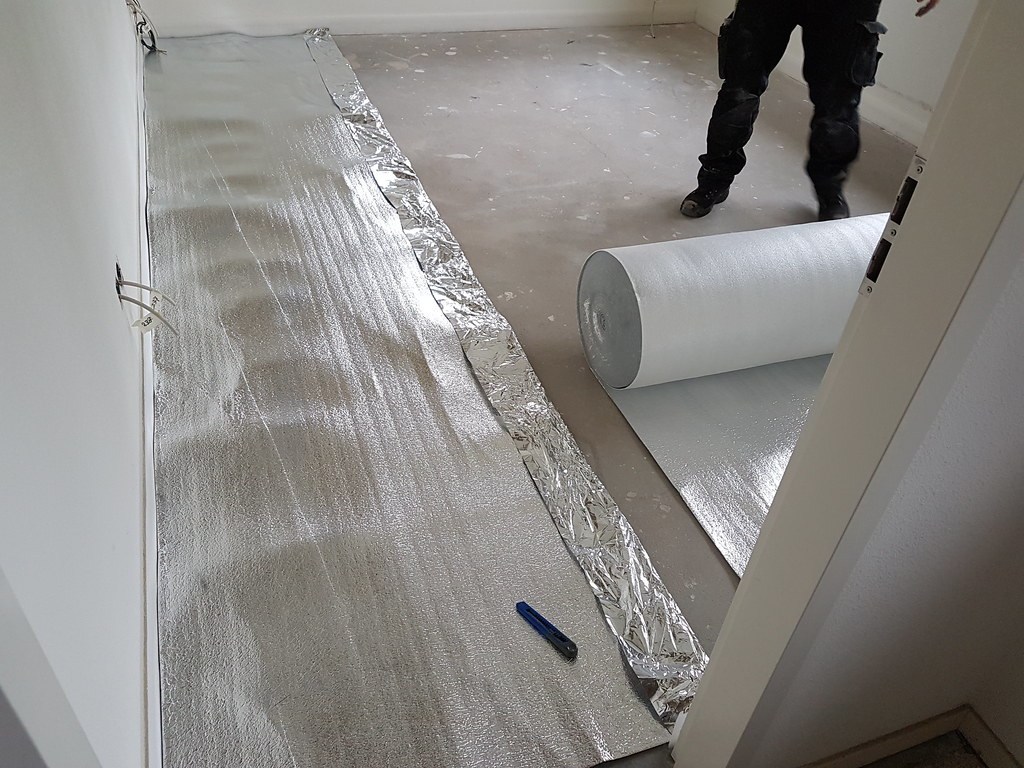
For a first time it was a bit of a hassle, first insulation so the heat would be radiated to the top instead of in the concrete.
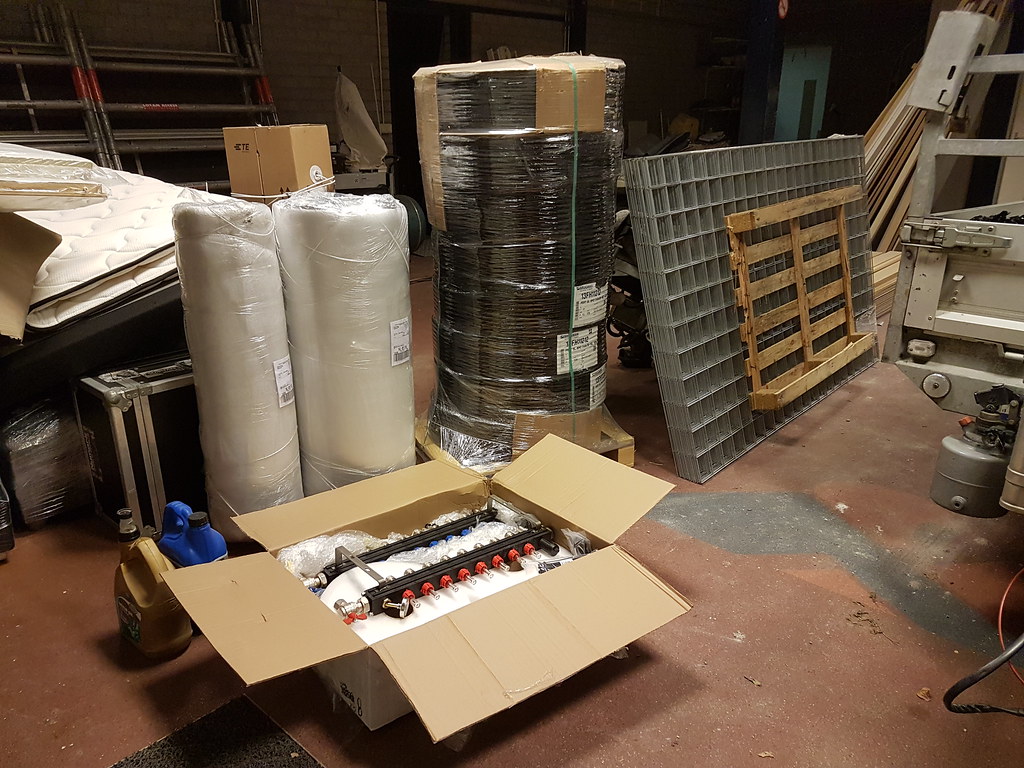
and some gauze where the hose would be fitted on.
Image
Image


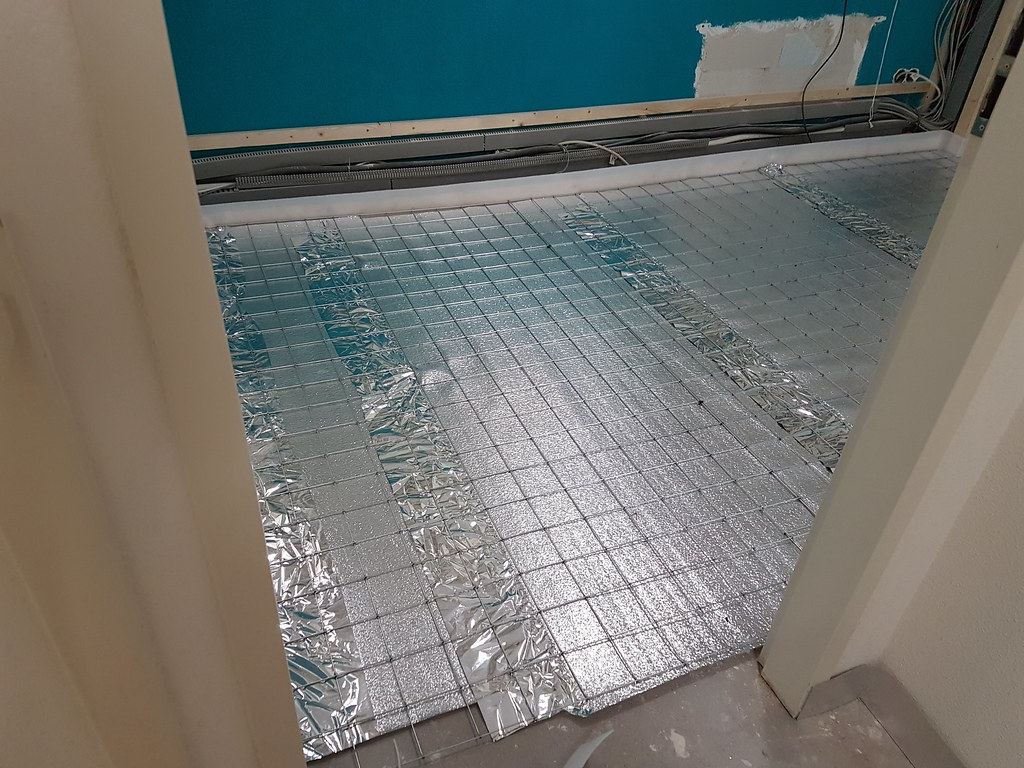
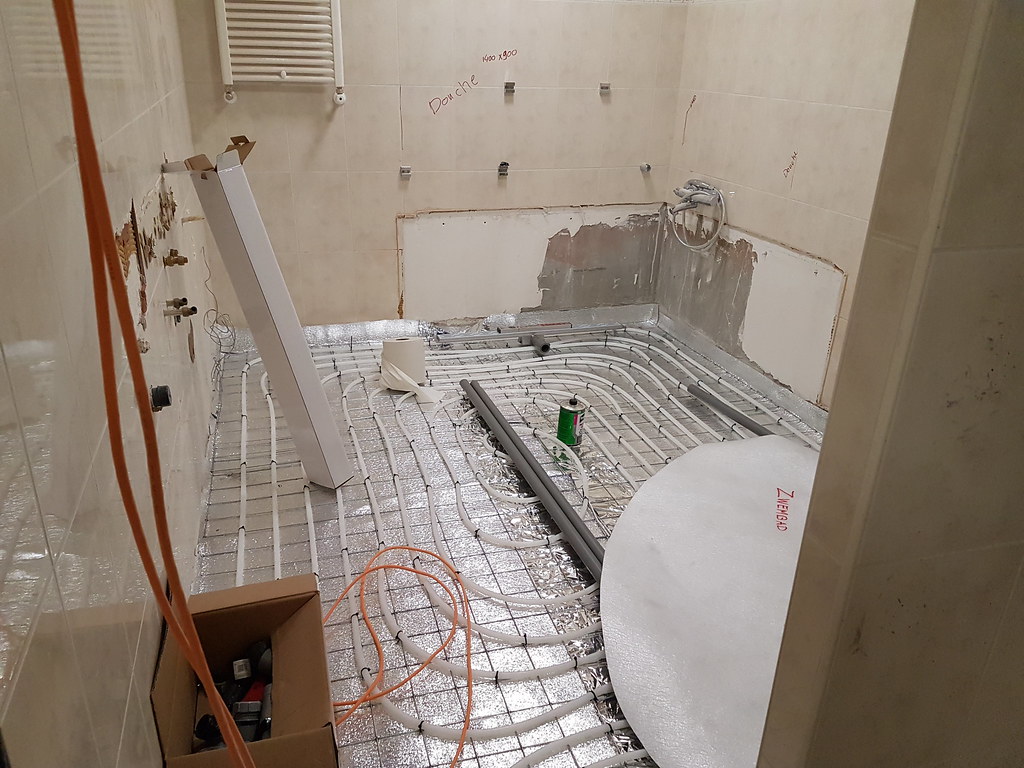
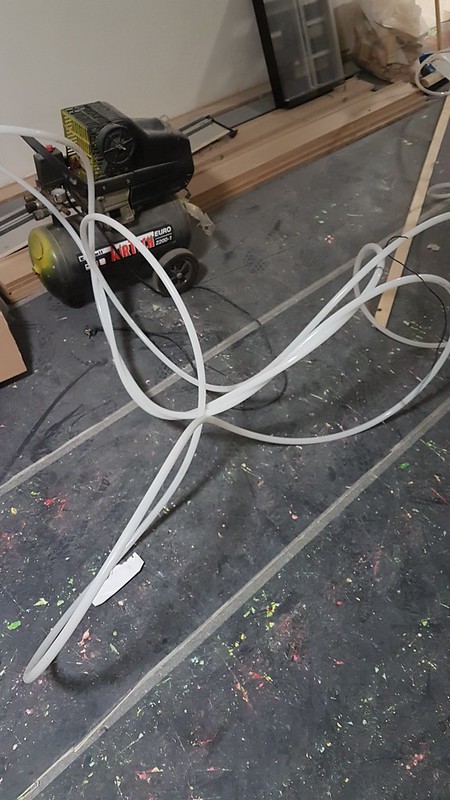
At first i placed a hose with my dad on te the bathroom floor, its very sturdy to handle the hose and it gets in a knot very fast.
Image

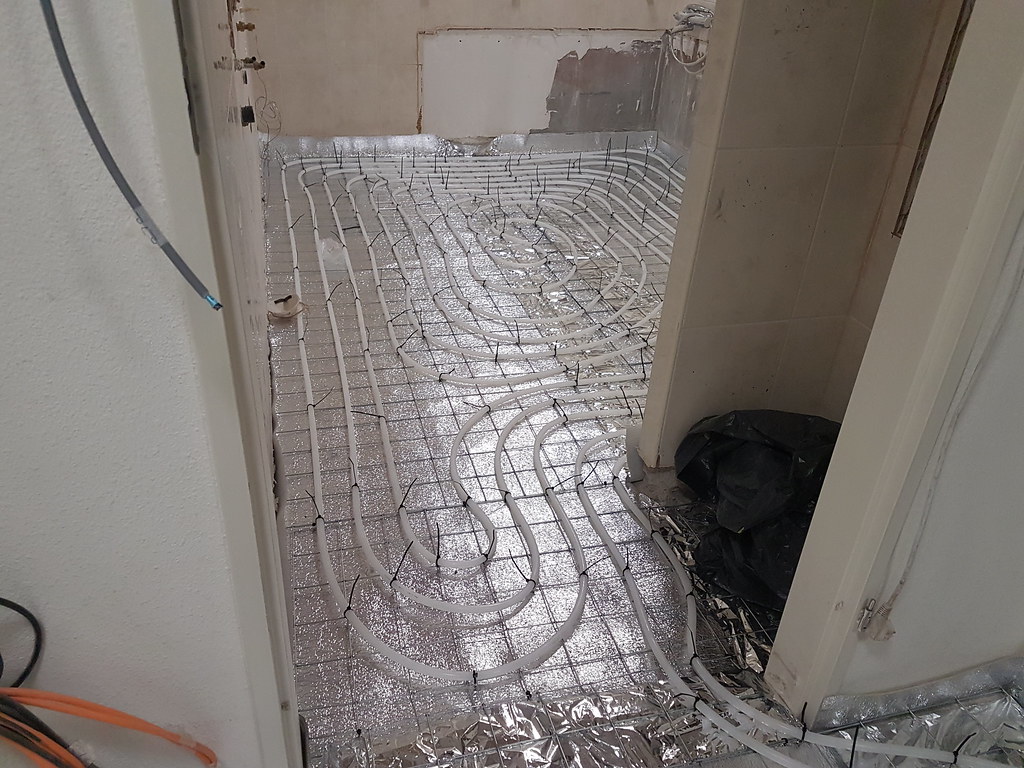
After being busy from the morning till i think it was 23.30 i was getting mad and at the point of cutting the hose since this happened all the time, being alone it is very annoying and i stopped with it.
Image

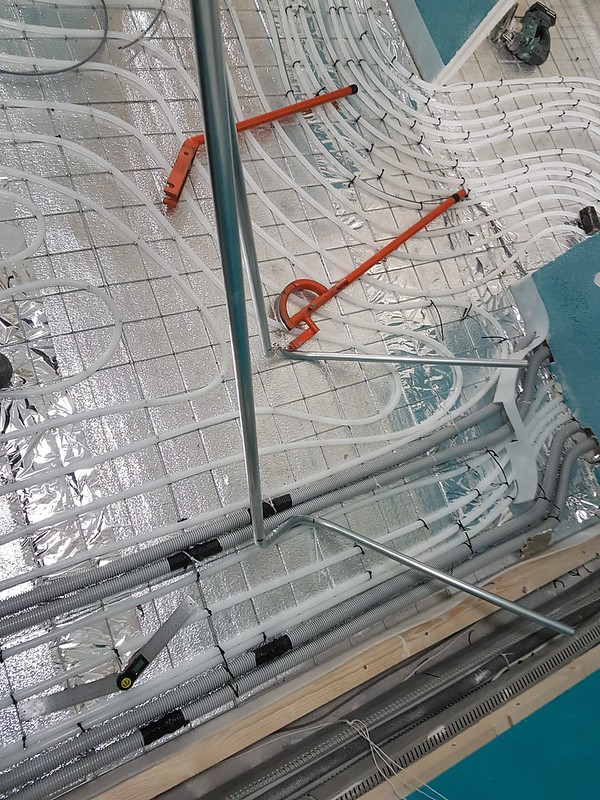
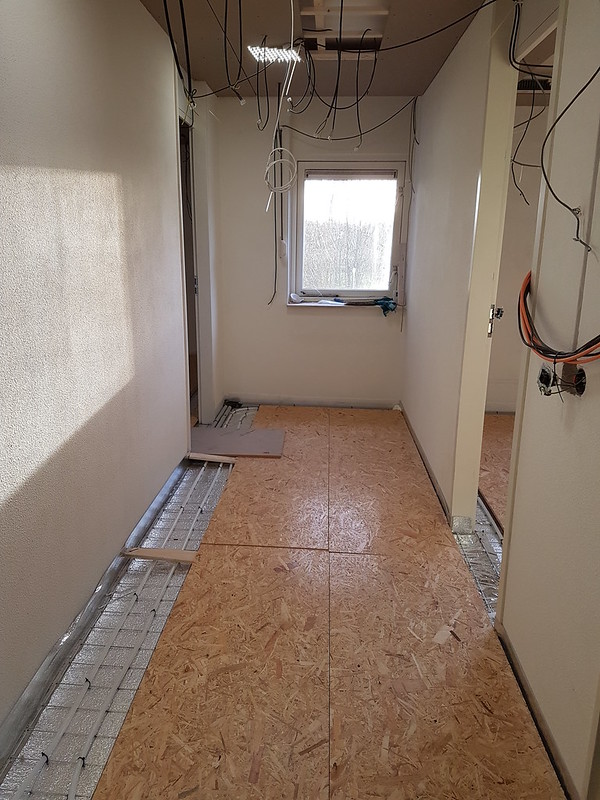
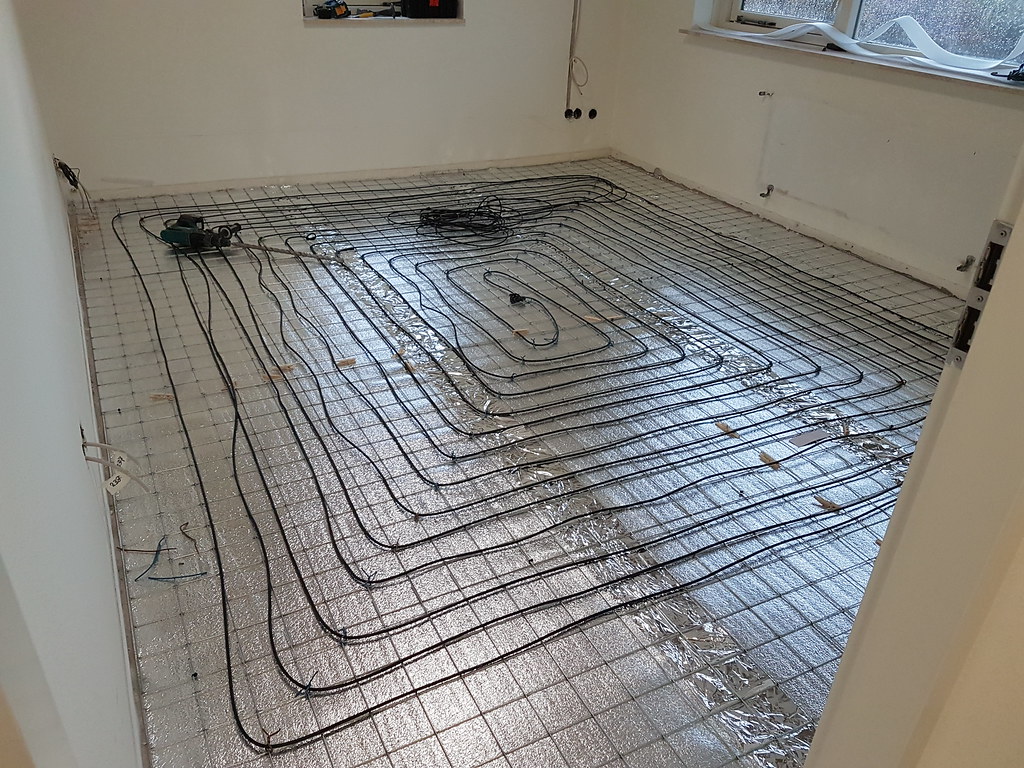
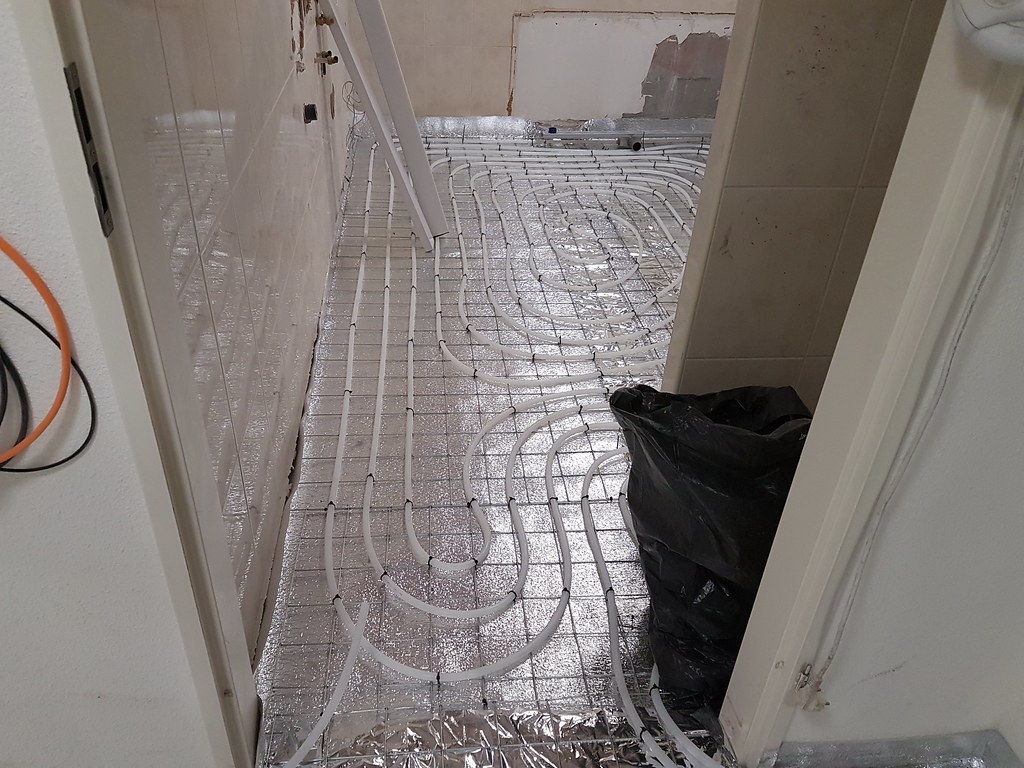
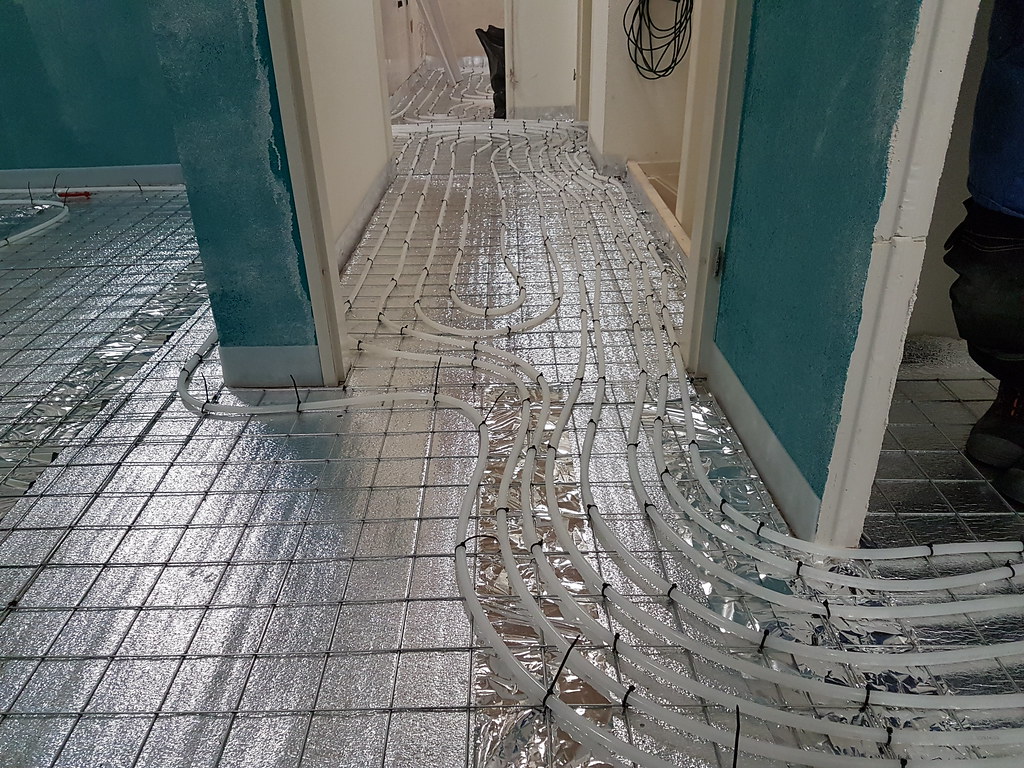
I spoke to a forum member on telegram and he offered me to help , thanks allot R_255 ;0 ext morning i picked him up and we manage to place the hose in some rooms.
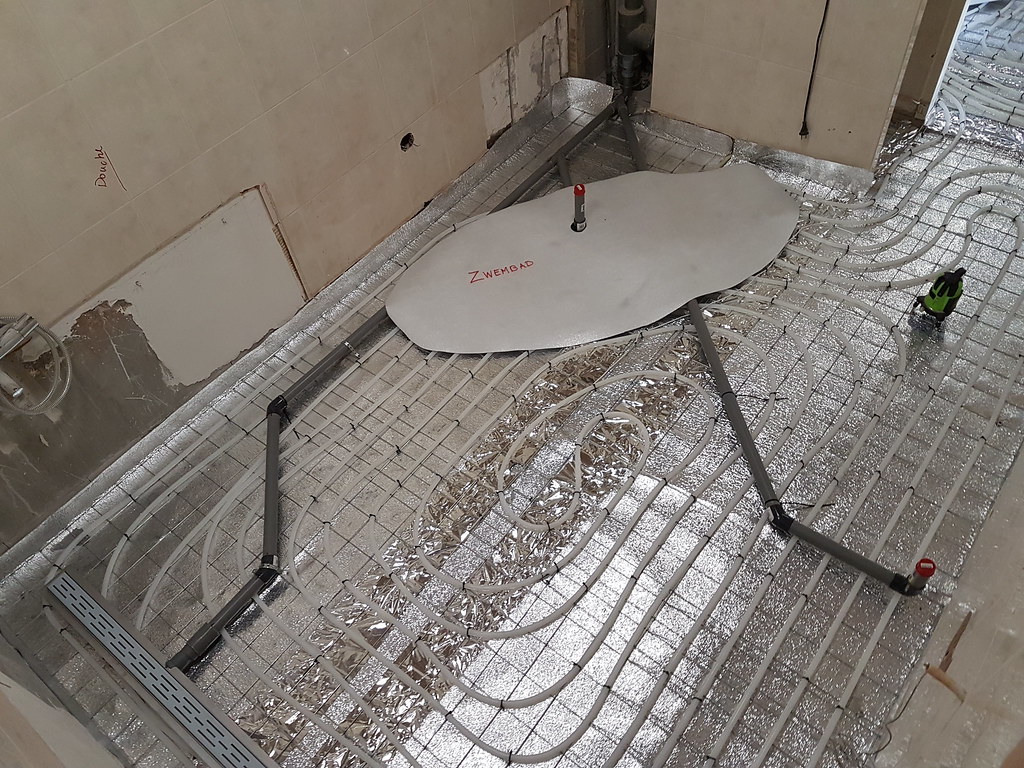
Also the rooms need to be divided in zones, every zone can be 120M max in length otherwise the floor heating won't work optimal.
But where to end , so you have enough hose left to get back to the divider/connection point.
Well he thought of a great way, using a cable 120m in length and put that on the ground to see what we could do and this worked.
Image

Been busy till the night, yesterday also some work but the tywraps i bought ( 2000) are gone so i am going to pick up some more to finish the last room.
Image
Image
Image
Image
Image
Image
Image

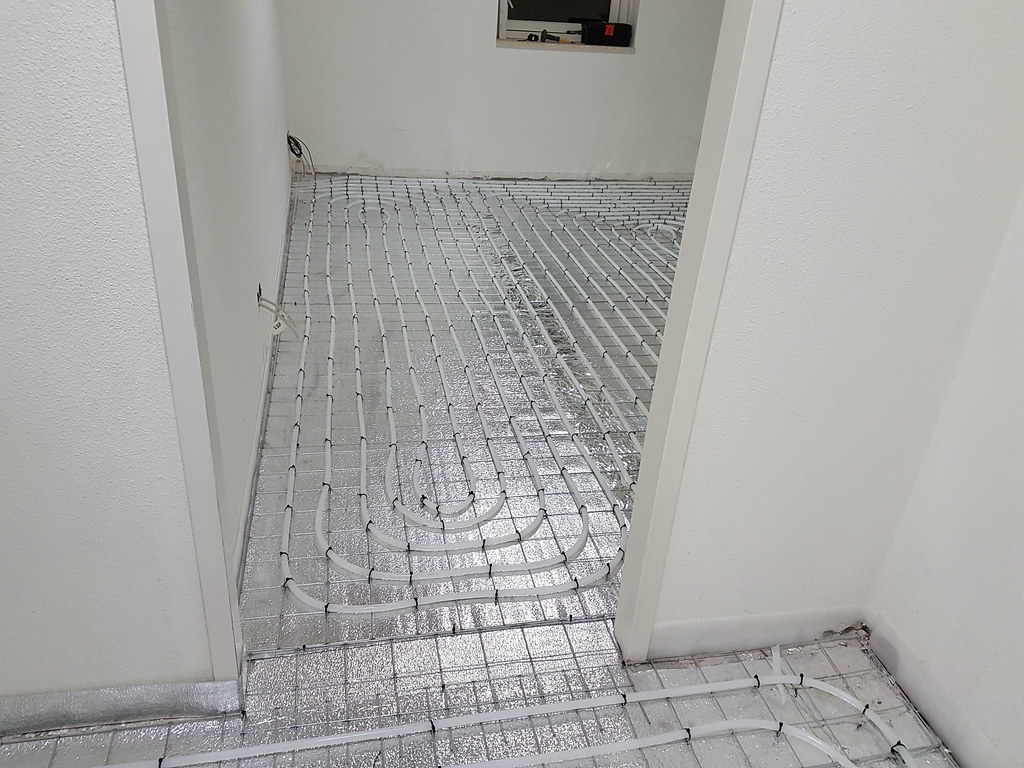
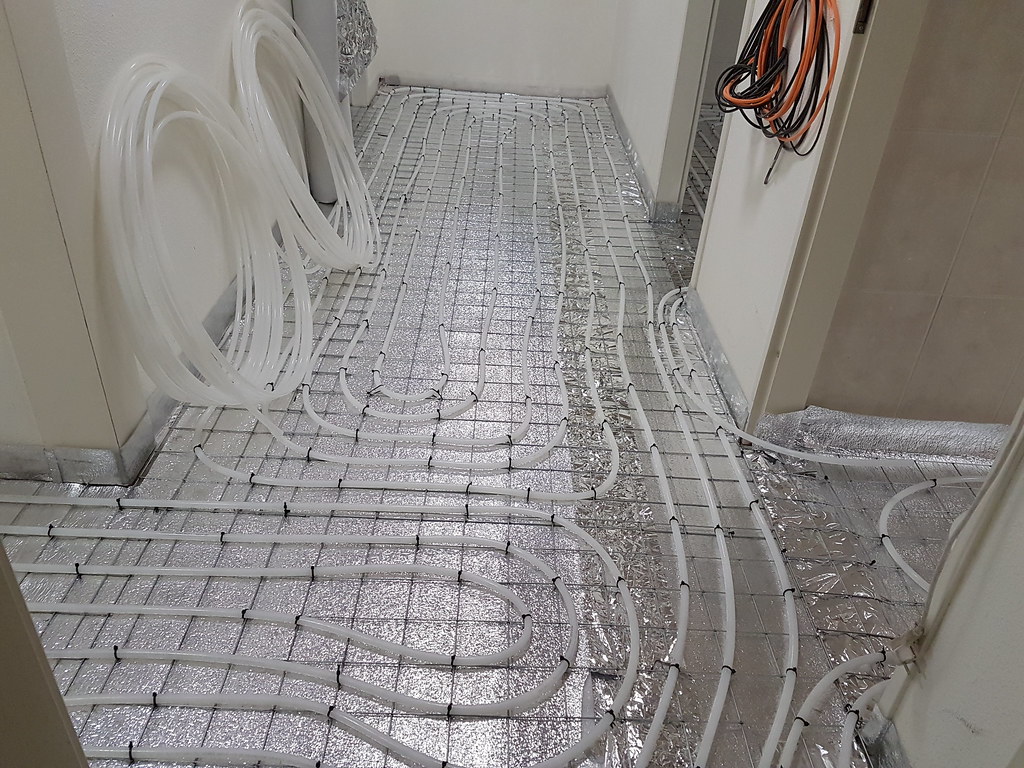
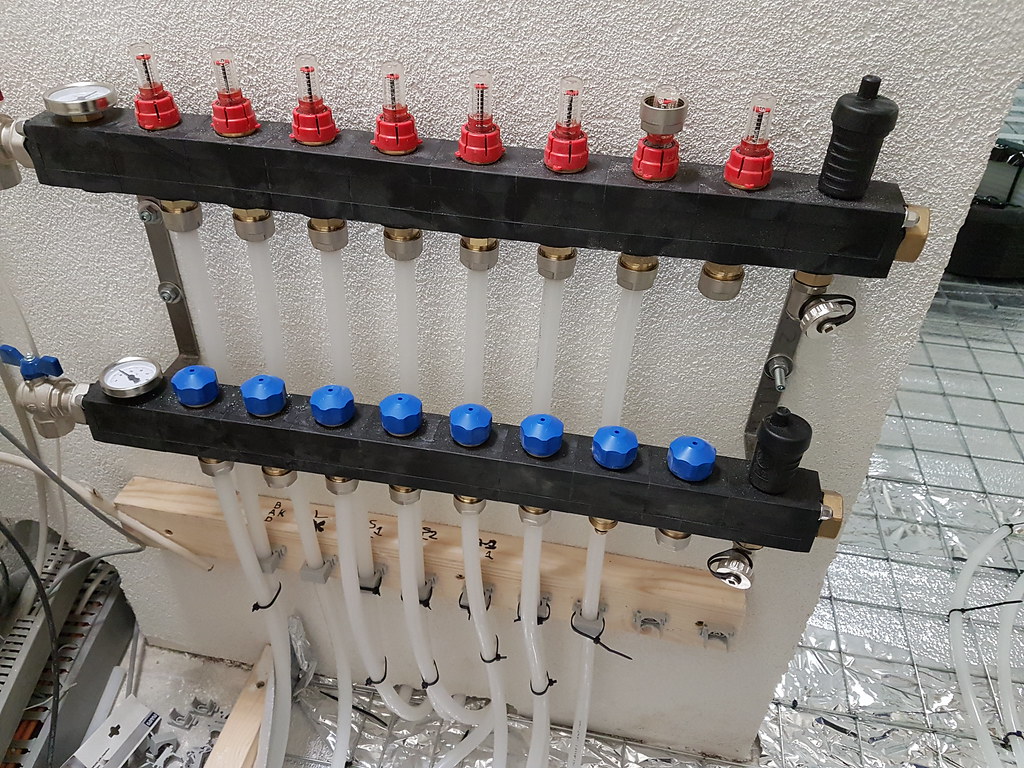
First i wanted to make the distribution block myself since its from HDPE and very simple to make but i have not much time so i thought well , ill just order it.

Now i hope this week the concrete floor will be poured on the tubes and another thing is done.
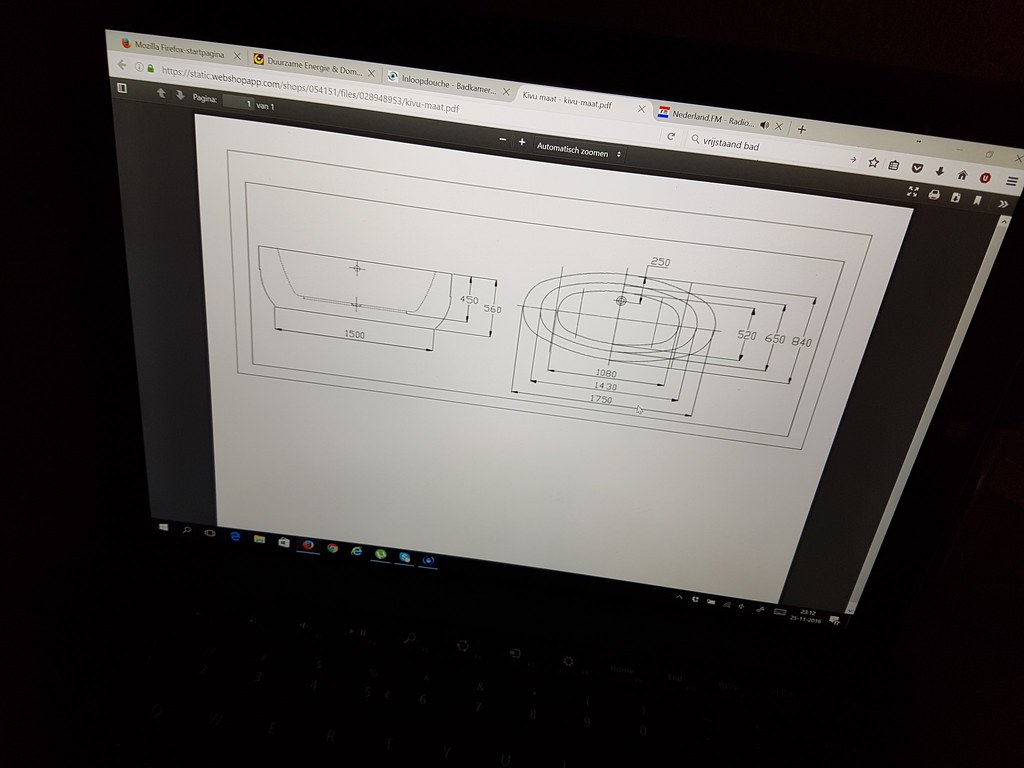
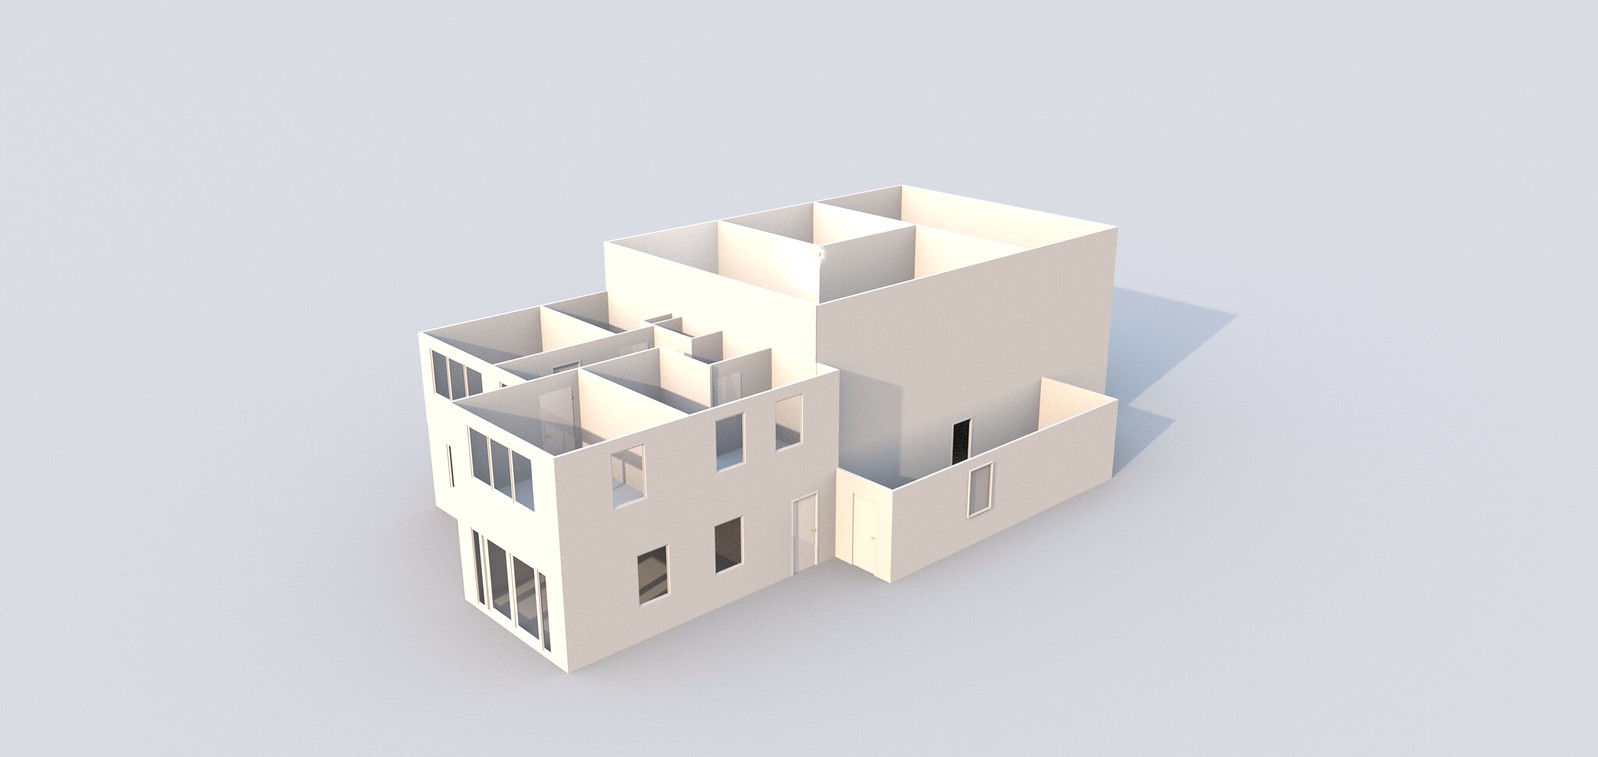
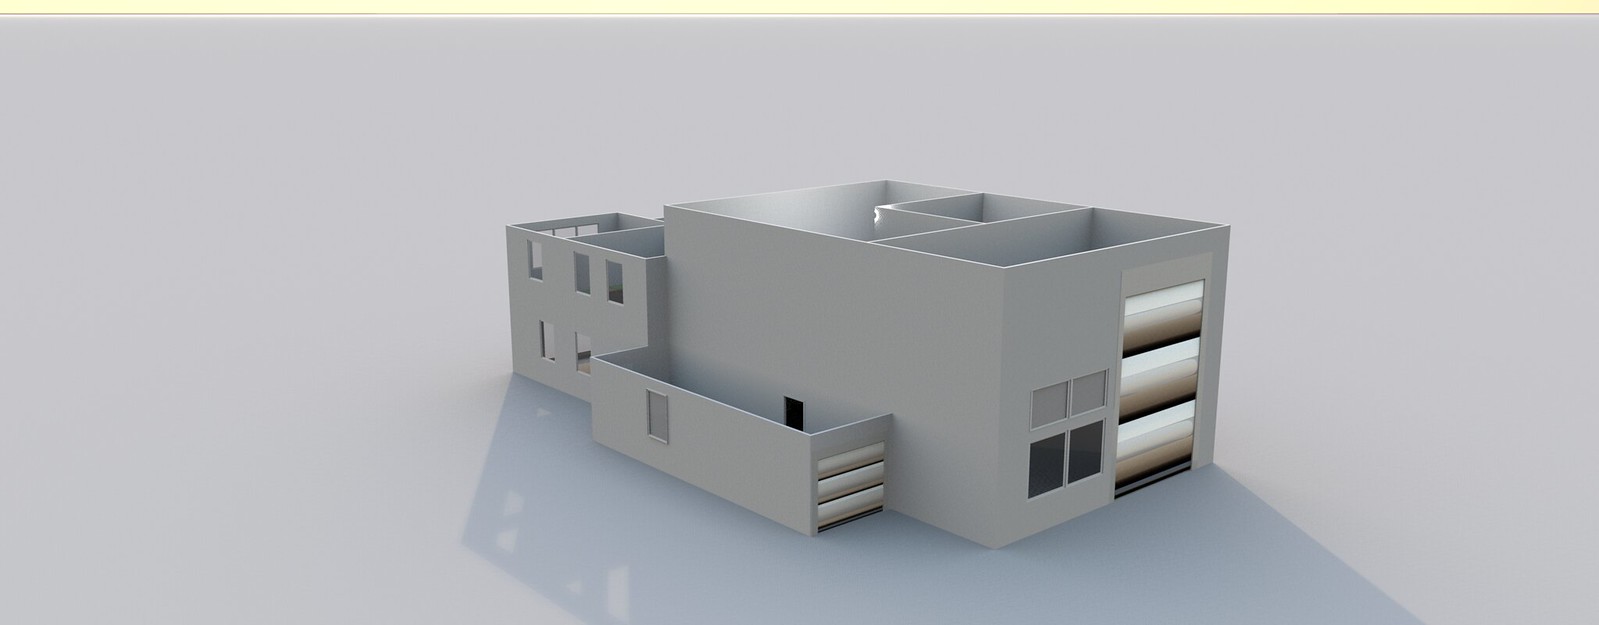
I needed the exact measurements for my building for the floor heating/insulation for the roof etc and i used them to make a drawing in sweet home 3d.
It came out quite nice i must add ;)

Image

Image

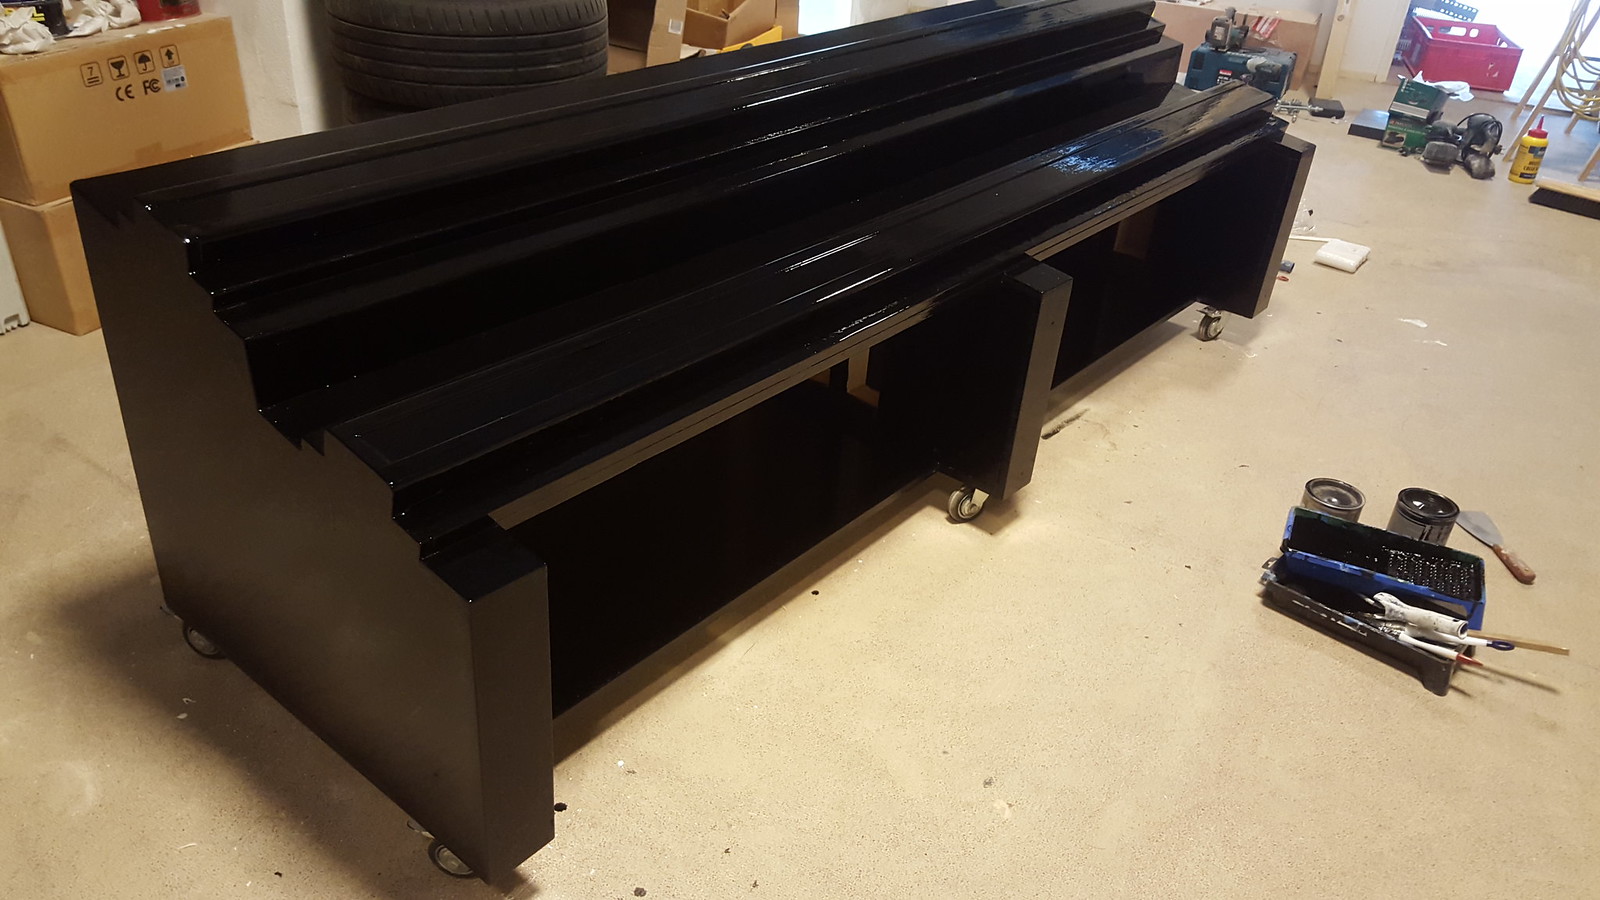
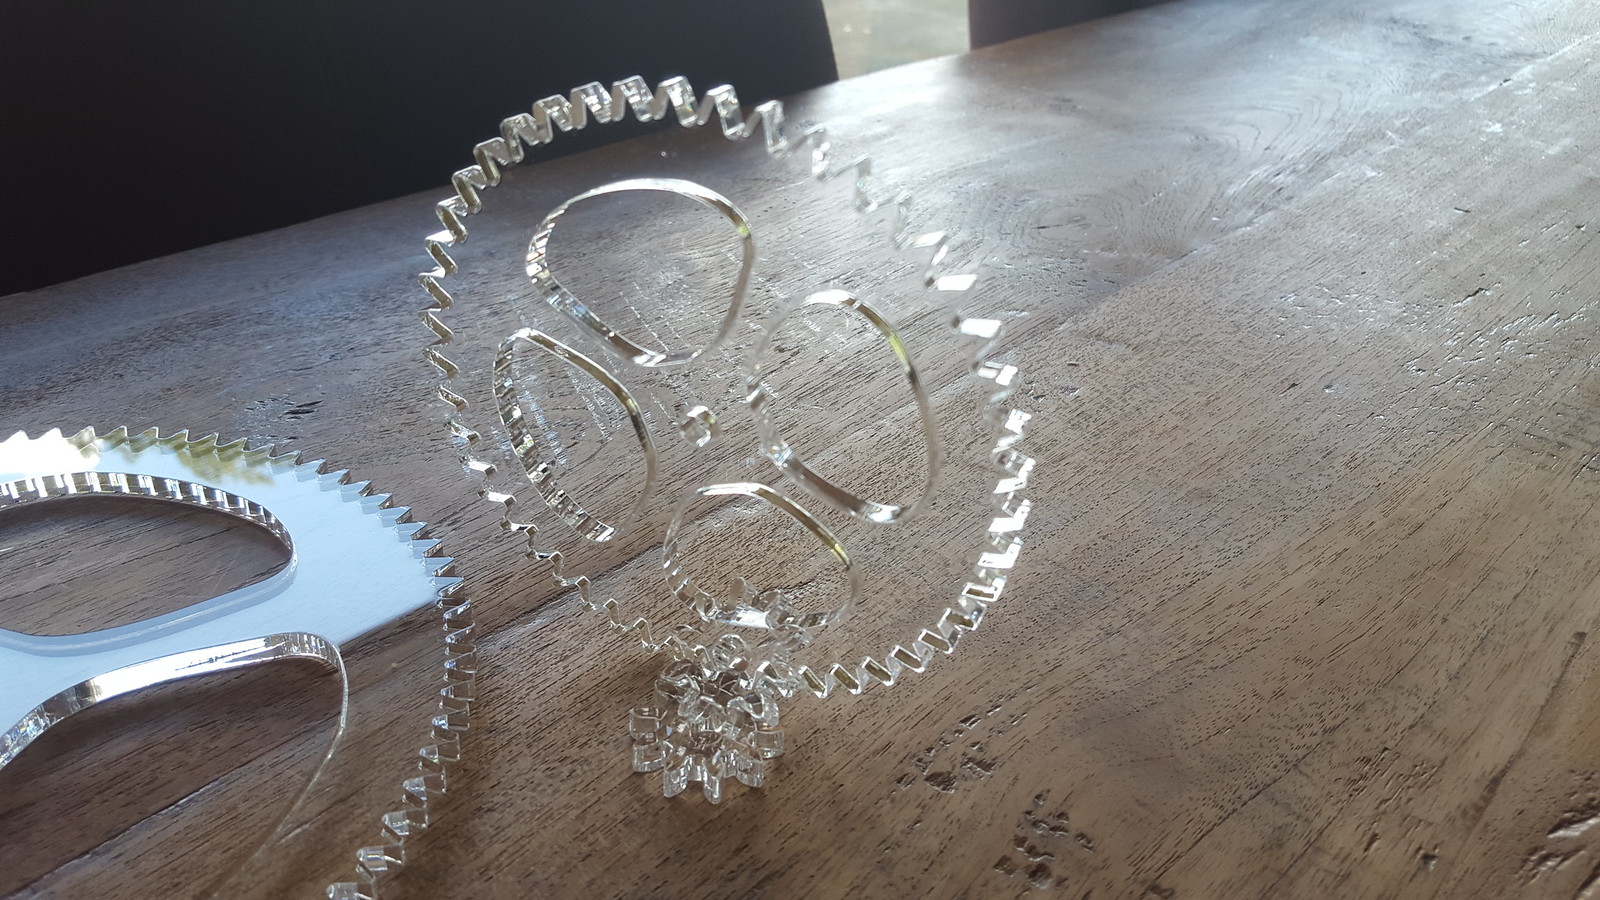
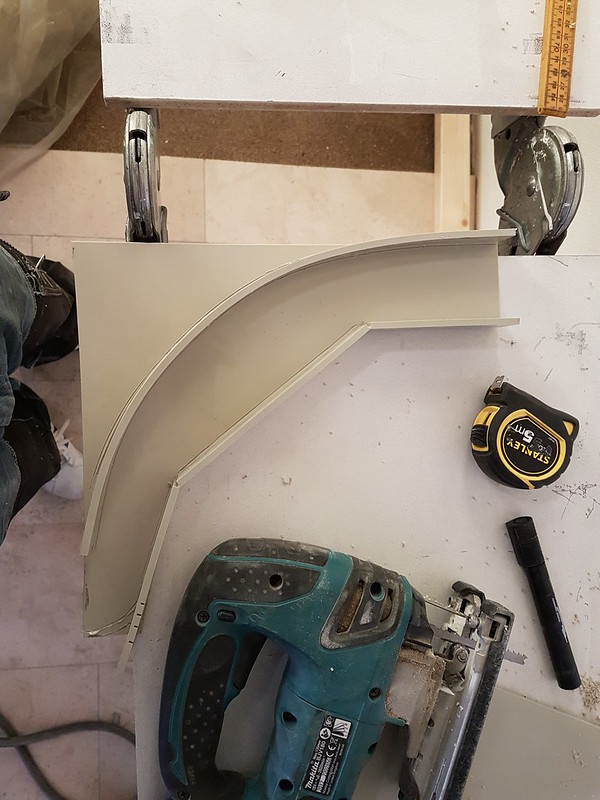
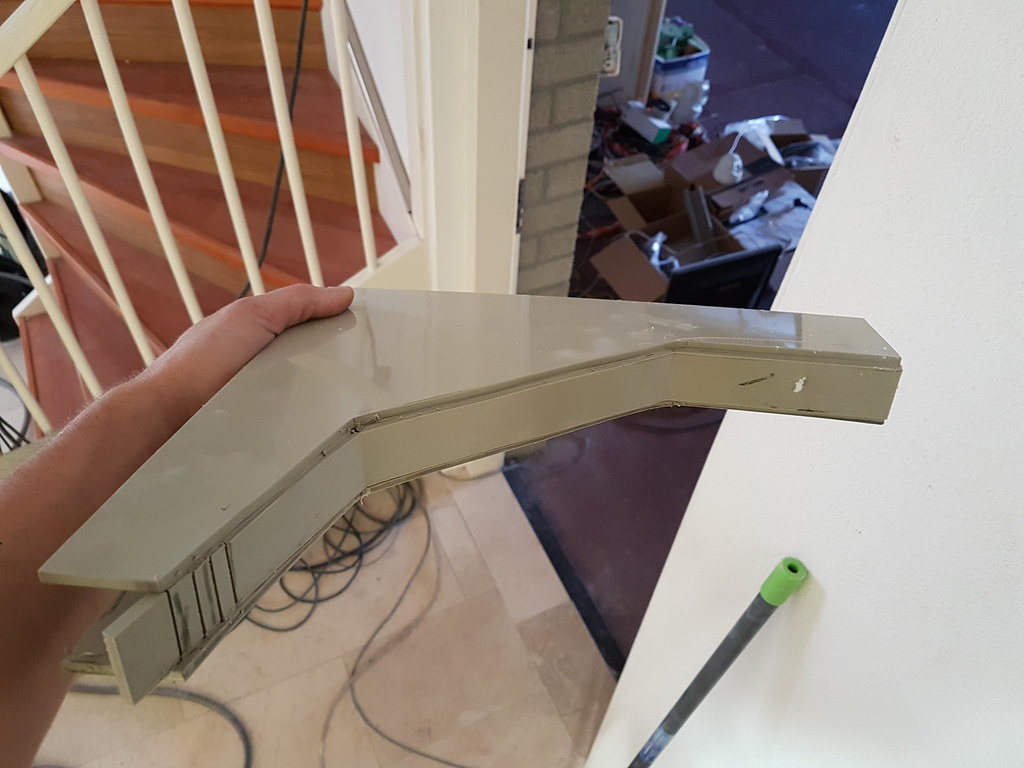
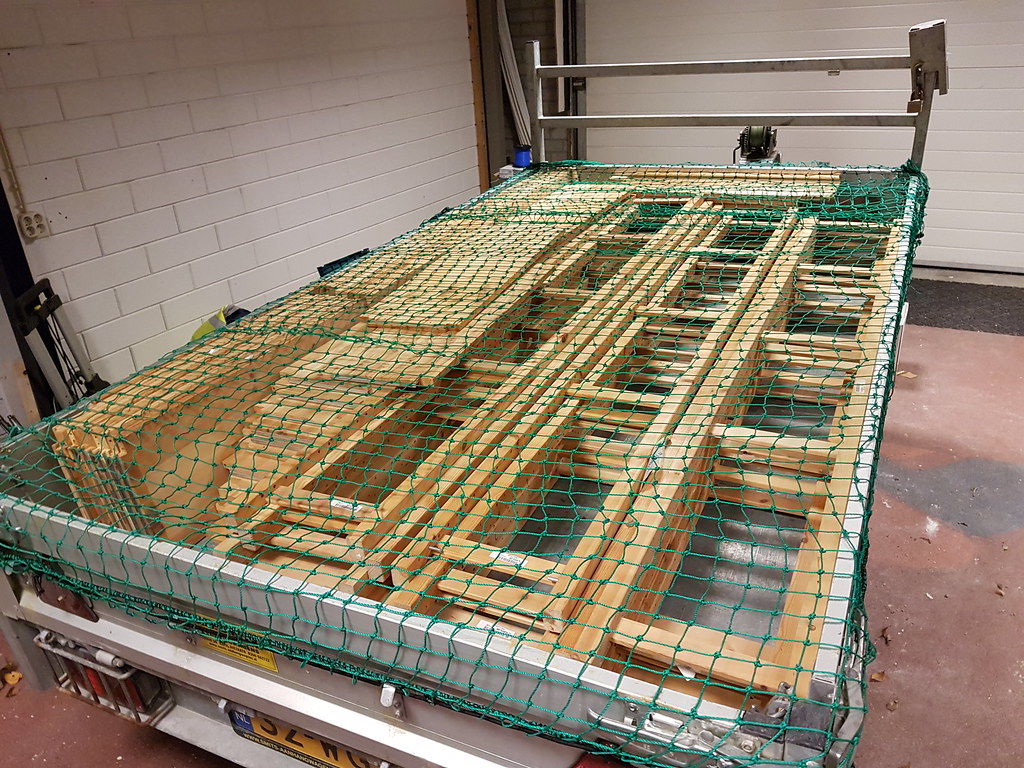
Some of the fronts i needed to make for my cove in the living room are made from MDF, i used a hand mill to take out a part that would slide on the edge.
I have made some by hand first and for 10 pieces it took almost 6 or 7 hours and allot of dust.
Friend of mine uses allot of woodworking machines making window frames and well actually everything at his work.
It didn't take 10 minutes in total for 20 pieces .....
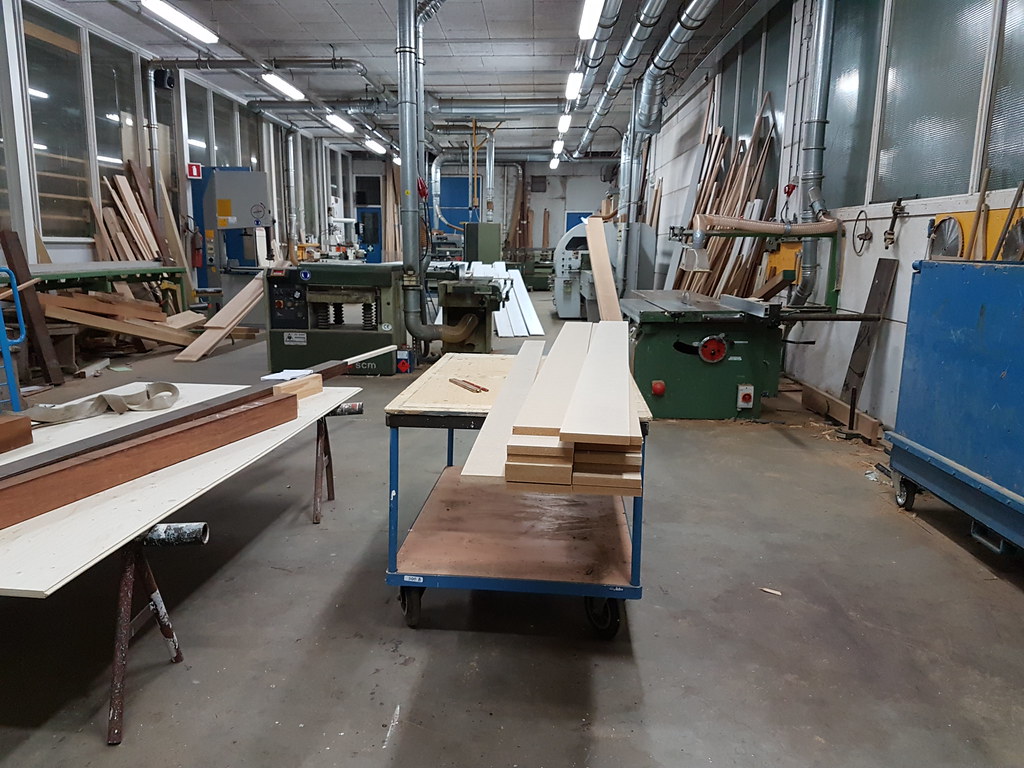
Image

Here is a video : https://www.flickr.com/gp/134761793@N04/62J4n7

What are you talking about, well these fronts i mean that prevent you from looking into the led strips
Image

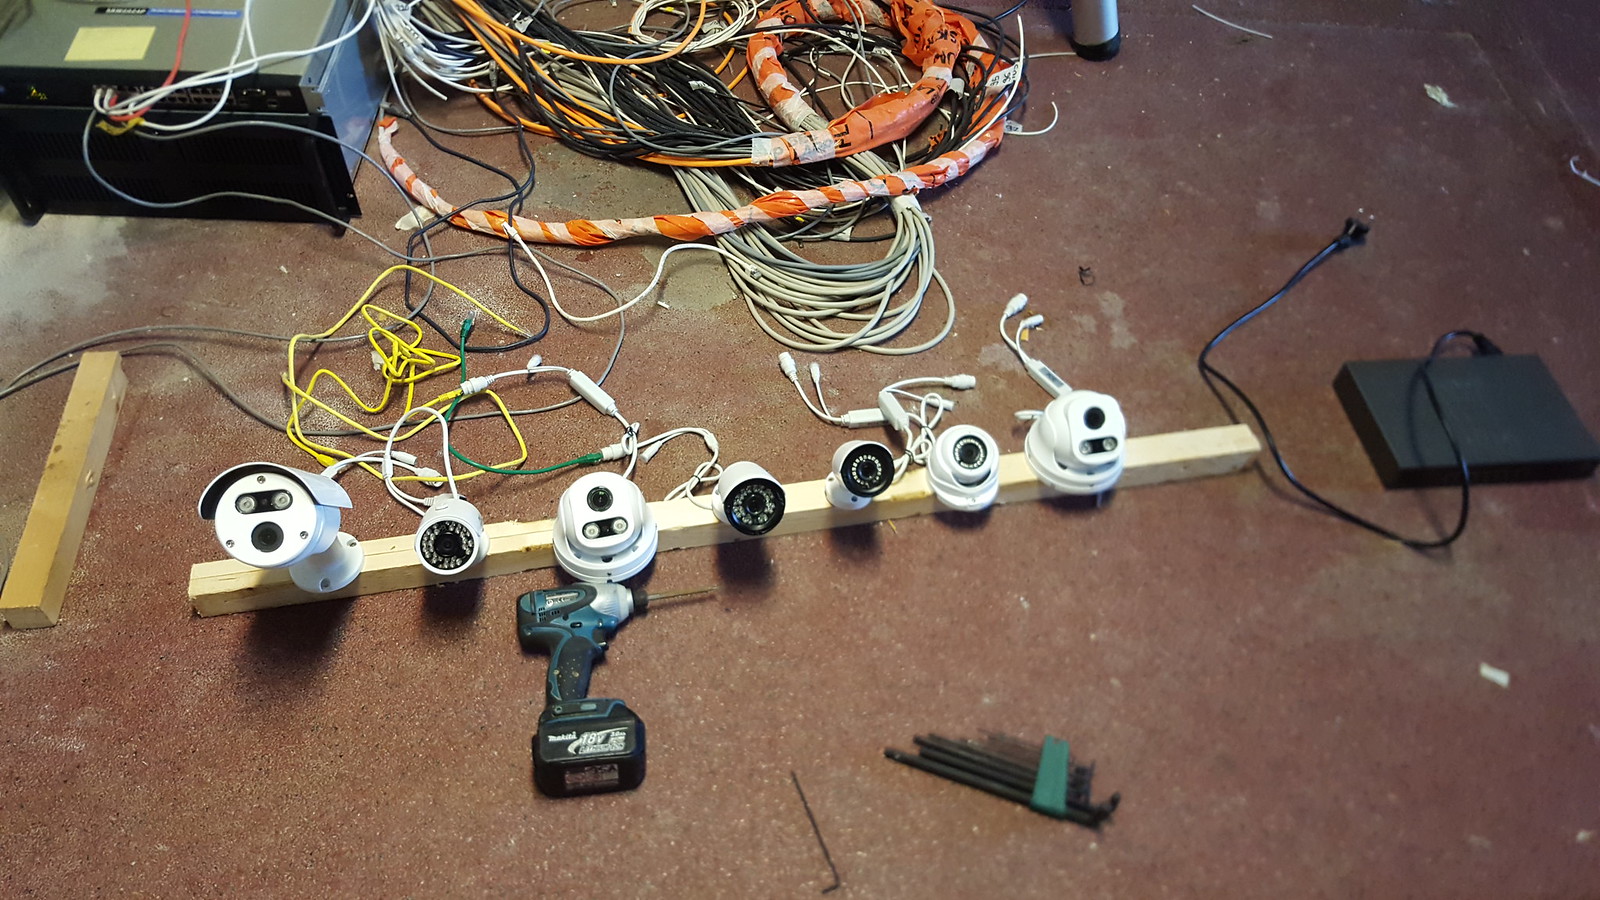
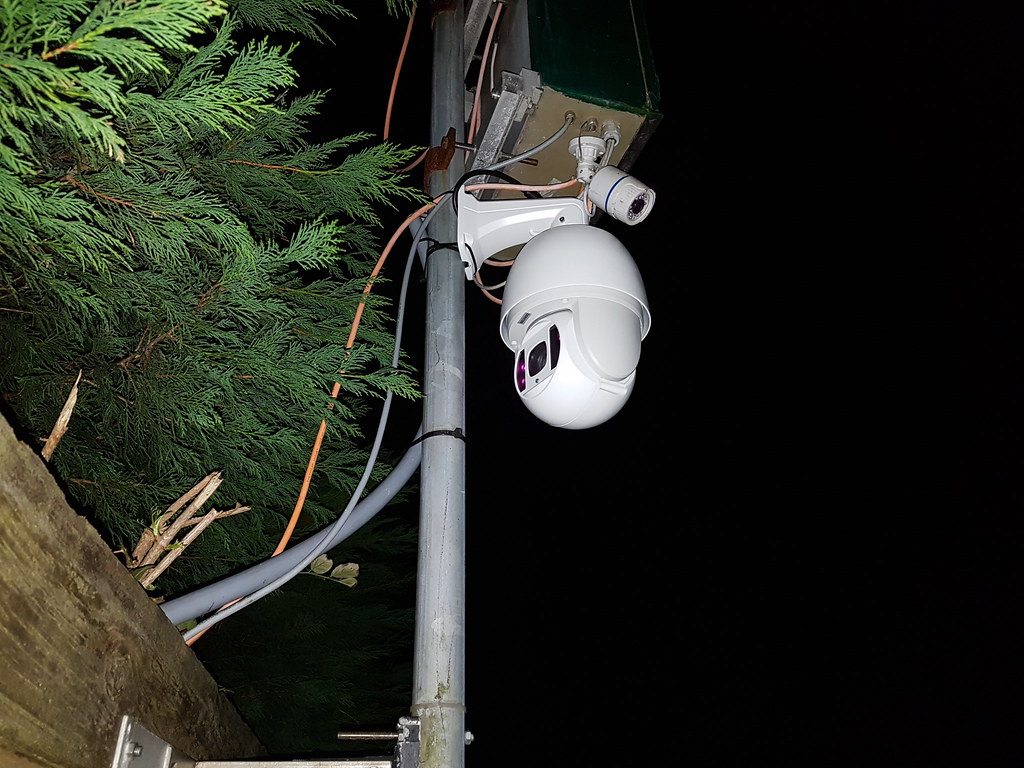
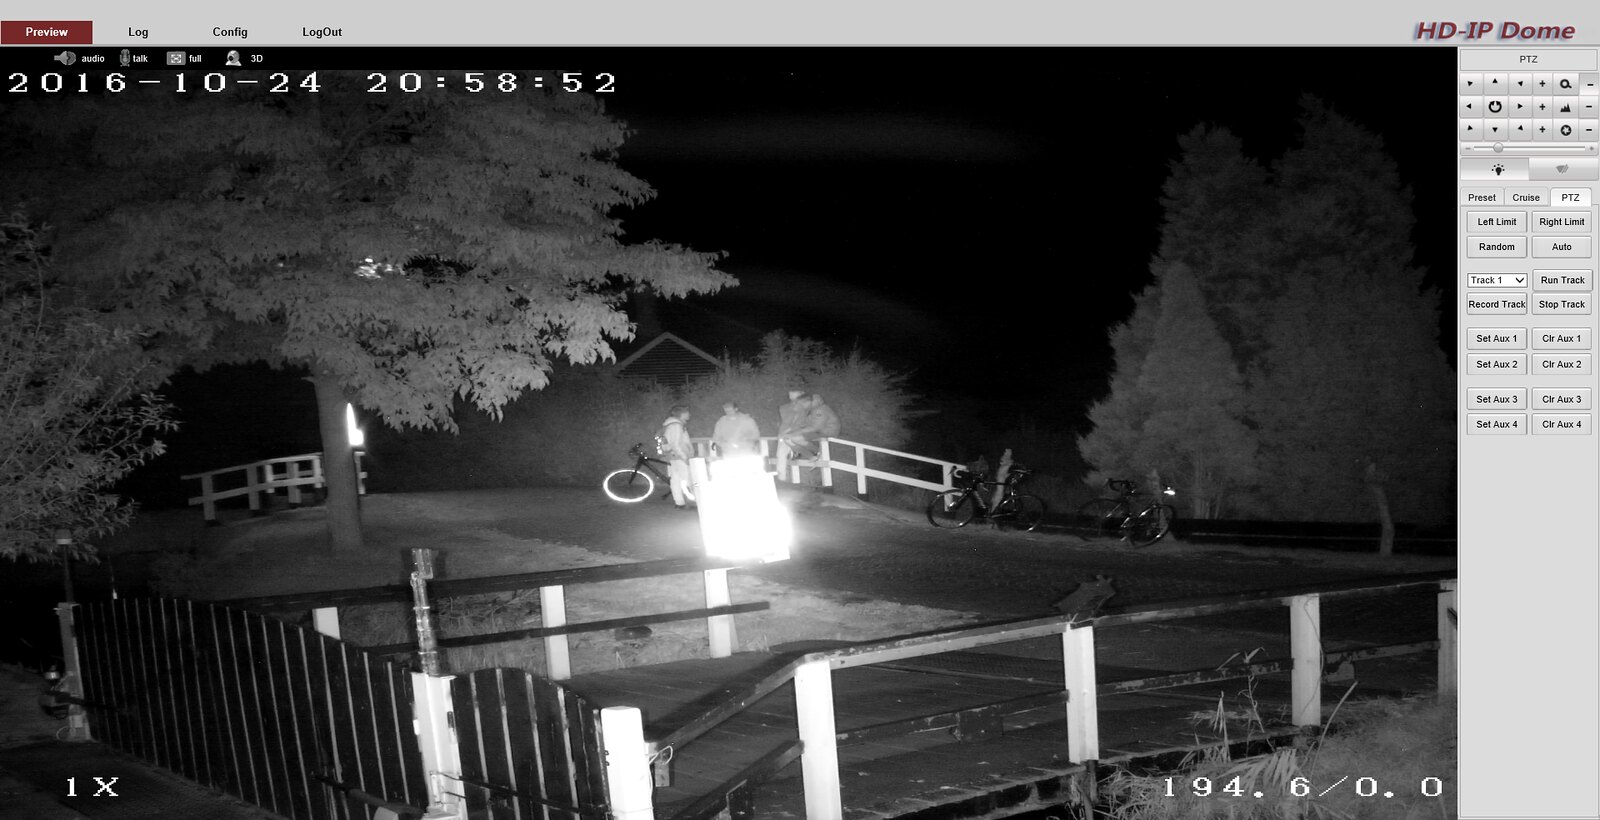
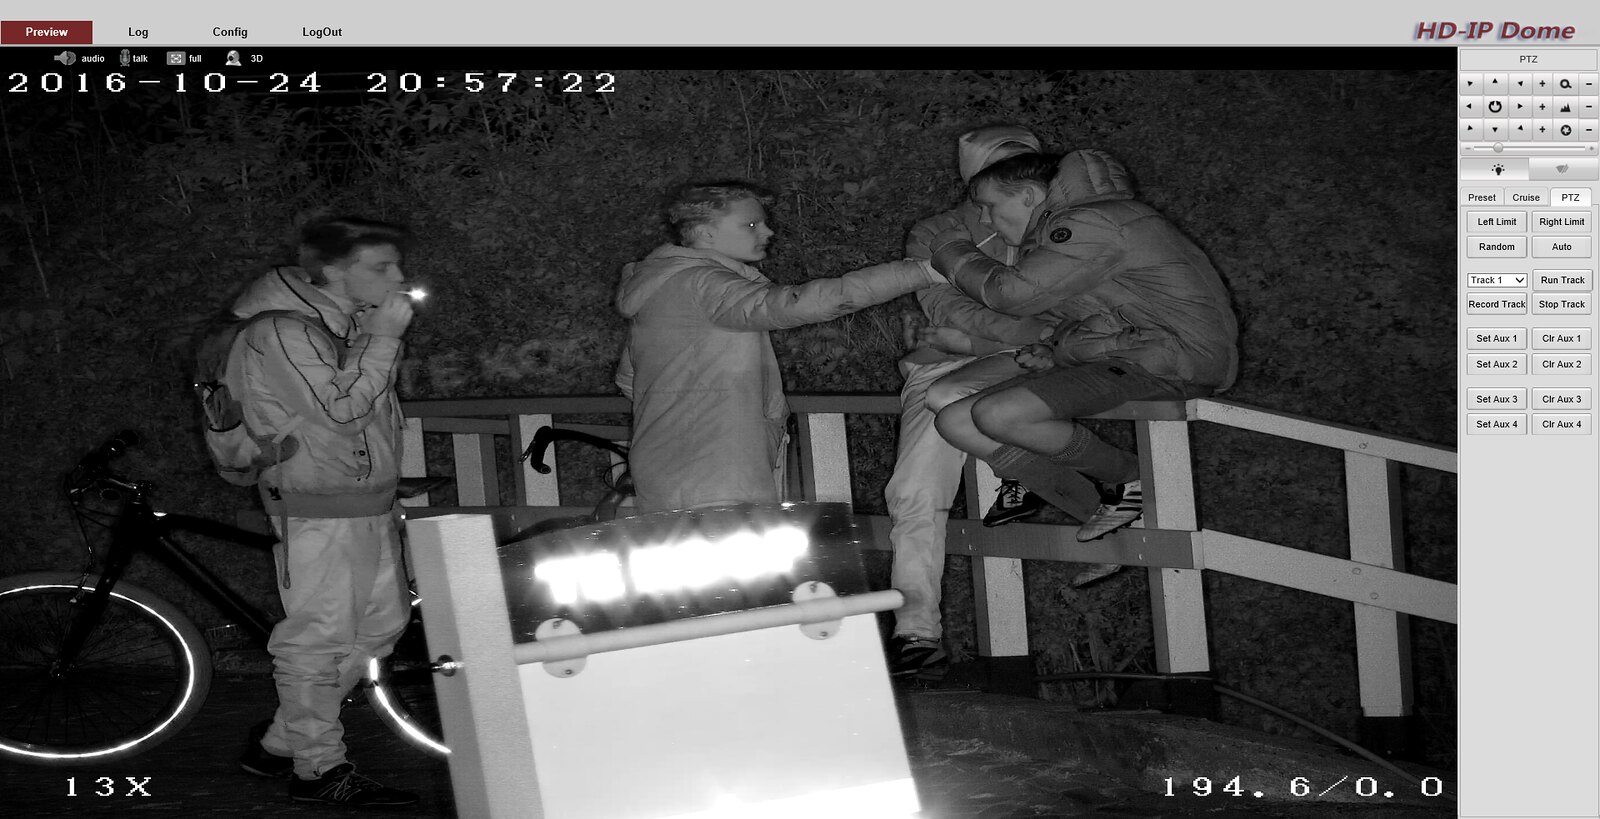
Also bought a PTZ IP cam with a Sony imx178 sensor and it is amazing i must say.
A bit big but works good , i hanged it with some tywraps the same evening on my testing pole haha.
Image
Image
Image
Image

That's it for now.
Will keep you guys updated again
vincenttor
Member
Member
Posts: 344
Joined: Thu Jan 09, 2014 10:45 pm
Location: Netherlands

Re: switching all power sockets and lights

Post by vincenttor »

Little update again

I did some bidding on a auction and "won".
I went to the place to pick the stuff up but i had to do a job nearby, i used the car of the guy that hired me.
its a Mitsubishi phev something, nice for longer stuff but it was to small to put everything in it that i had won...
So allot of stuff i had to leave behind, learned my lessons for the next time.
Still a good bargain, allot of tools and electric valves, draka wire and that for 200 €
Image
the Flowmeter that you see can be connected by pulses or modbus and some other connection types , going to use this for my rainwater system ;0
Just for fun to see how many rain is going trough.
Shocked about the price it would cost when buying new, bought it for 10€ :)

had to do some work on the plaster plates in the hallway , drilling the holes for the lights and fire alarm.
Image

And i needed some space to put my stuff in because the space i had was being filled rapidly with stuff laying everywhere.
Found this nice rack for just 75€ on marktplaats.
Image

Also that day i bought some steel pipes for my heating system upstairs.
If the floorheating is not doing great or i want LT radiators for heating/cooling i have it already there just to connect and done.
Image

needed the size of the new bath for in the bathroom to see if it would fit and where i must prefab the connections,
so i drew it on a piece of insulation ;)
Image
Image

placing the shower drain took some time and the sewer pipes that had to be under a small angle .
Image
Image

beneath the bathroom i needed to see what was behind the wall and here is the location where the sewer/shower heat exchanger is going to be so i needed to cut there.
Image
Image

Lighting wires in the hallway on the 1st floor.
Image
Image

Then i decided it was time to build the rack to get some space downstairs and upstairs in the garage,
i had some old wood laying around coming from a big old closet that i used to make more room.
Image
Image

Then it was time to bend the steel heating pipes and use a hose to protect it for the concrete "acid" or whatever is in it to eat the metal.
Image
Image
Image
Image

The insulation material arrived for my roof from the house and garage.
I asked the company if the transport company could call me 30 min before the drop off and they said sure no problem.
Sitting downstairs at my parents house from 7.00 doing some bookkeeping and waiting on the phone call.

At 10.15 i when i was done i drove to my home and this is what i found.
Image

Yes great, its there, but now i had to walk everything inside by hand....
So that took enough time and trash that i had to bring to the dump but well its here :)
Image
Image

I had an appointment for my new windows and window frames on friday, it was actually Thursday or something when i heard a truck.
Image
he was lucky i was not at a paid job but working in my house..
anyway helped him place the pallets where they should be.
Image

And some great News that my machine was almost ready for shipping
Image

I also made an appointment for a concrete floor, 19-12-2016 they are coming to do the job,
but i needed to make sure that the floorheating that i had put it was ok and not damaged/leaking so i put some pressure on it about 2 Bar.
it has been at 2Bar for a week and i used some mist with soap to see if there was a leak at the header but luckily everything was oke.
Image
Image

Bought some wood because the window frame company called and asked if they could work and replace them.
No problem the sooner the better ,but the floor was not there yet so i put some wood for protection on the hoses.
Image
Image

Took some pictures before and after , the doors are not yet replaced , these will come begin 2017 ;(
Image
Before , wood.
Image
Image

And after
Image
Image
Image
Image

and for the garage, this is reinforced glass, not sure what and how but they told me when you throw a rock against it, it will bounce back.
Image

Also very happy with the coating they have done on the windows that prevent heat coming in , so in summer days i do not have to close the rolling shutters.
And the locks on the windows are much better compared to many windows.
Image
Image

I also took pictures since the insulated frames and windows should be much better then before.
The only problem is that the pictures from before which i took when standing outside, was with allot of sun.
So the frames where heated allot.
This does not give a good comparison but here is after and it looks good to me, the darker the color the colder it is, more yellow / read the more warm it is.
These pics are made yesterday night, this gives the best real result .
Kitchen window with the old door, you can barely see the window and the frame because they are cold , and inside they are warm, not leaking as much as the door as you can see.
Image
Image
(kitchen window and door on the bigger pic is on the right below)

here a pic of the old bigger doors for the garden
Image

and here from the inside
Image
you can see the windows on the right having almost the same color as the walls meaning they have the same temp.
There is still a leak on the bottom , used some material to cover this up but i do need to fill the wall with insulation to prevent this.

From the inside i placed 10cm thick insulation and on top of that some plaster board.
Now i keep some space between the cove where i can hide the shutters or luxaflex or curtains.
Image
Image
Image

Closed also the holes with plaster and fastened some wires in the wall.
Image
Image
Image

And placed some of the cove front pieces again, that a friend of mine made for me but not sure how . i have a wrong measurement and tomorrow i have to use a saw to make it a bit bigger.
But it looks pretty good already if you ask me ;)
Image

Cant wait to see what it looks like when all is plastered and painted.

the plaster has already been ordered.
Image

Some other stuff that is keeping my busy is the heating system.
The drawing is something i made for fun and see how and what, not at al good in it and using the wrong style i discovered.
Need to find out some good freeware to draw a good diagram but this is what i could come up with ;)
it's probably messy to read sorry for that :roll:

Image

And something to measure if it would fit on my roof, and it turns it out does ;)
next year summer i hope to put 100 panels on my roof about 260Wp each.
This will be pretty "cheap" because when having 25Kw of solar panels on your roof will , the rvo gives nice "discounts" at the end of the year for my company.
Discount as in subsidized
Image

That's it for now, have to do allot of "little" things but many of them make a big thing haha.
Time is becoming a problem, 19th concrete, 21th the plaster guy is beginning so got allot to do :)
Last edited by vincenttor on Mon Dec 12, 2016 10:30 pm, edited 1 time in total.
AshaiRey
Senior Member
Senior Member
Posts: 1310
Joined: Mon Feb 02, 2009 5:27 pm
Location: Netherlands
Contact:

Re: switching all power sockets and lights

Post by AshaiRey »

Eh, wanneer ging je ook alweer verhuizen naar je volgende huis.. :D
Bram
Post Reply

Return to “Energycontrol & Home Automation Forum”