Page 1 of 1
My led thingy..
Posted: Fri Dec 25, 2009 2:12 am
by Snelvuur
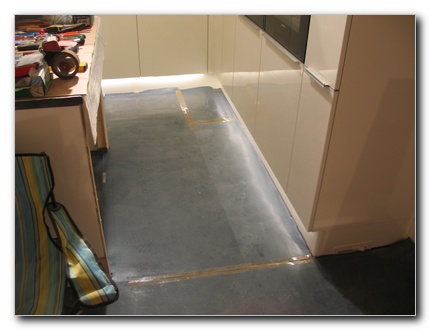
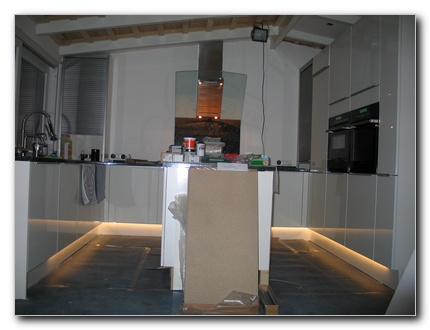
So i ordered a bunch of stuff from marco (moodledlight) and he came over so we could get some work done.. loads of dmx stuff (finally) went into the house.
as a small peak i have a picture of the kitchen floor (made by iphone, so dont blame me) once the rest of all the bits are in place i'll make some proper pictures and stuff.
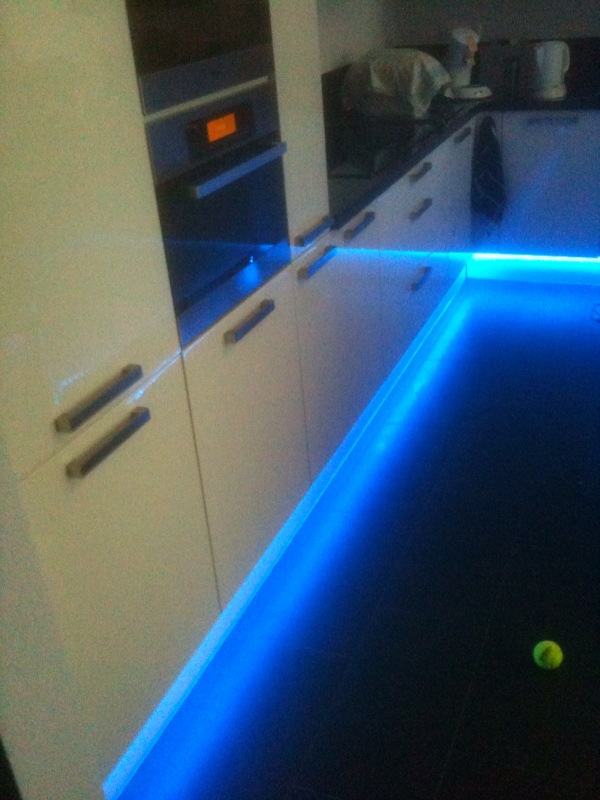
- photo.jpg (116.72 KiB) Viewed 13047 times
Re: my led thingy..
Posted: Fri Dec 25, 2009 2:42 pm
by Fantic
Looks a bit bright, or is that the iphone cam?
I'm still working hard to get everything in place but we are getting closer and closer. Bathroom almost done, for the hallway downstairs just received the led lights, the kitchen will be placed in mid jan so will show some more picts by then.
Re: My led thingy..
Posted: Fri Dec 25, 2009 11:41 pm
by Snelvuur
its just the iphone indeed, it looks much nicer in real live. You got a boat house on the picture? Nice to place some lights "in" the water

Re: My led thingy..
Posted: Sat Dec 26, 2009 9:56 am
by Fantic
Indeed it is a houseboat, there is 1 light 'in' the water, in my bathtub and I think it is not going to increase soon. There are however many planned below water-level, as this is around 1,50 from the ground-floor. I'm going to put LED strip in alu strips in the ceiling of the bathroom, underneath the sink and the bathtub. Also under each step of the staircase and as you have it underneath the kitchen. In the hallway downstairs I will put 3 down lights and 5 led 1w spots in the ceiling.
All will be the Warm White color as neither of us likes the coloring thing with RGB.
As soon as things are in place, I will post some more pictures of how it all works out.
Re: My led thingy..
Posted: Wed Jan 27, 2010 12:51 am
by Fantic
In the mean time I was able to put some more Led light to work, in the bathroom I have integrated a aluminum U shaped strip in the ceiling with a milky white cover, inside the Warm White LED strips have been placed, in total around 7 ( 2 x 1 and 2 x 2,5) meters and 1 meter underneath the cabinet.
The 2 short ones and the cabinet strip are connected to the one dimmer and the 2 long ones are connected to another dimmer.
The effects (no flash was used):
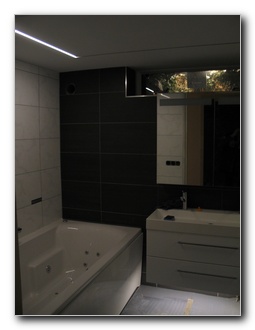
- Left side dimmed
- thmb_IMG_7852.jpg (20.14 KiB) Viewed 12932 times
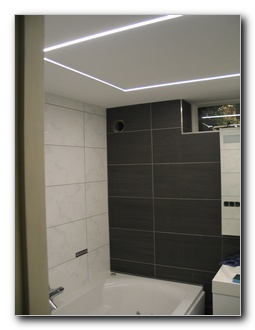
- Left Full light
- thmb_IMG_7851.jpg (21.19 KiB) Viewed 12932 times
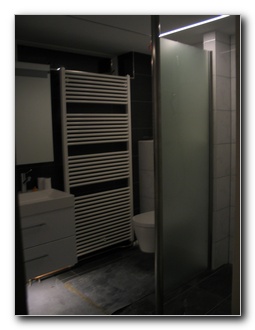
- Right side dimmed
- thmb_IMG_7853.jpg (22.75 KiB) Viewed 12932 times
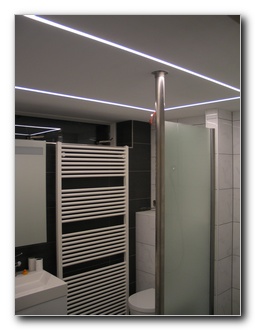
- Right Side almost full
- thmb_IMG_7854.jpg (26.38 KiB) Viewed 12932 times
For the kitchen this is a first glimps:
- Kitchen first view
- thmb_IMG_7850.jpg (39.62 KiB) Viewed 12932 times
Re: My led thingy..
Posted: Wed Jan 27, 2010 1:32 am
by Alexander
very nice bathroom maarten!
Re: My led thingy..
Posted: Wed Jan 27, 2010 11:59 am
by Snelvuur
can you still remotely turn it on/off or change the color?
Re: My led thingy..
Posted: Wed Jan 27, 2010 4:54 pm
by Edwin2008
are you able to control it via homeseer (including dim function) and where did you get the alu strip and milky white cover?
Re: My led thingy..
Posted: Wed Jan 27, 2010 8:12 pm
by Fantic
The Warm White LED strips are not RGB, so the color change will be very difficult

The Alu strip I bought at Mood-Ledlight, however it was not on his website, we've been searching a while for it.
A close-up of the strip (built flat into ceiling) the strip was first put onto the wood then the plaster plates were put around and after that the ceiling was finished by 'stucadoors' Before they came in we replaced the alu strip with wood same width (16mm) and 16mm thick, after that we waited a couple of days for the wood and the plaster to let go of each other so we could remove the wood and replace the alu strip. As this is only 12mm thick we needed to add some nuts under each screw, I used the type used in 19" racks as they got closest to what I needed. All 4 pieces could be controlled separately if I want.
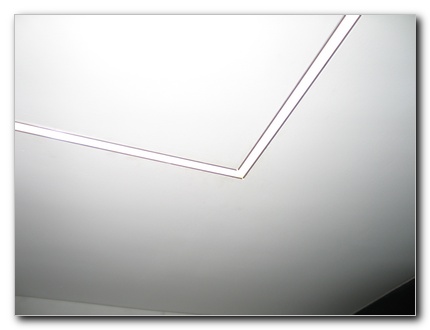
- thmb_IMG_7855.jpg (21.82 KiB) Viewed 12874 times
I'm working on getting all these things controlled by Homeseer, however my wallet is kinda empty, so no Zwave components for the first couple of months, I'm afraid. I do have some drivers/dimmers that are controllable by a pushbutton, push on, push off, hold dim up or down. this could also be controlled with a 1-10V input, which can be built with some components with a analog output.
Re: My led thingy..
Posted: Wed Jan 27, 2010 8:55 pm
by Edwin2008
Is really looking very, very neat!
Re: My led thingy..
Posted: Thu Feb 04, 2010 11:50 pm
by Fantic
Re: My led thingy..
Posted: Thu Feb 04, 2010 11:53 pm
by Fantic
The kitchen part with some better picts:
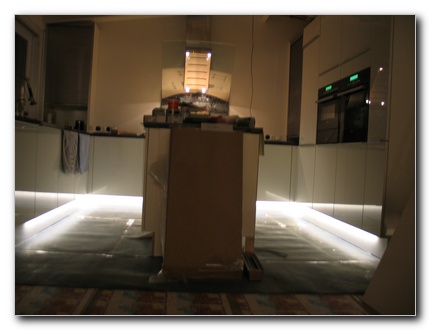
- The kitchen LED strips (no flash)
- thmb_IMG_7865.jpg (37.17 KiB) Viewed 12835 times
- With flash it even looks good
- thmb_IMG_7868.jpg (42.14 KiB) Viewed 12835 times
I needed to put the LED strip on a Aluminum L (10x20mm) shaped strip, so I could remove when needed and also due to the fact that the door fronts do not extend down past the bottom of the cabinet and from a distance you could see the dots of the LEDs. Now the L strip is masking the view.
Re: My led thingy..
Posted: Fri Feb 05, 2010 11:52 am
by Snelvuur
i like the hallway lights, those are things you need to consider when building .. not something you can easilly add later on.
Re: My led thingy..
Posted: Fri Feb 05, 2010 1:39 pm
by Fantic
Indeed those are quite big, about 12cm and 8cm deep.